In mid-February 2019, I attempted to start my car only to find that the head gasket had failed. The head gasket is the seal between the top and bottom of the engine. When this seal fails, the fluids (oil and water) between the two halves are capable of leaking and mixing with each other, as well as into the combustion chambers. Additionally, the increased gap between the cylinder head and the piston results in much lower air pressure, resulting in a significant loss of power. This was not the first time my head gasket had failed, but it was the first time I had decided to fix it properly and document the steps of repairing the issue.
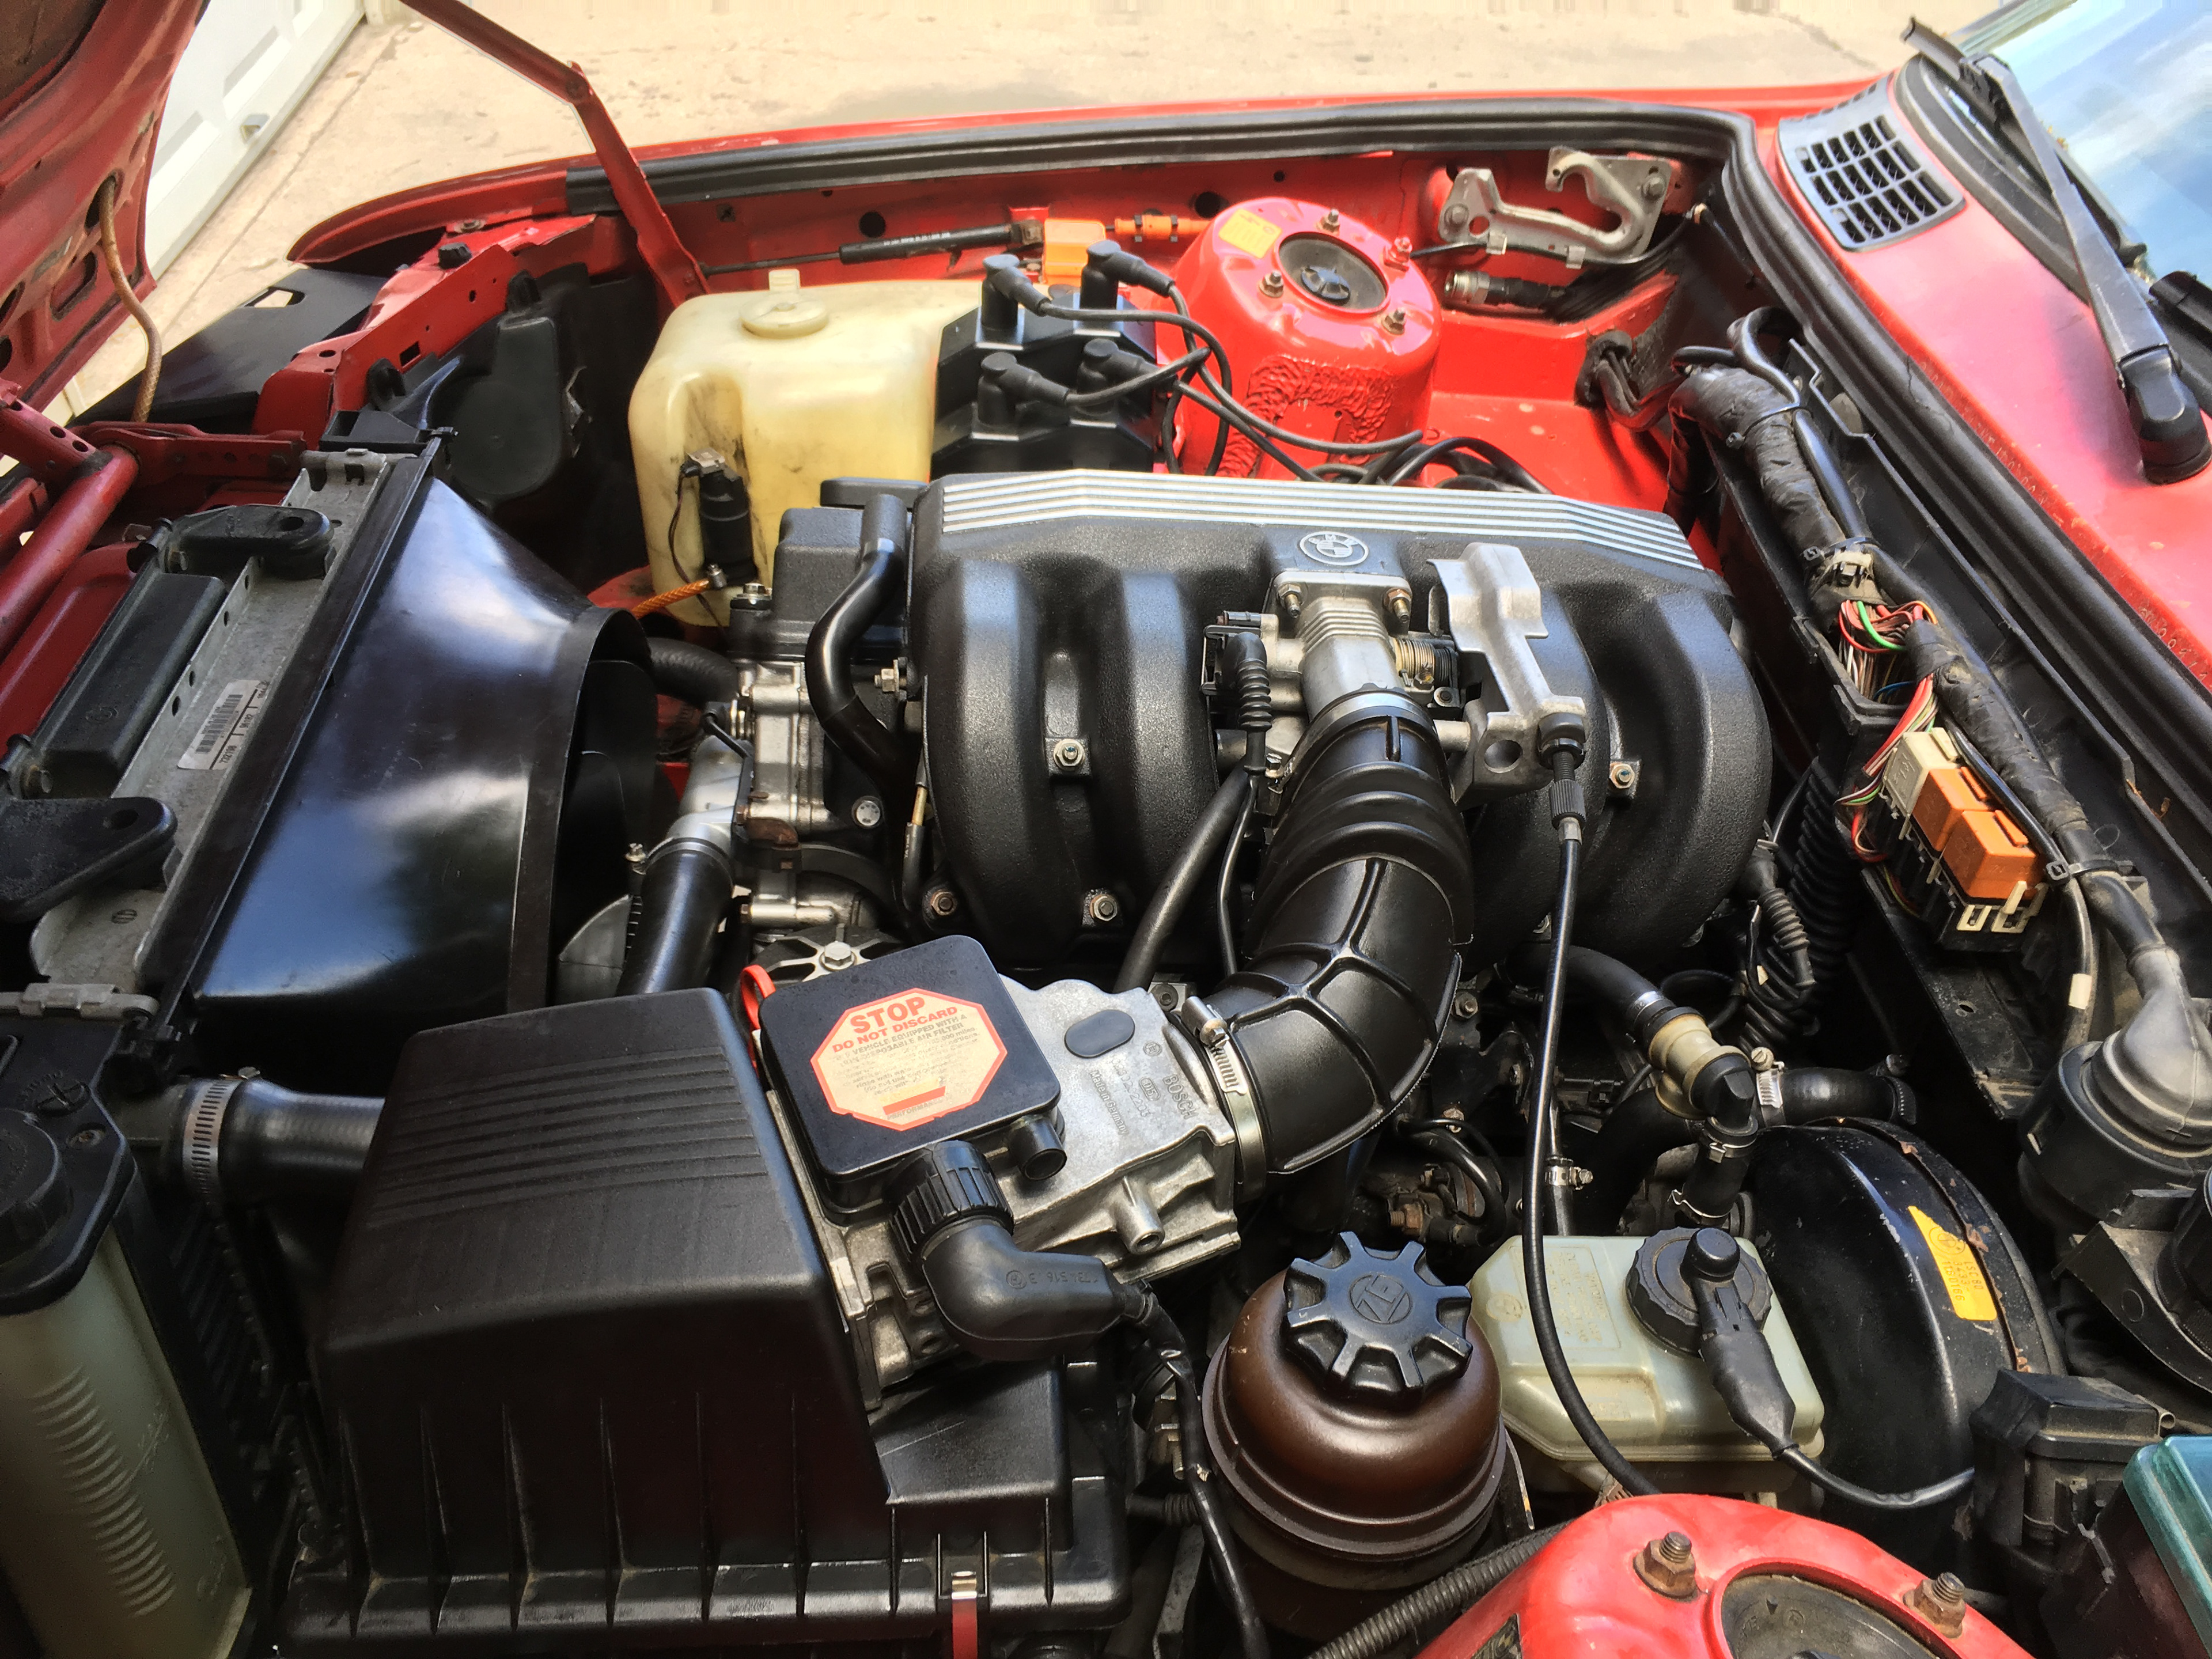
Diagnostics are always the first step, and usually the most difficult. The fuel pump was jumped to ensure fuel was getting to the engine, and the spark plugs were tested to verify that it was not an ignition failure. Low compression on all cylinders as well as water in the oil pan were clear indicators that the head gasket was the source of the failure.
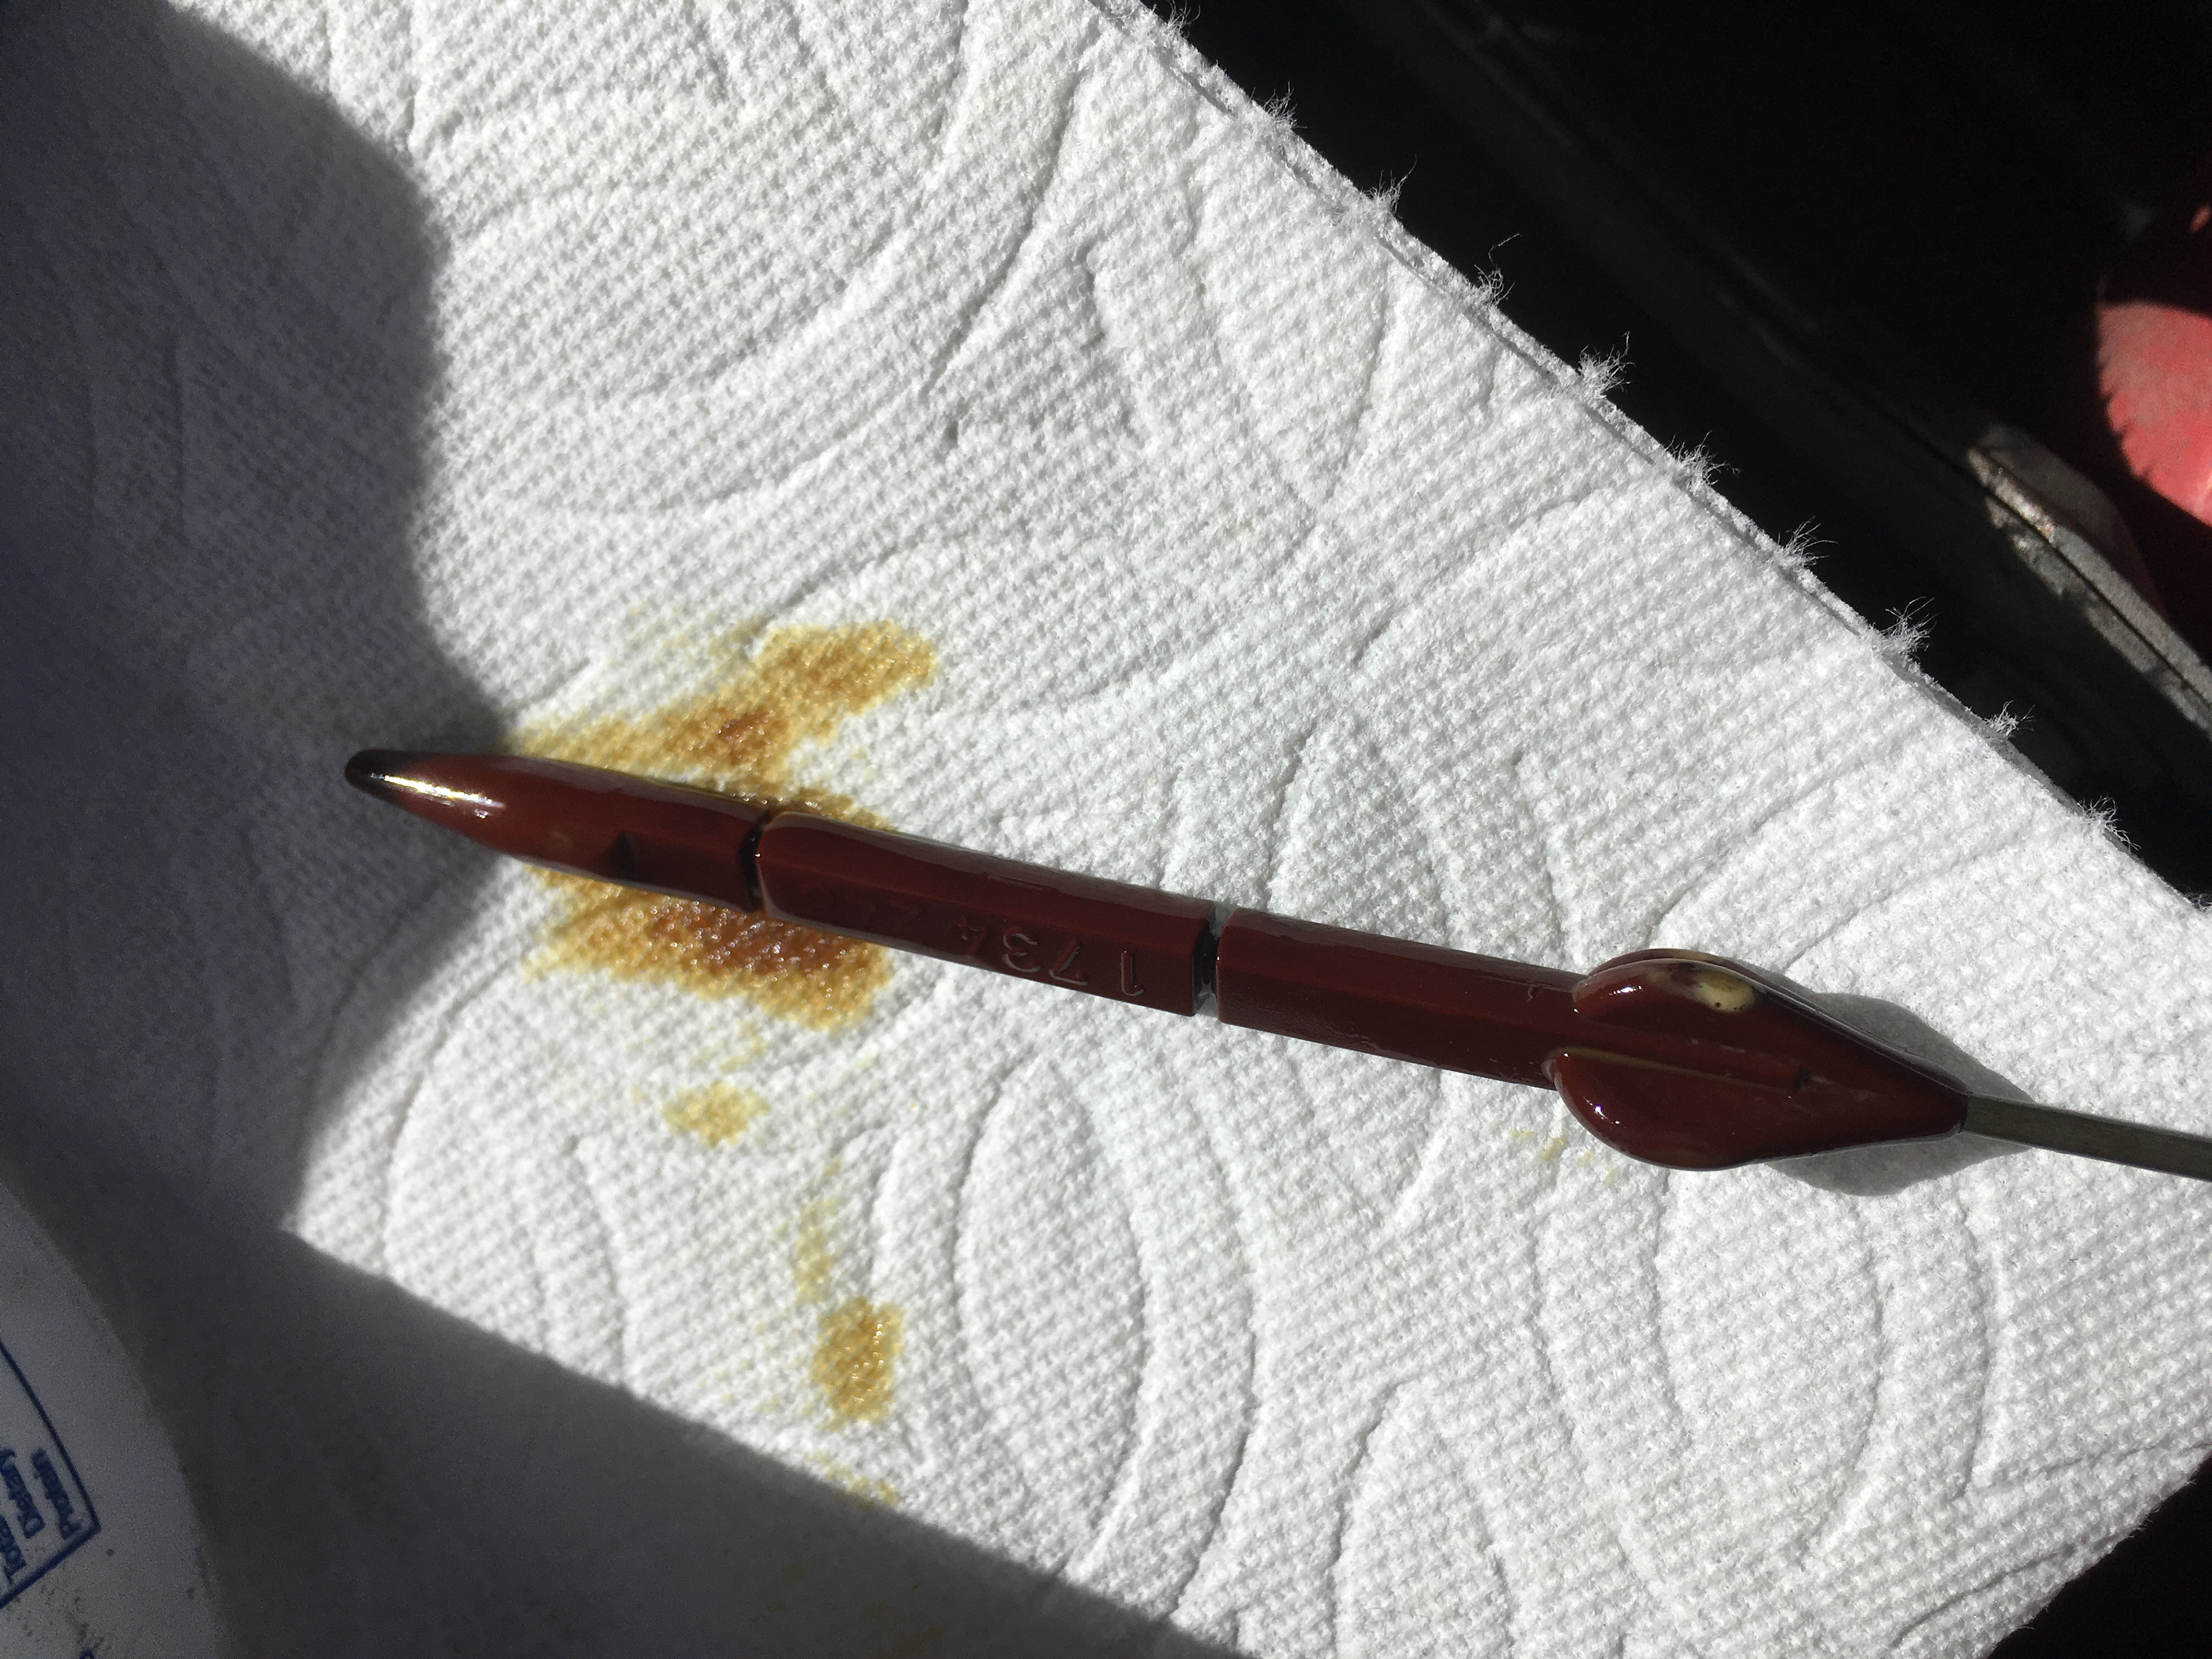
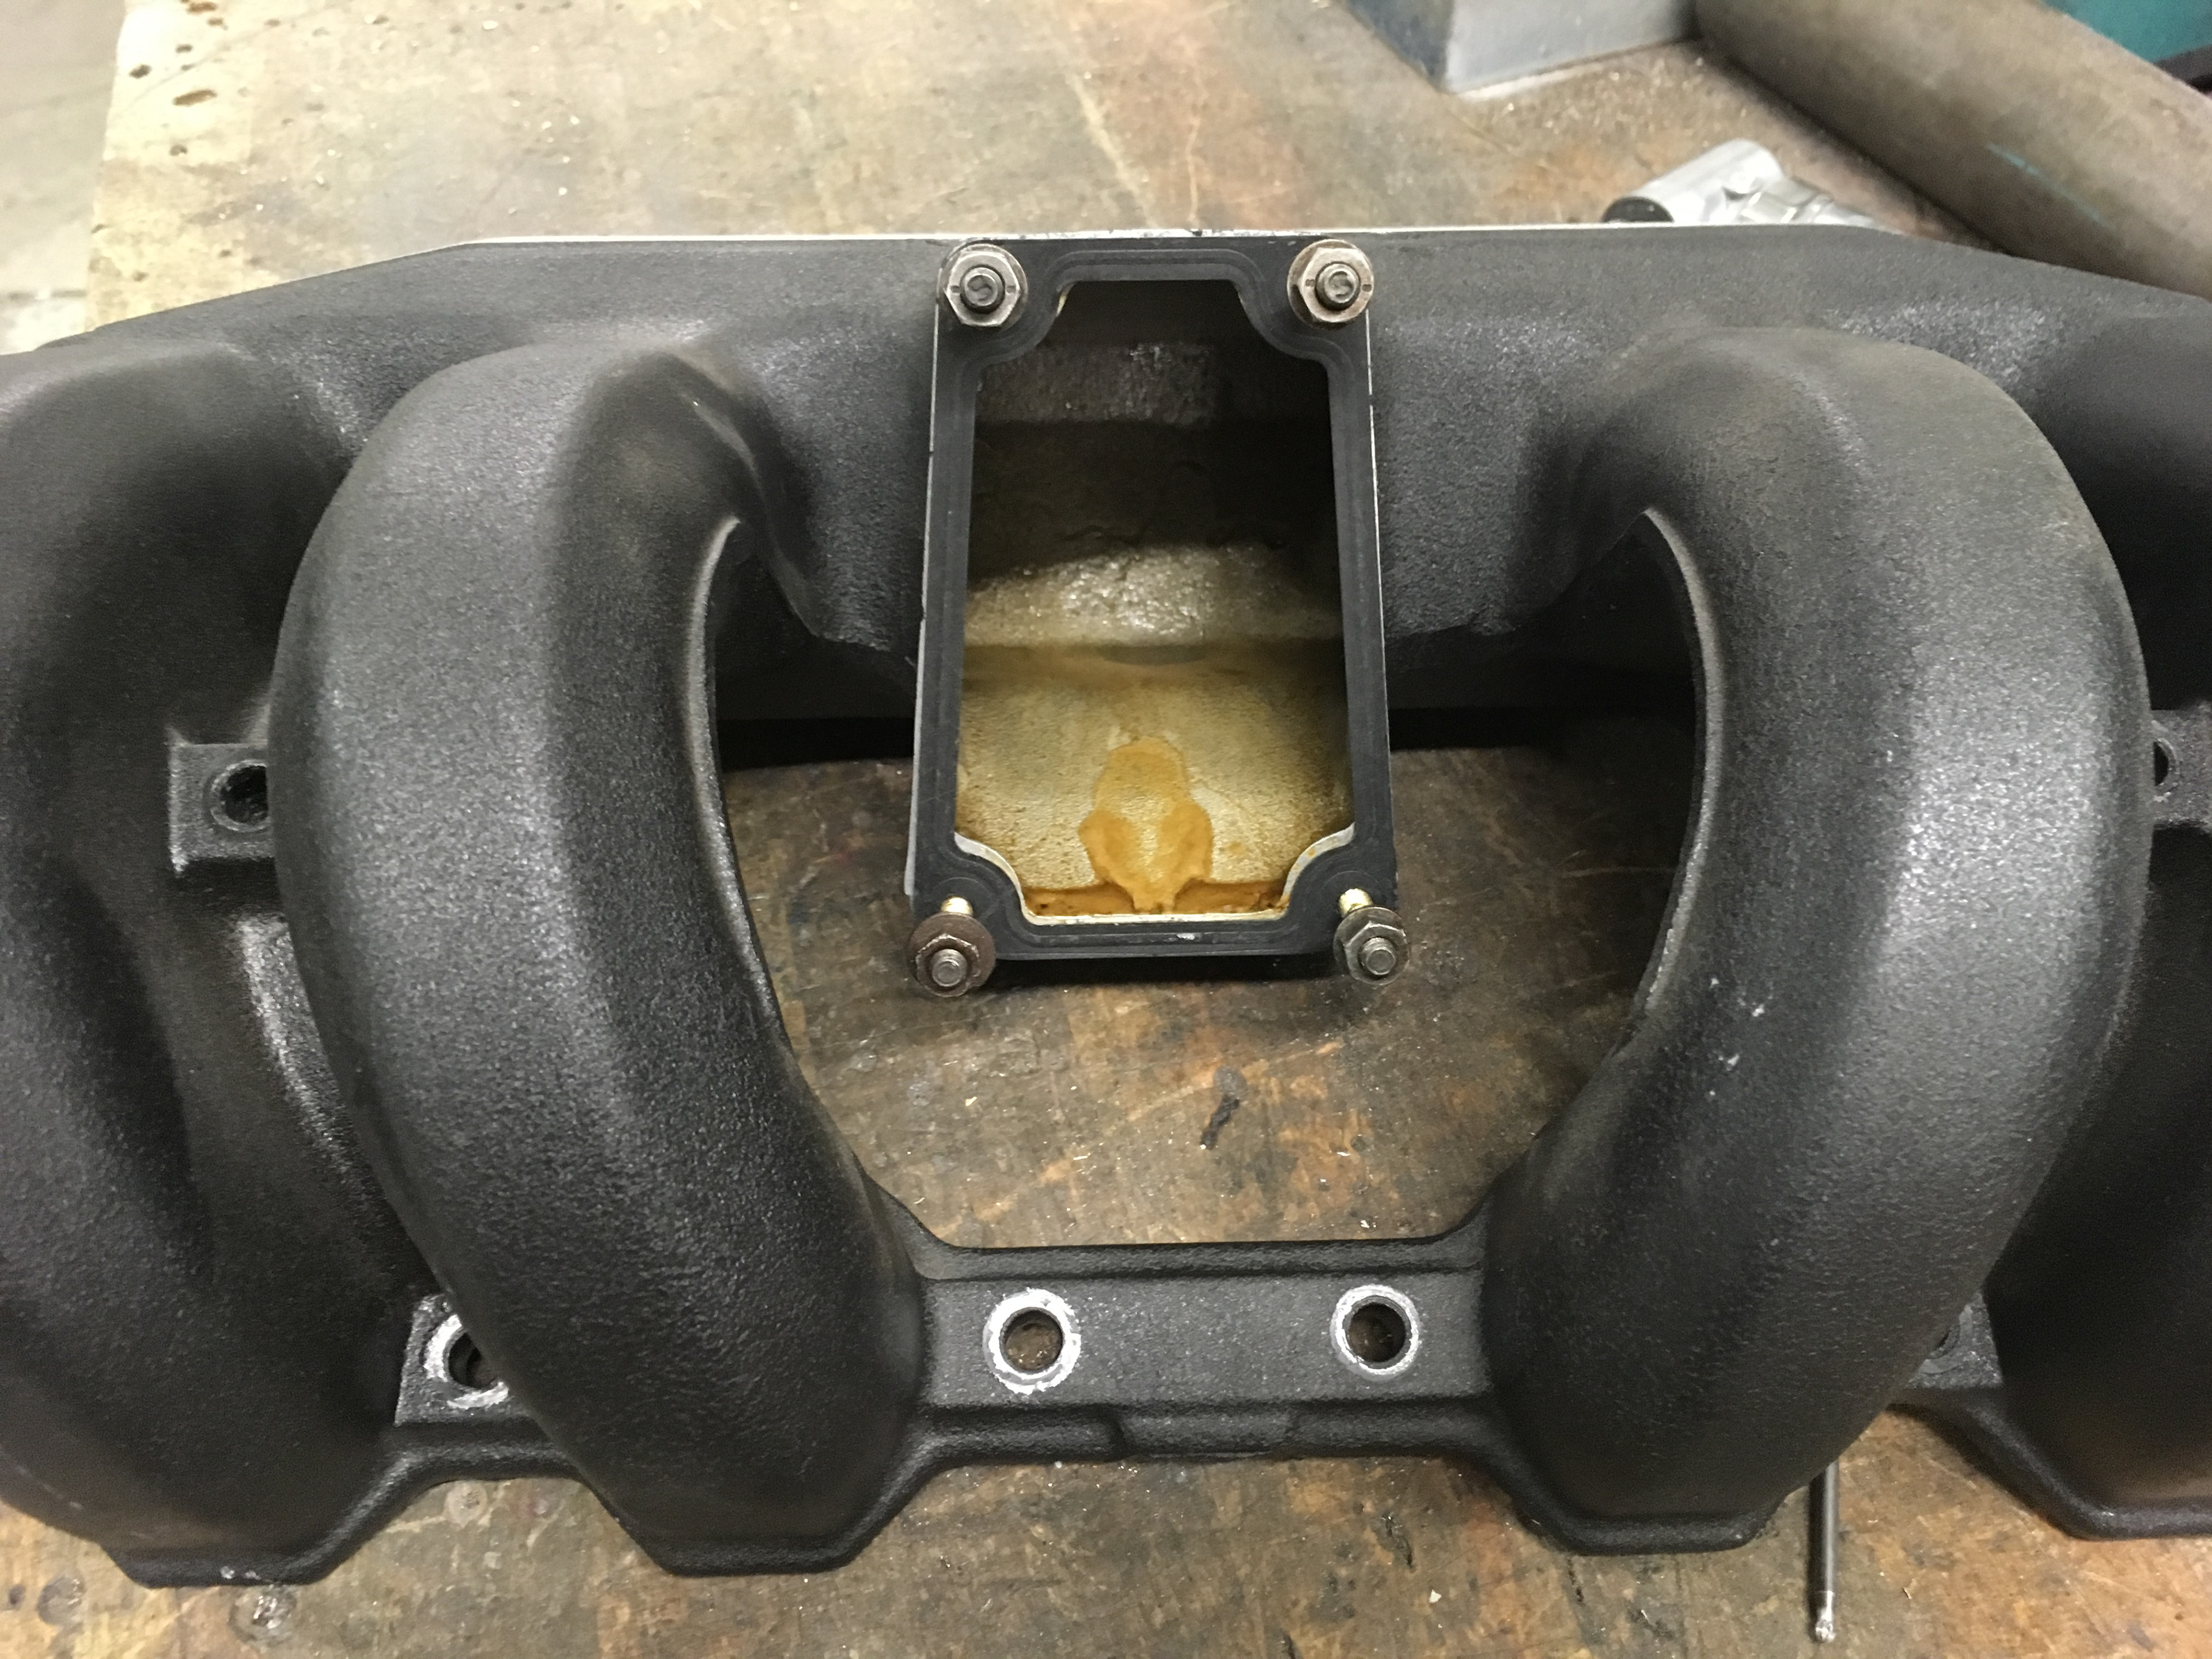
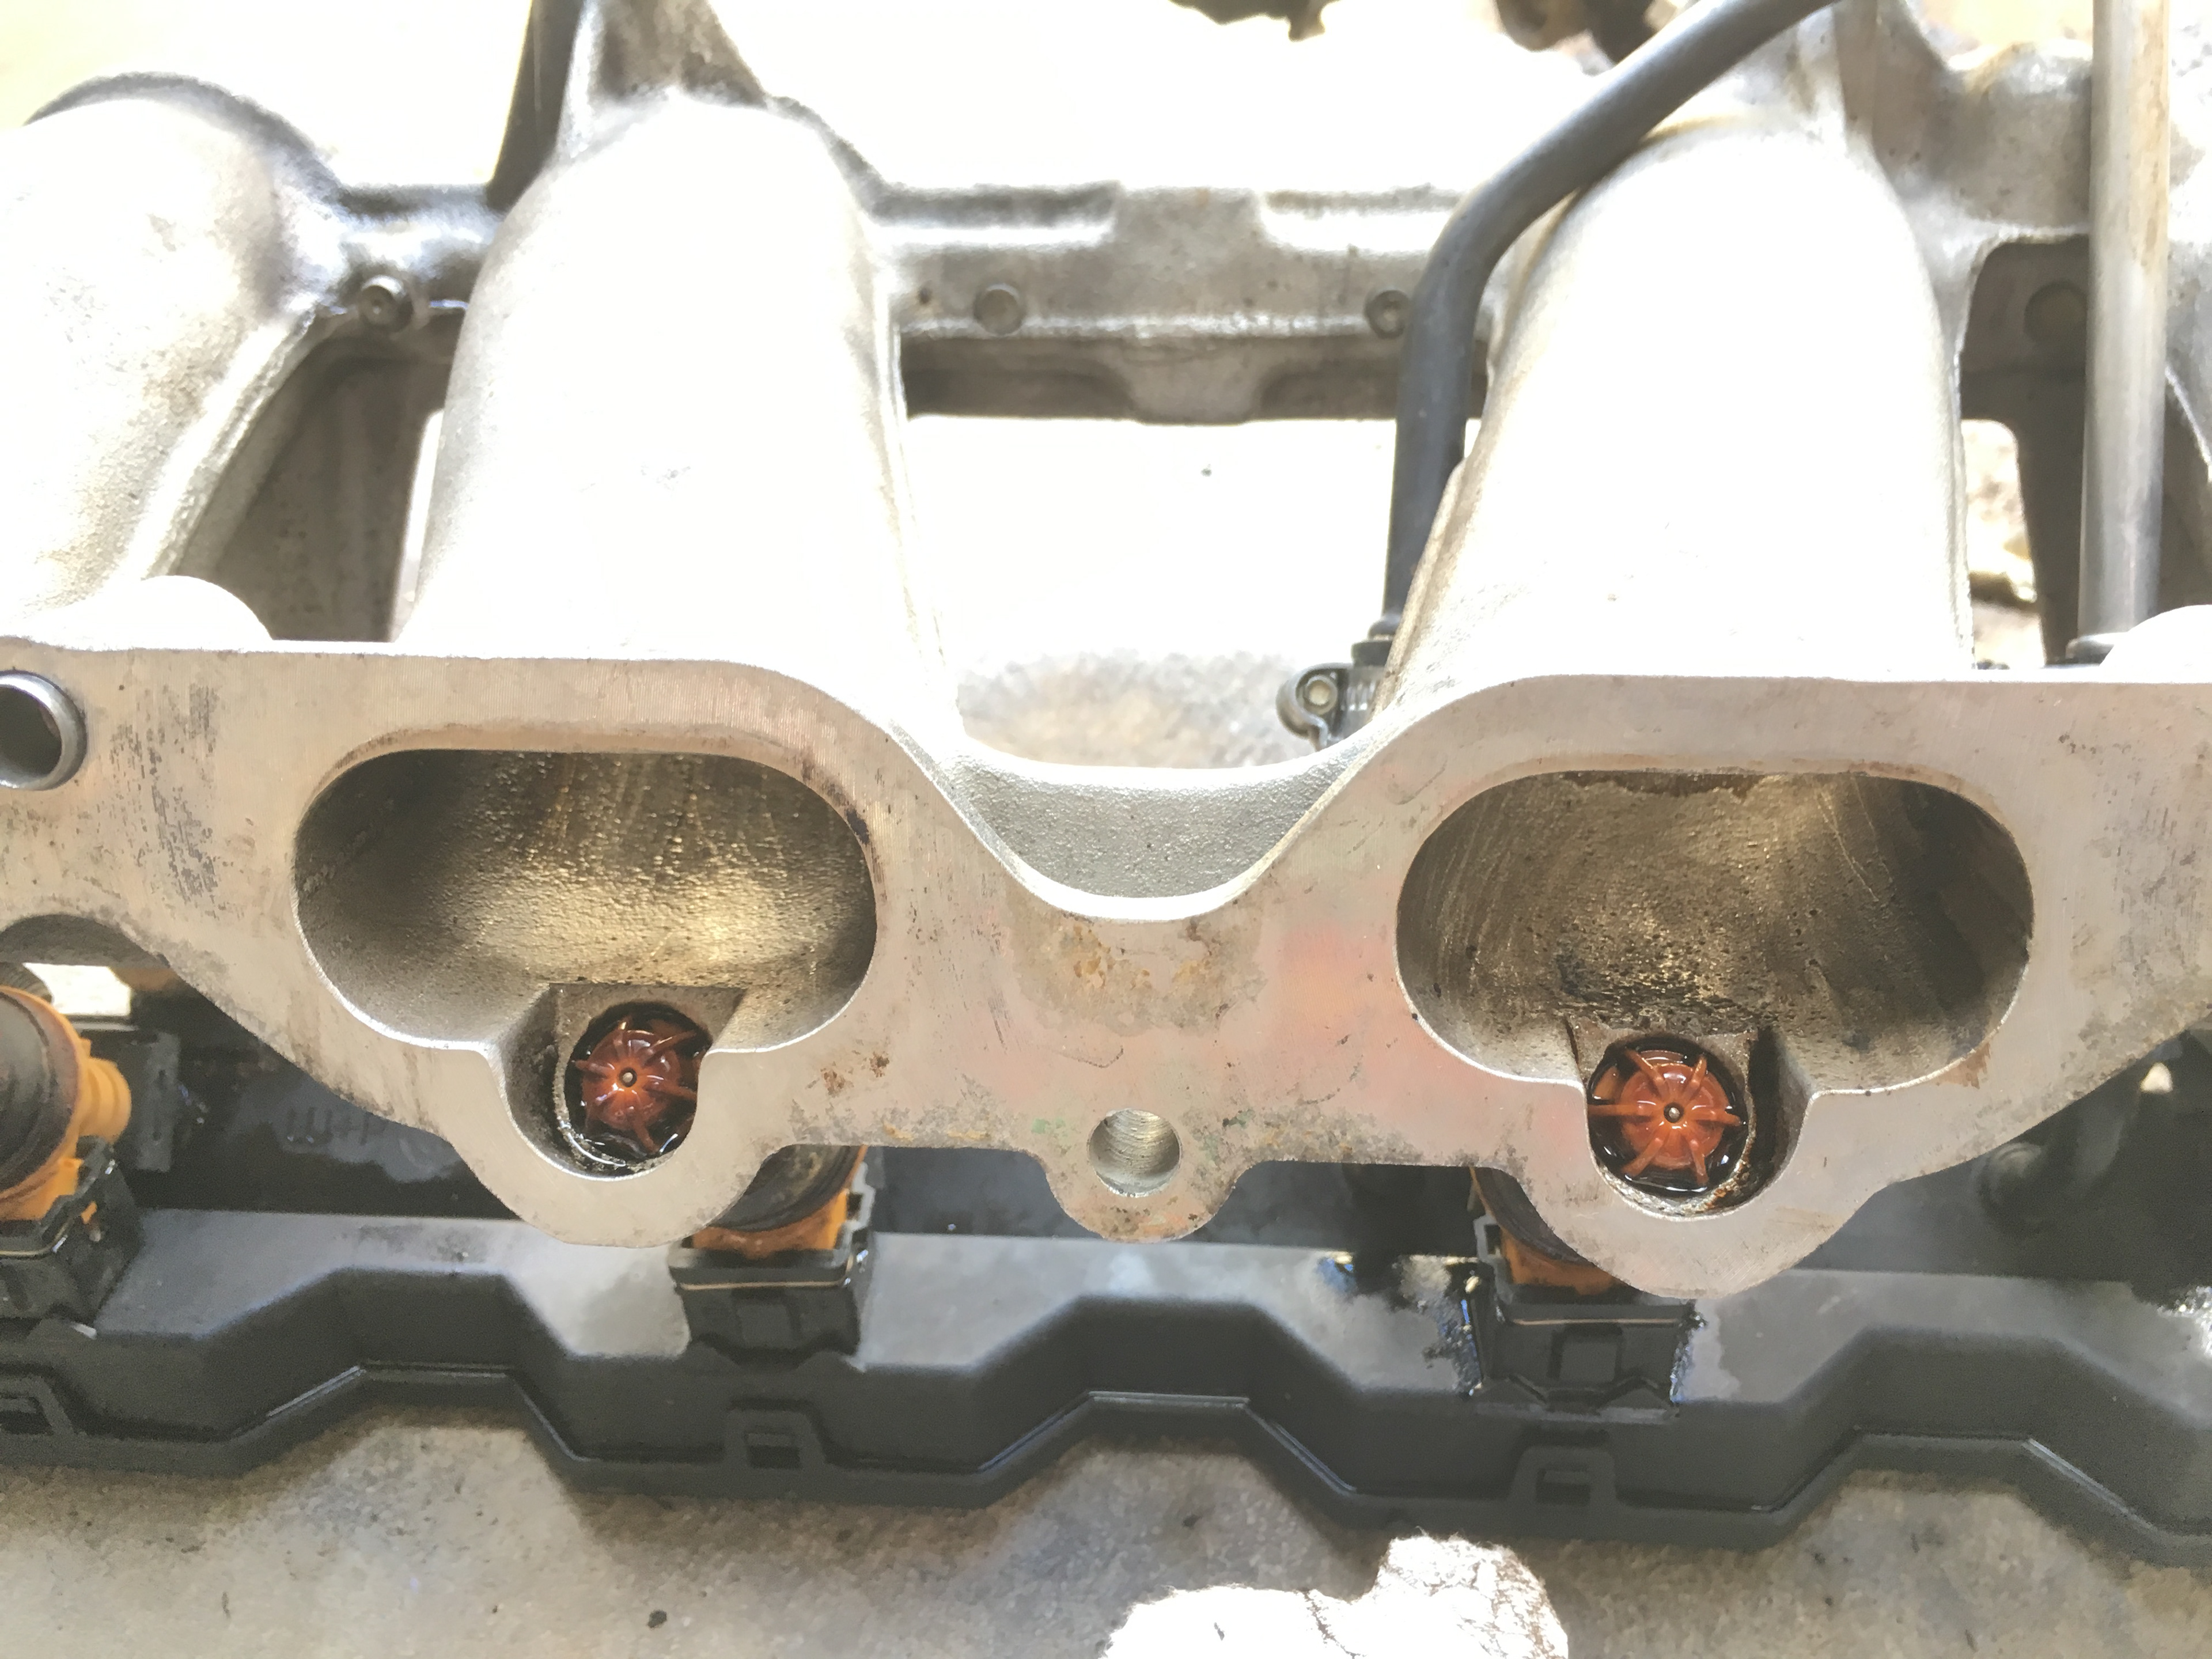
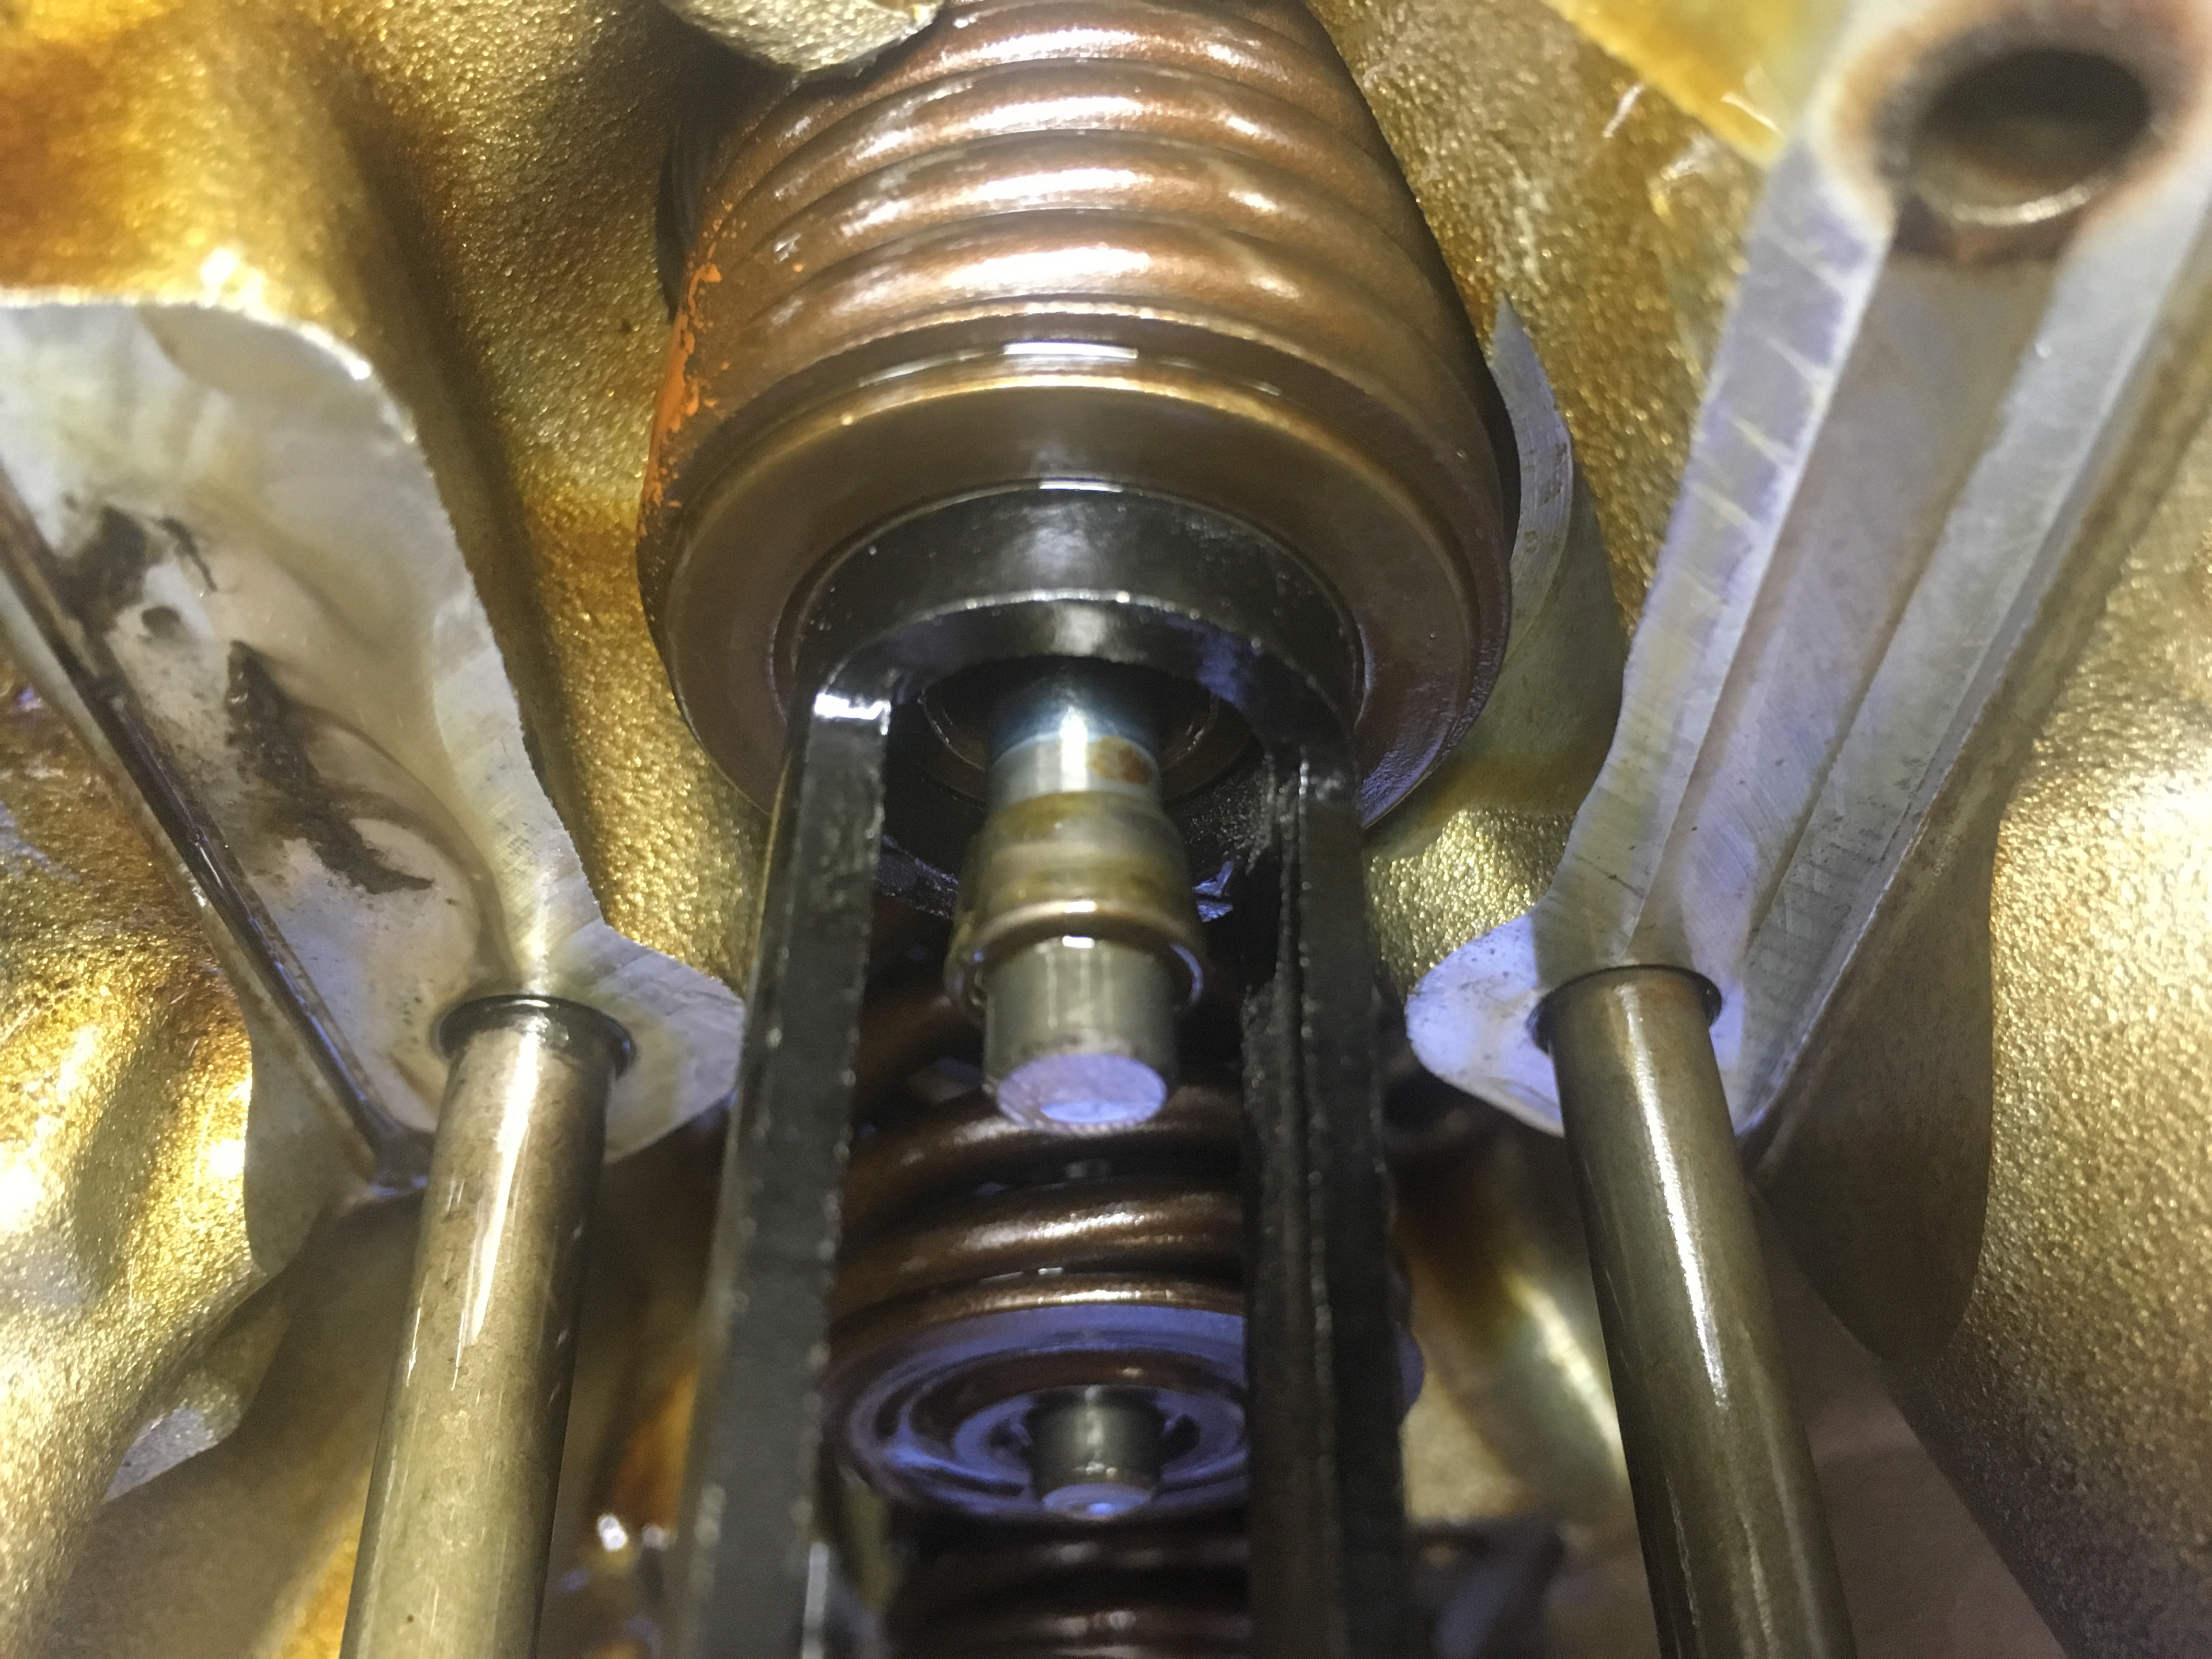
Images showing evidence of water mixing with oil on the dipstick and in the intake manifold.
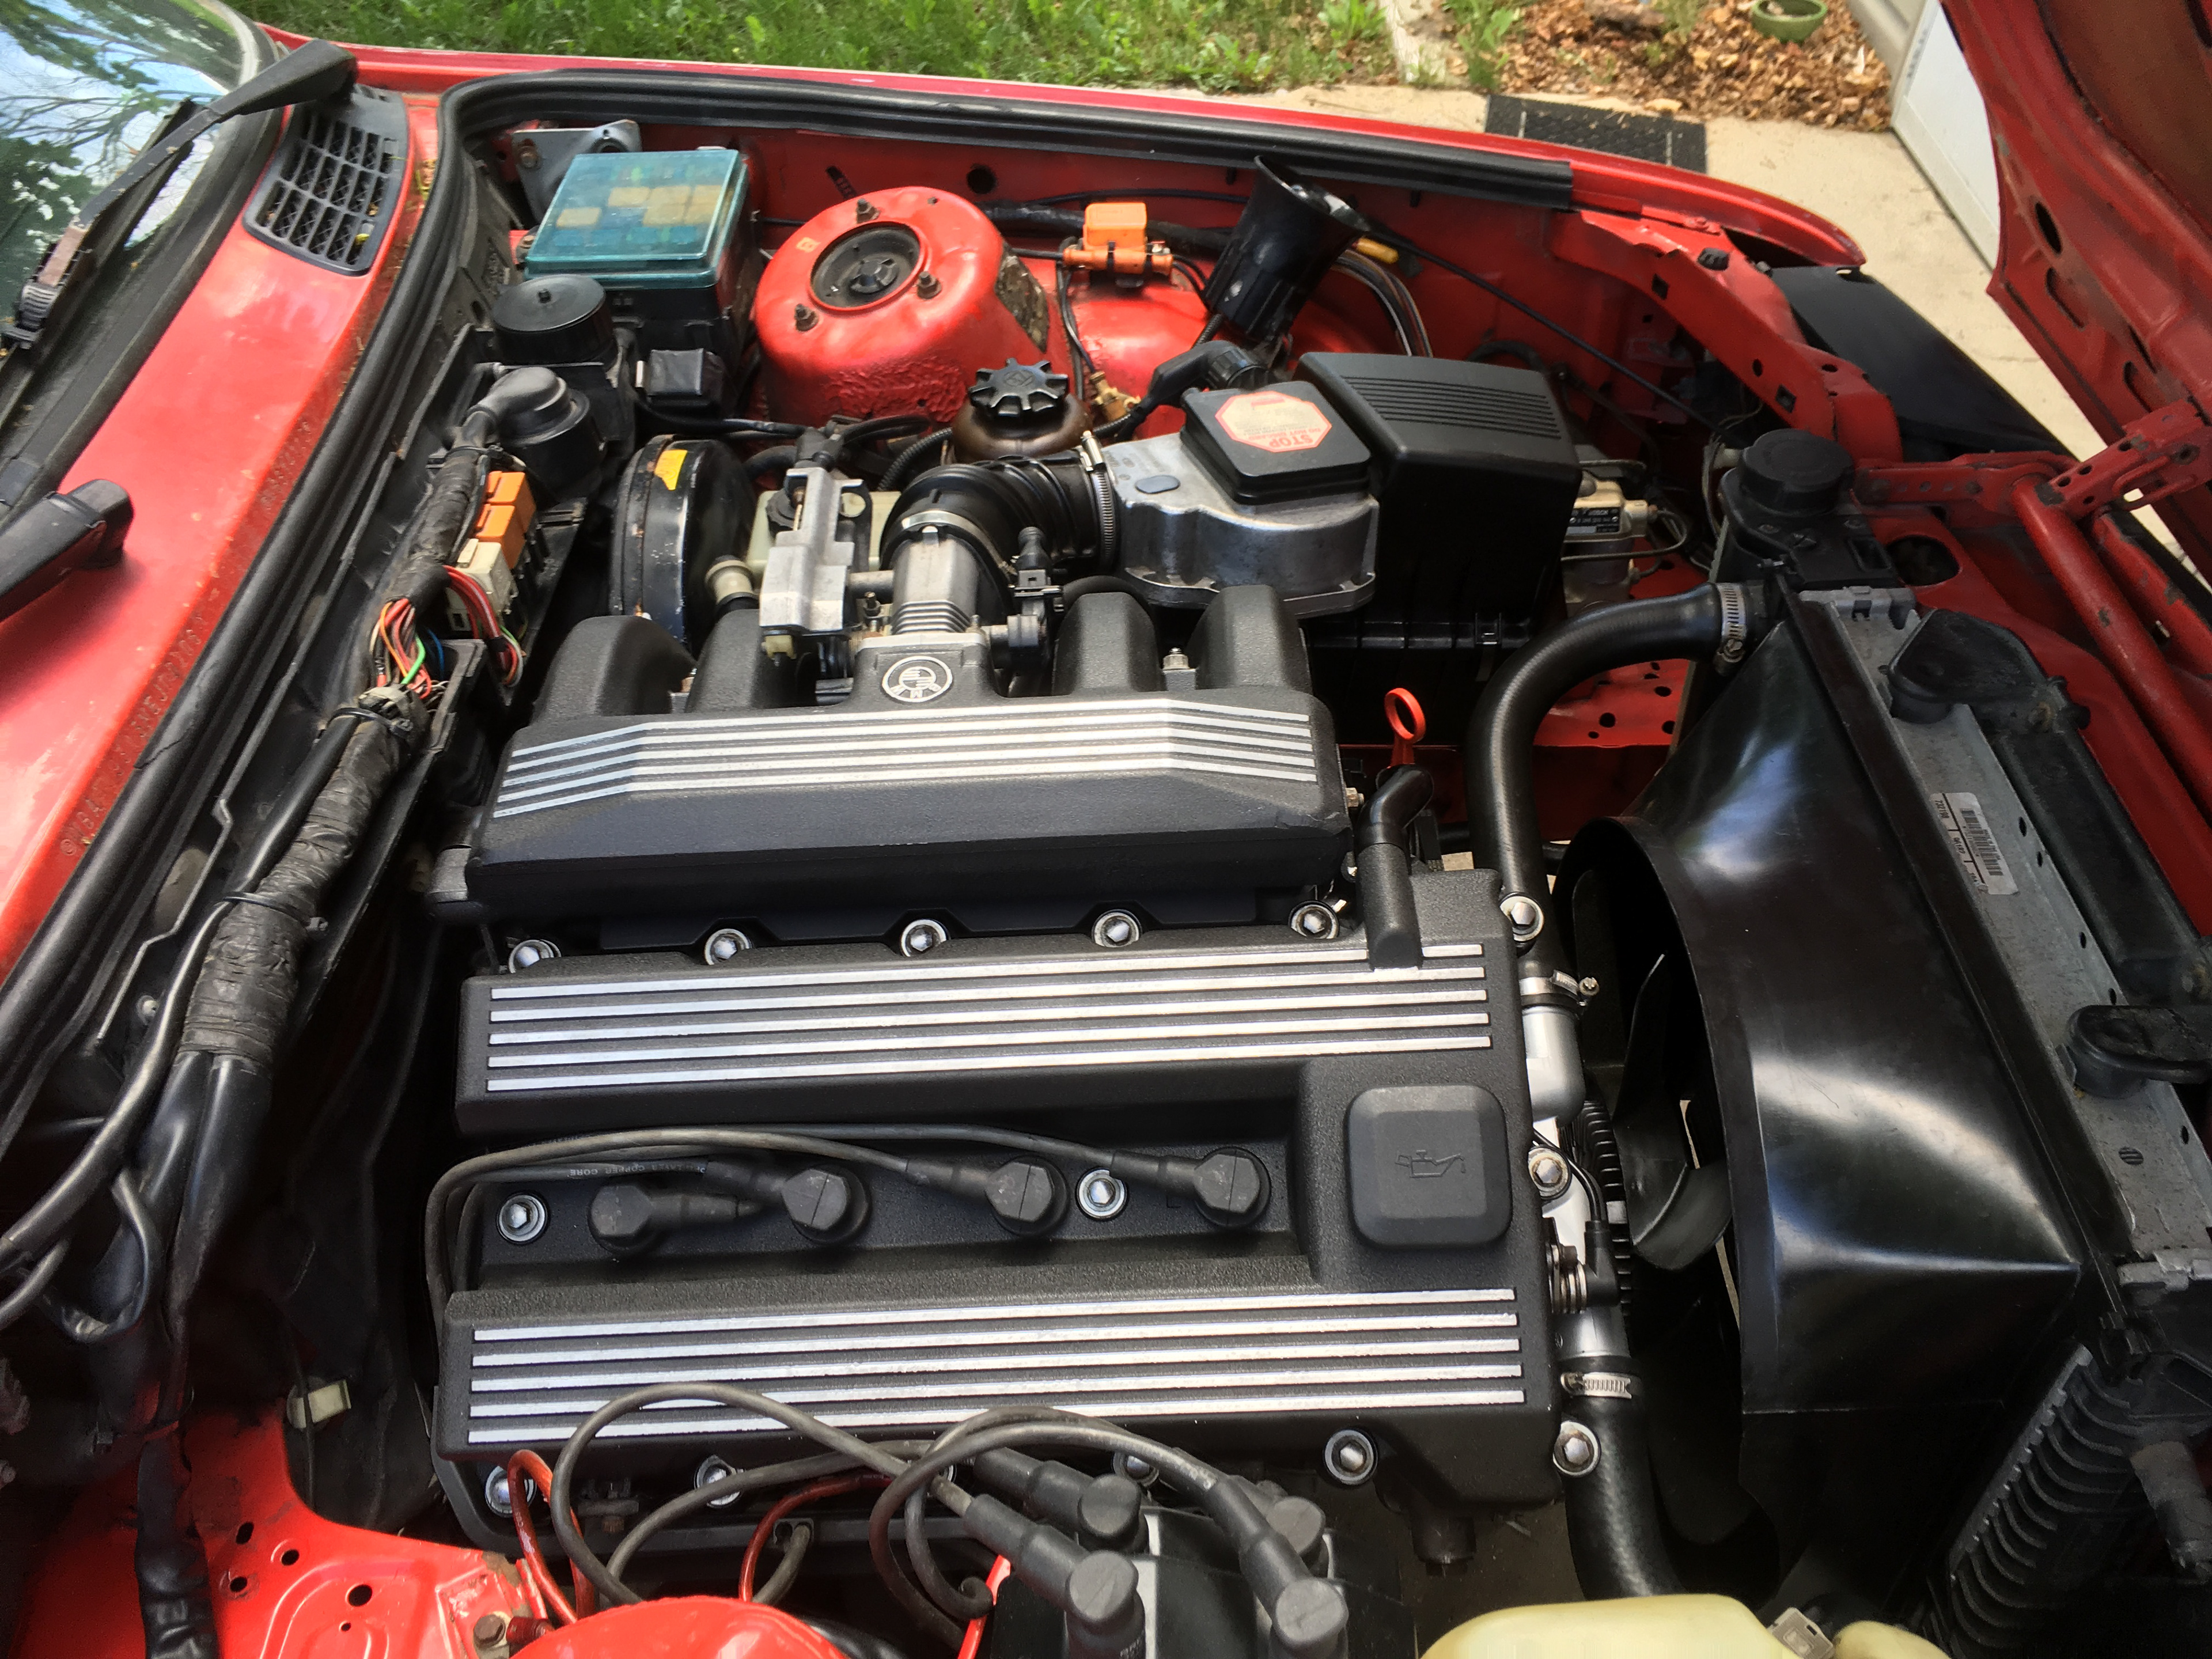
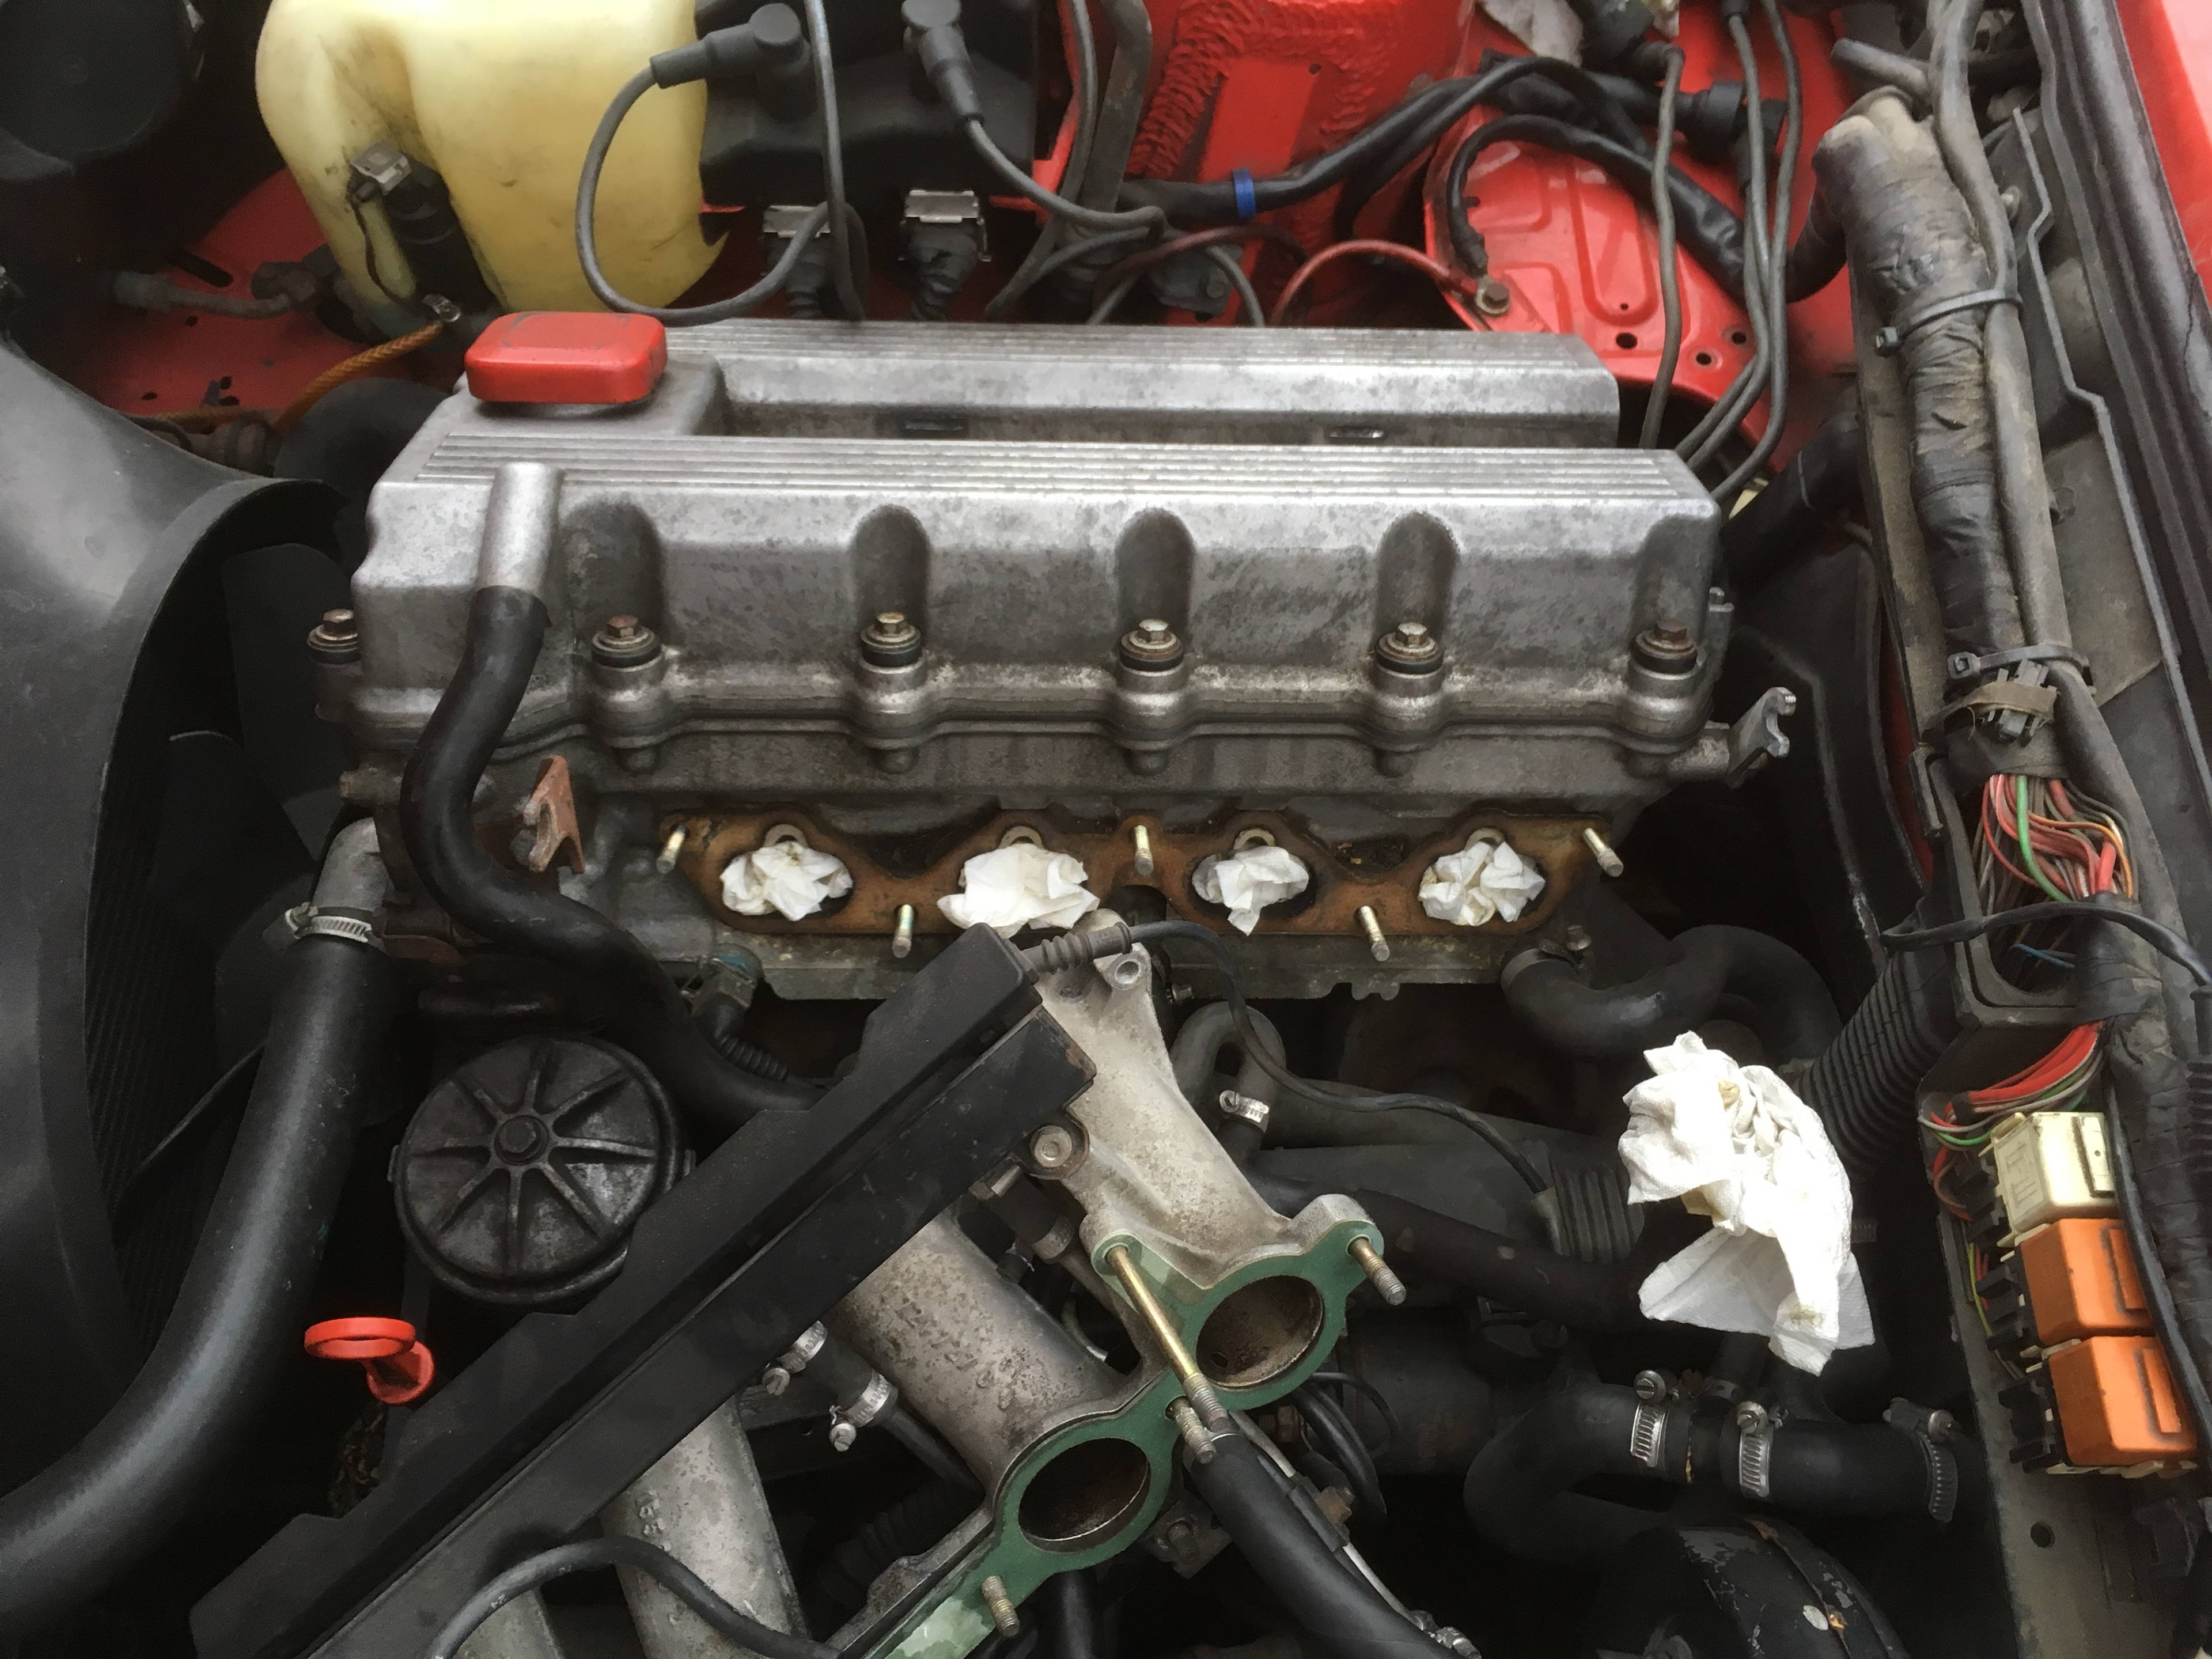
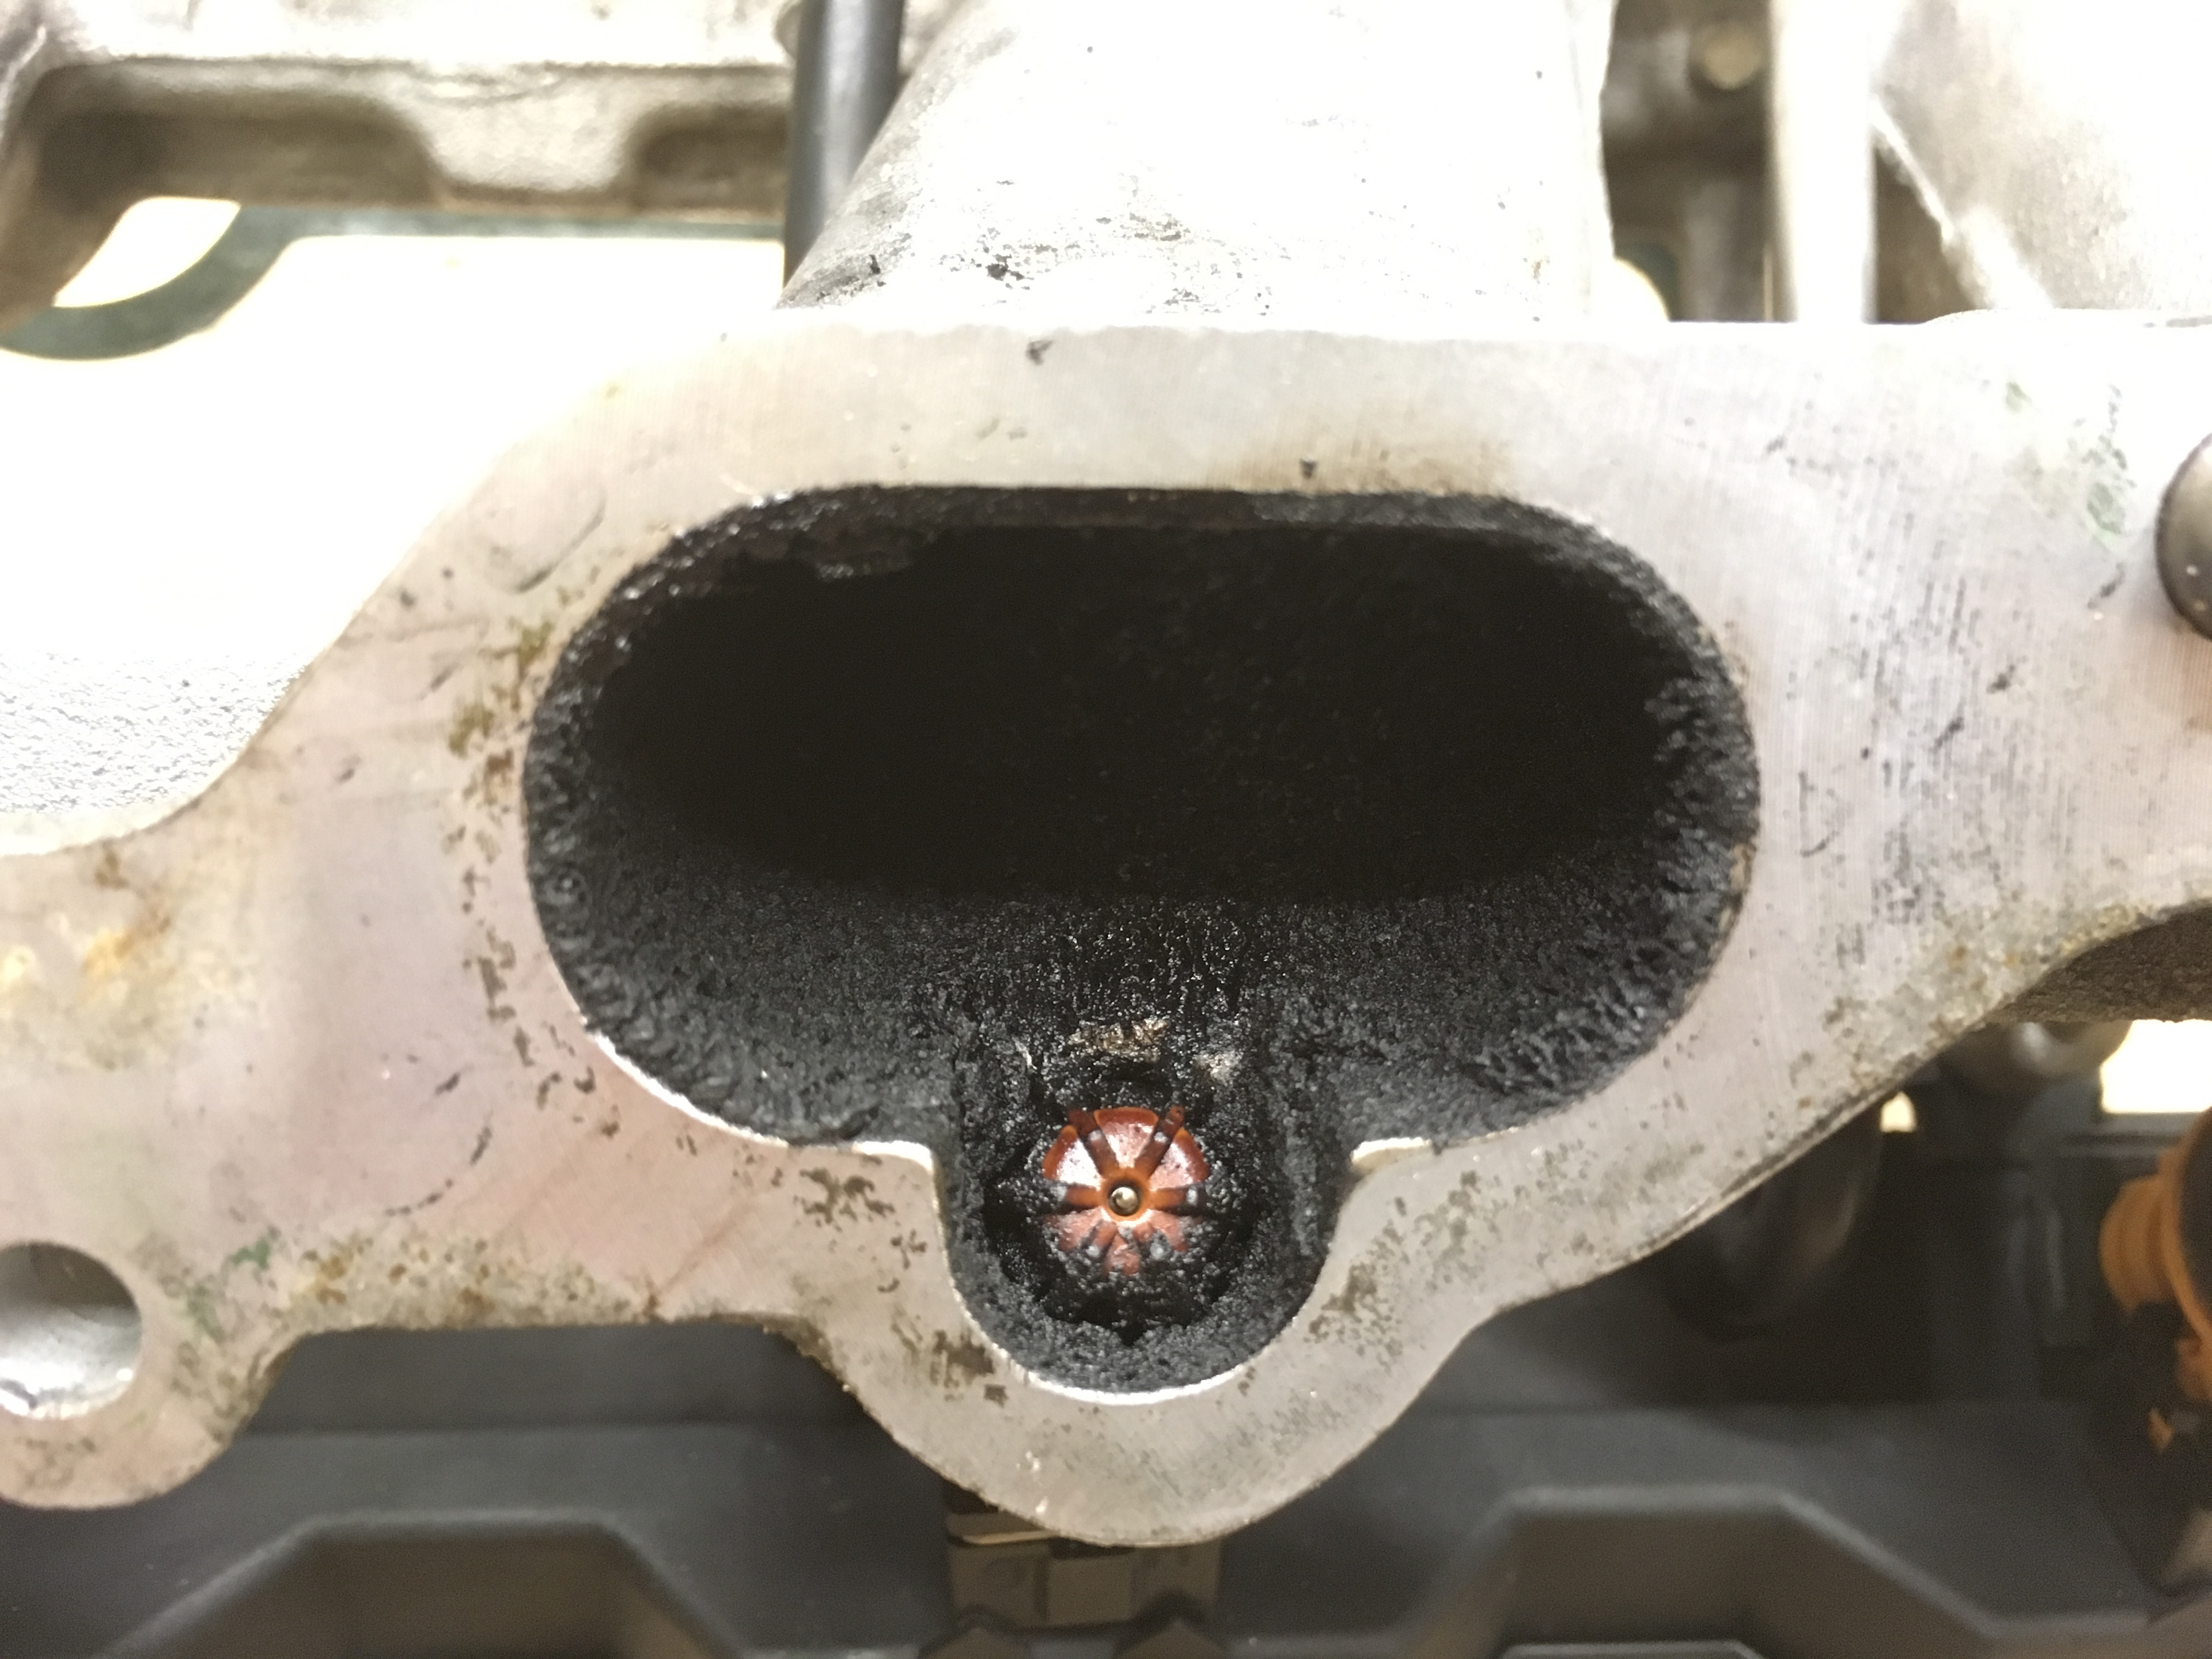
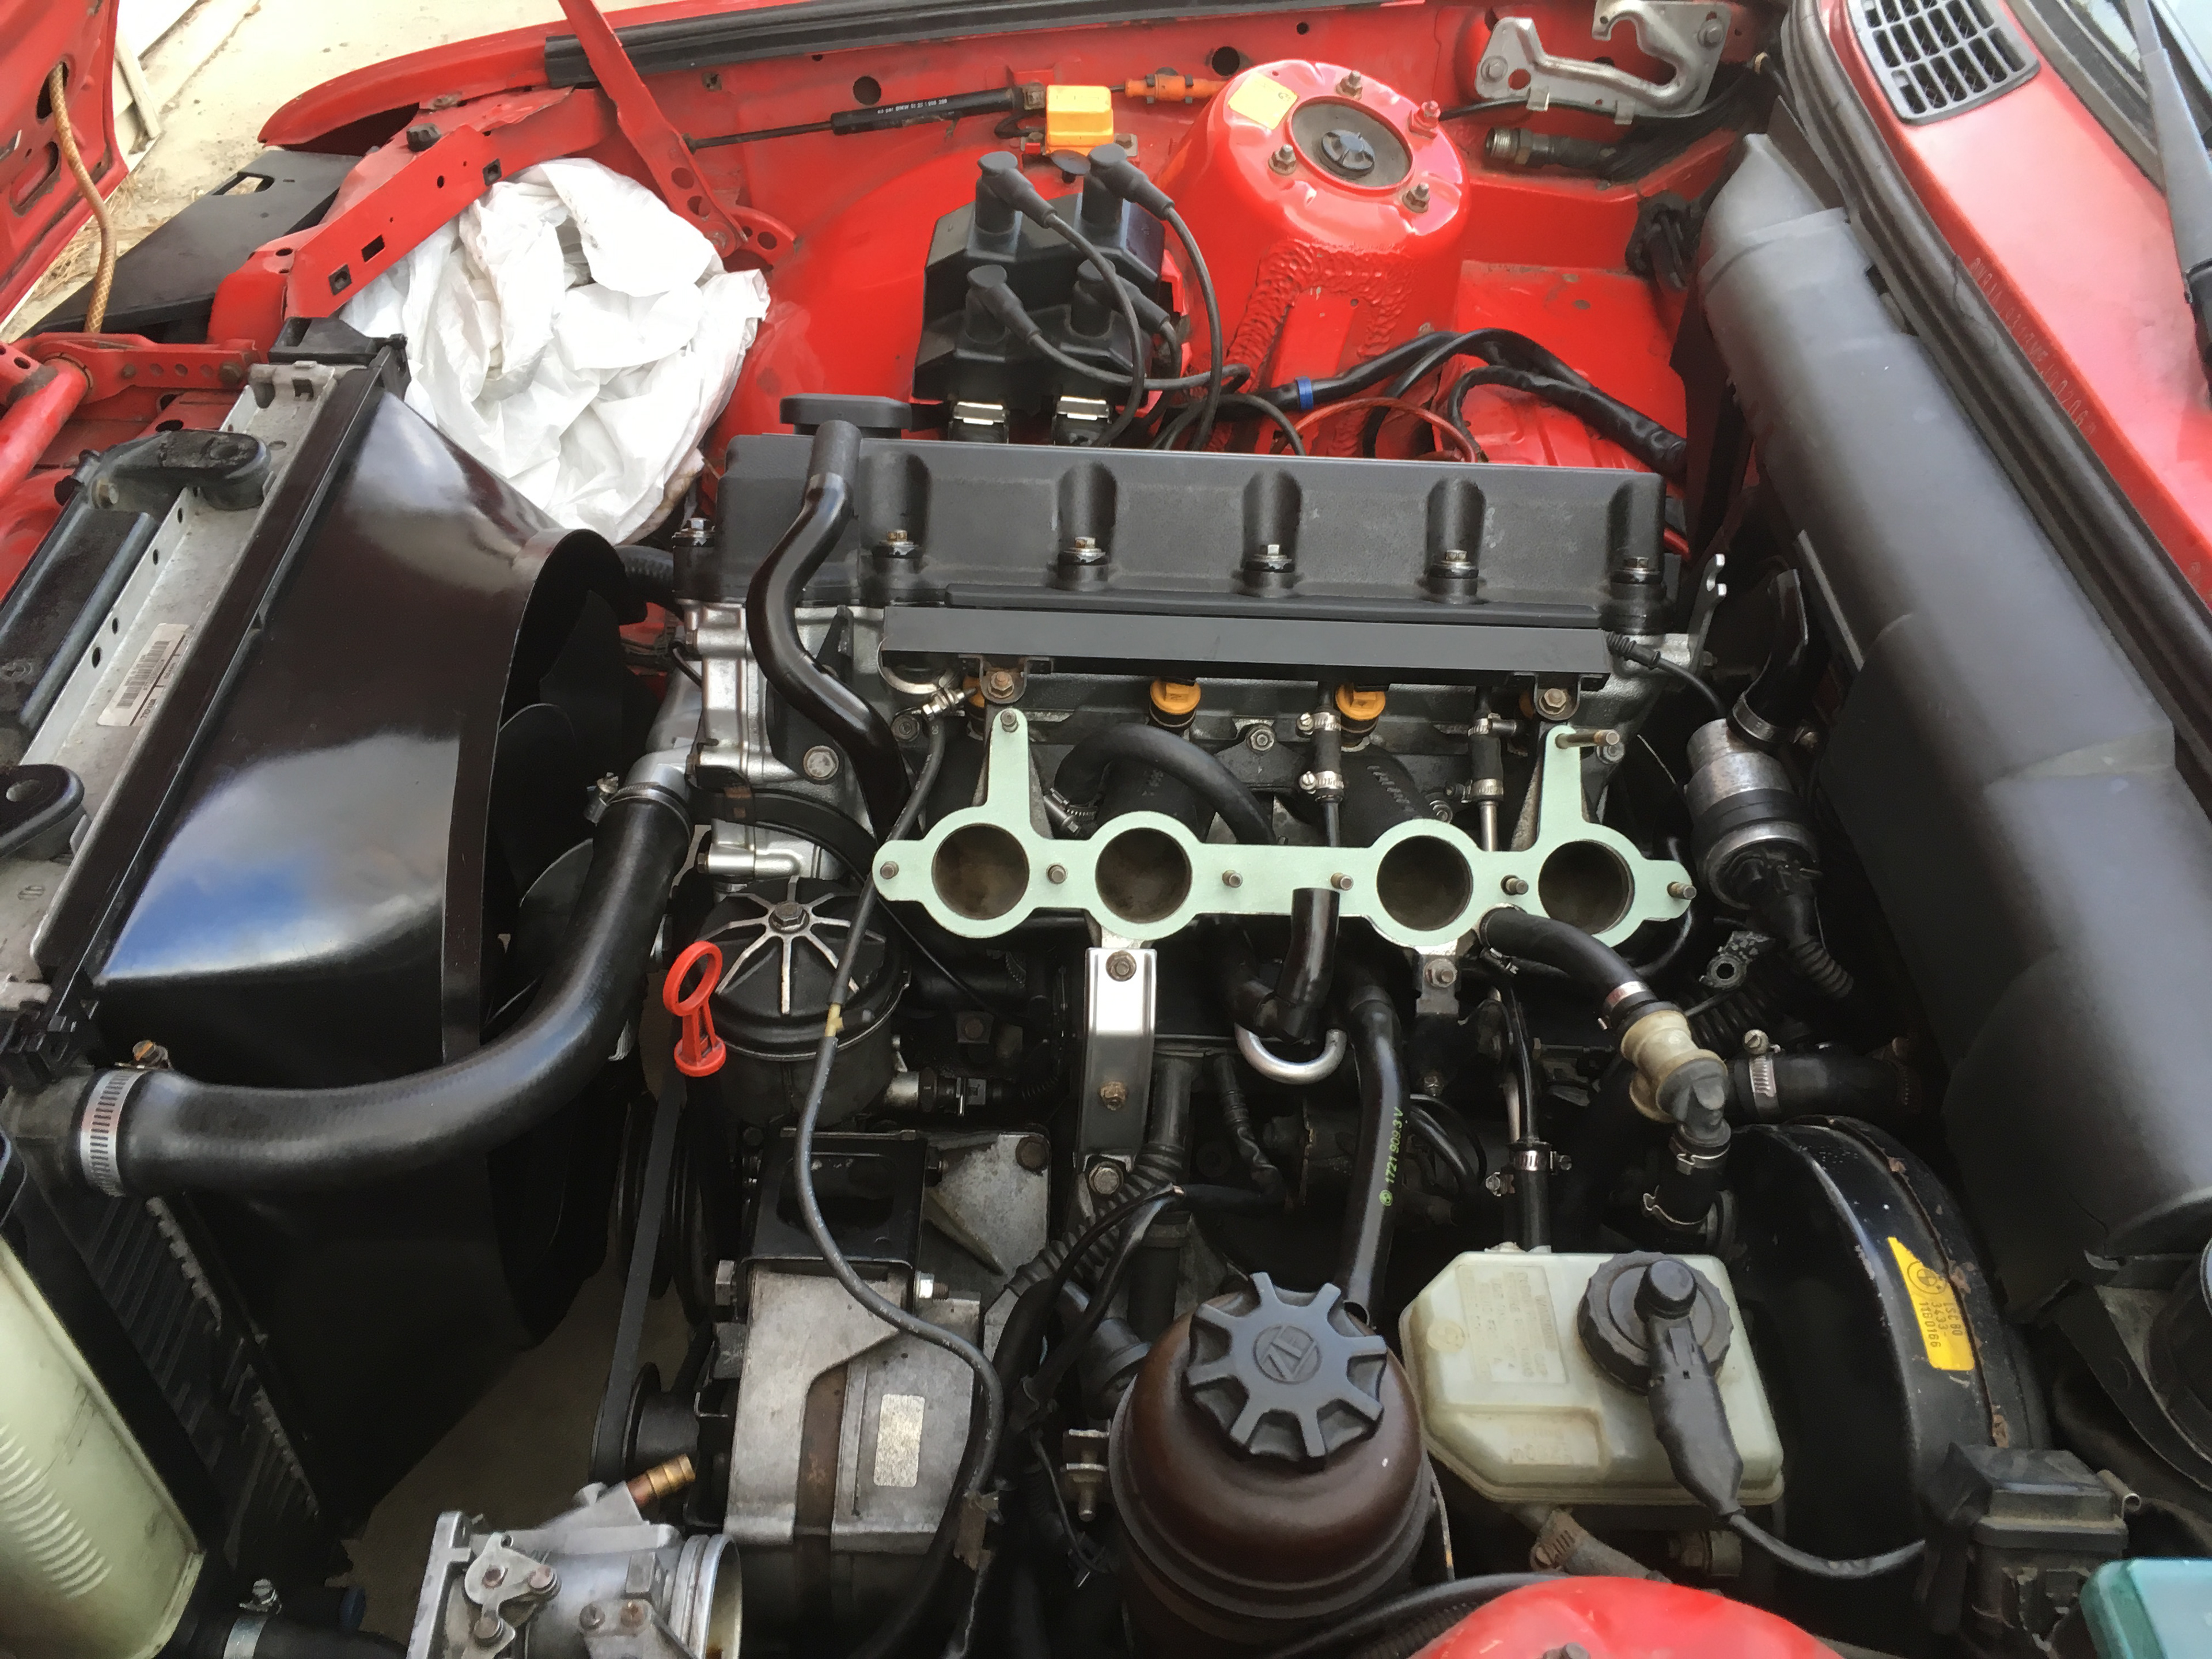
With the diagnostics concluded, parts were ordered and the disassembly began with with the removal of the intake manifold, exhaust manifold, and cooling system. All bolts were bagged and labeled according to where they belong in order to aid reassembly. As parts from the intake manifold were removed, it became clear that significant soot had built up over time (this is caused by oil vapors being recirculated from the crankcase into the combustion chamber through positive crankcase ventilation). All intake components were cleaned to smooth the air channels and prevent large debris from entering the combustion chamber and causing damage.
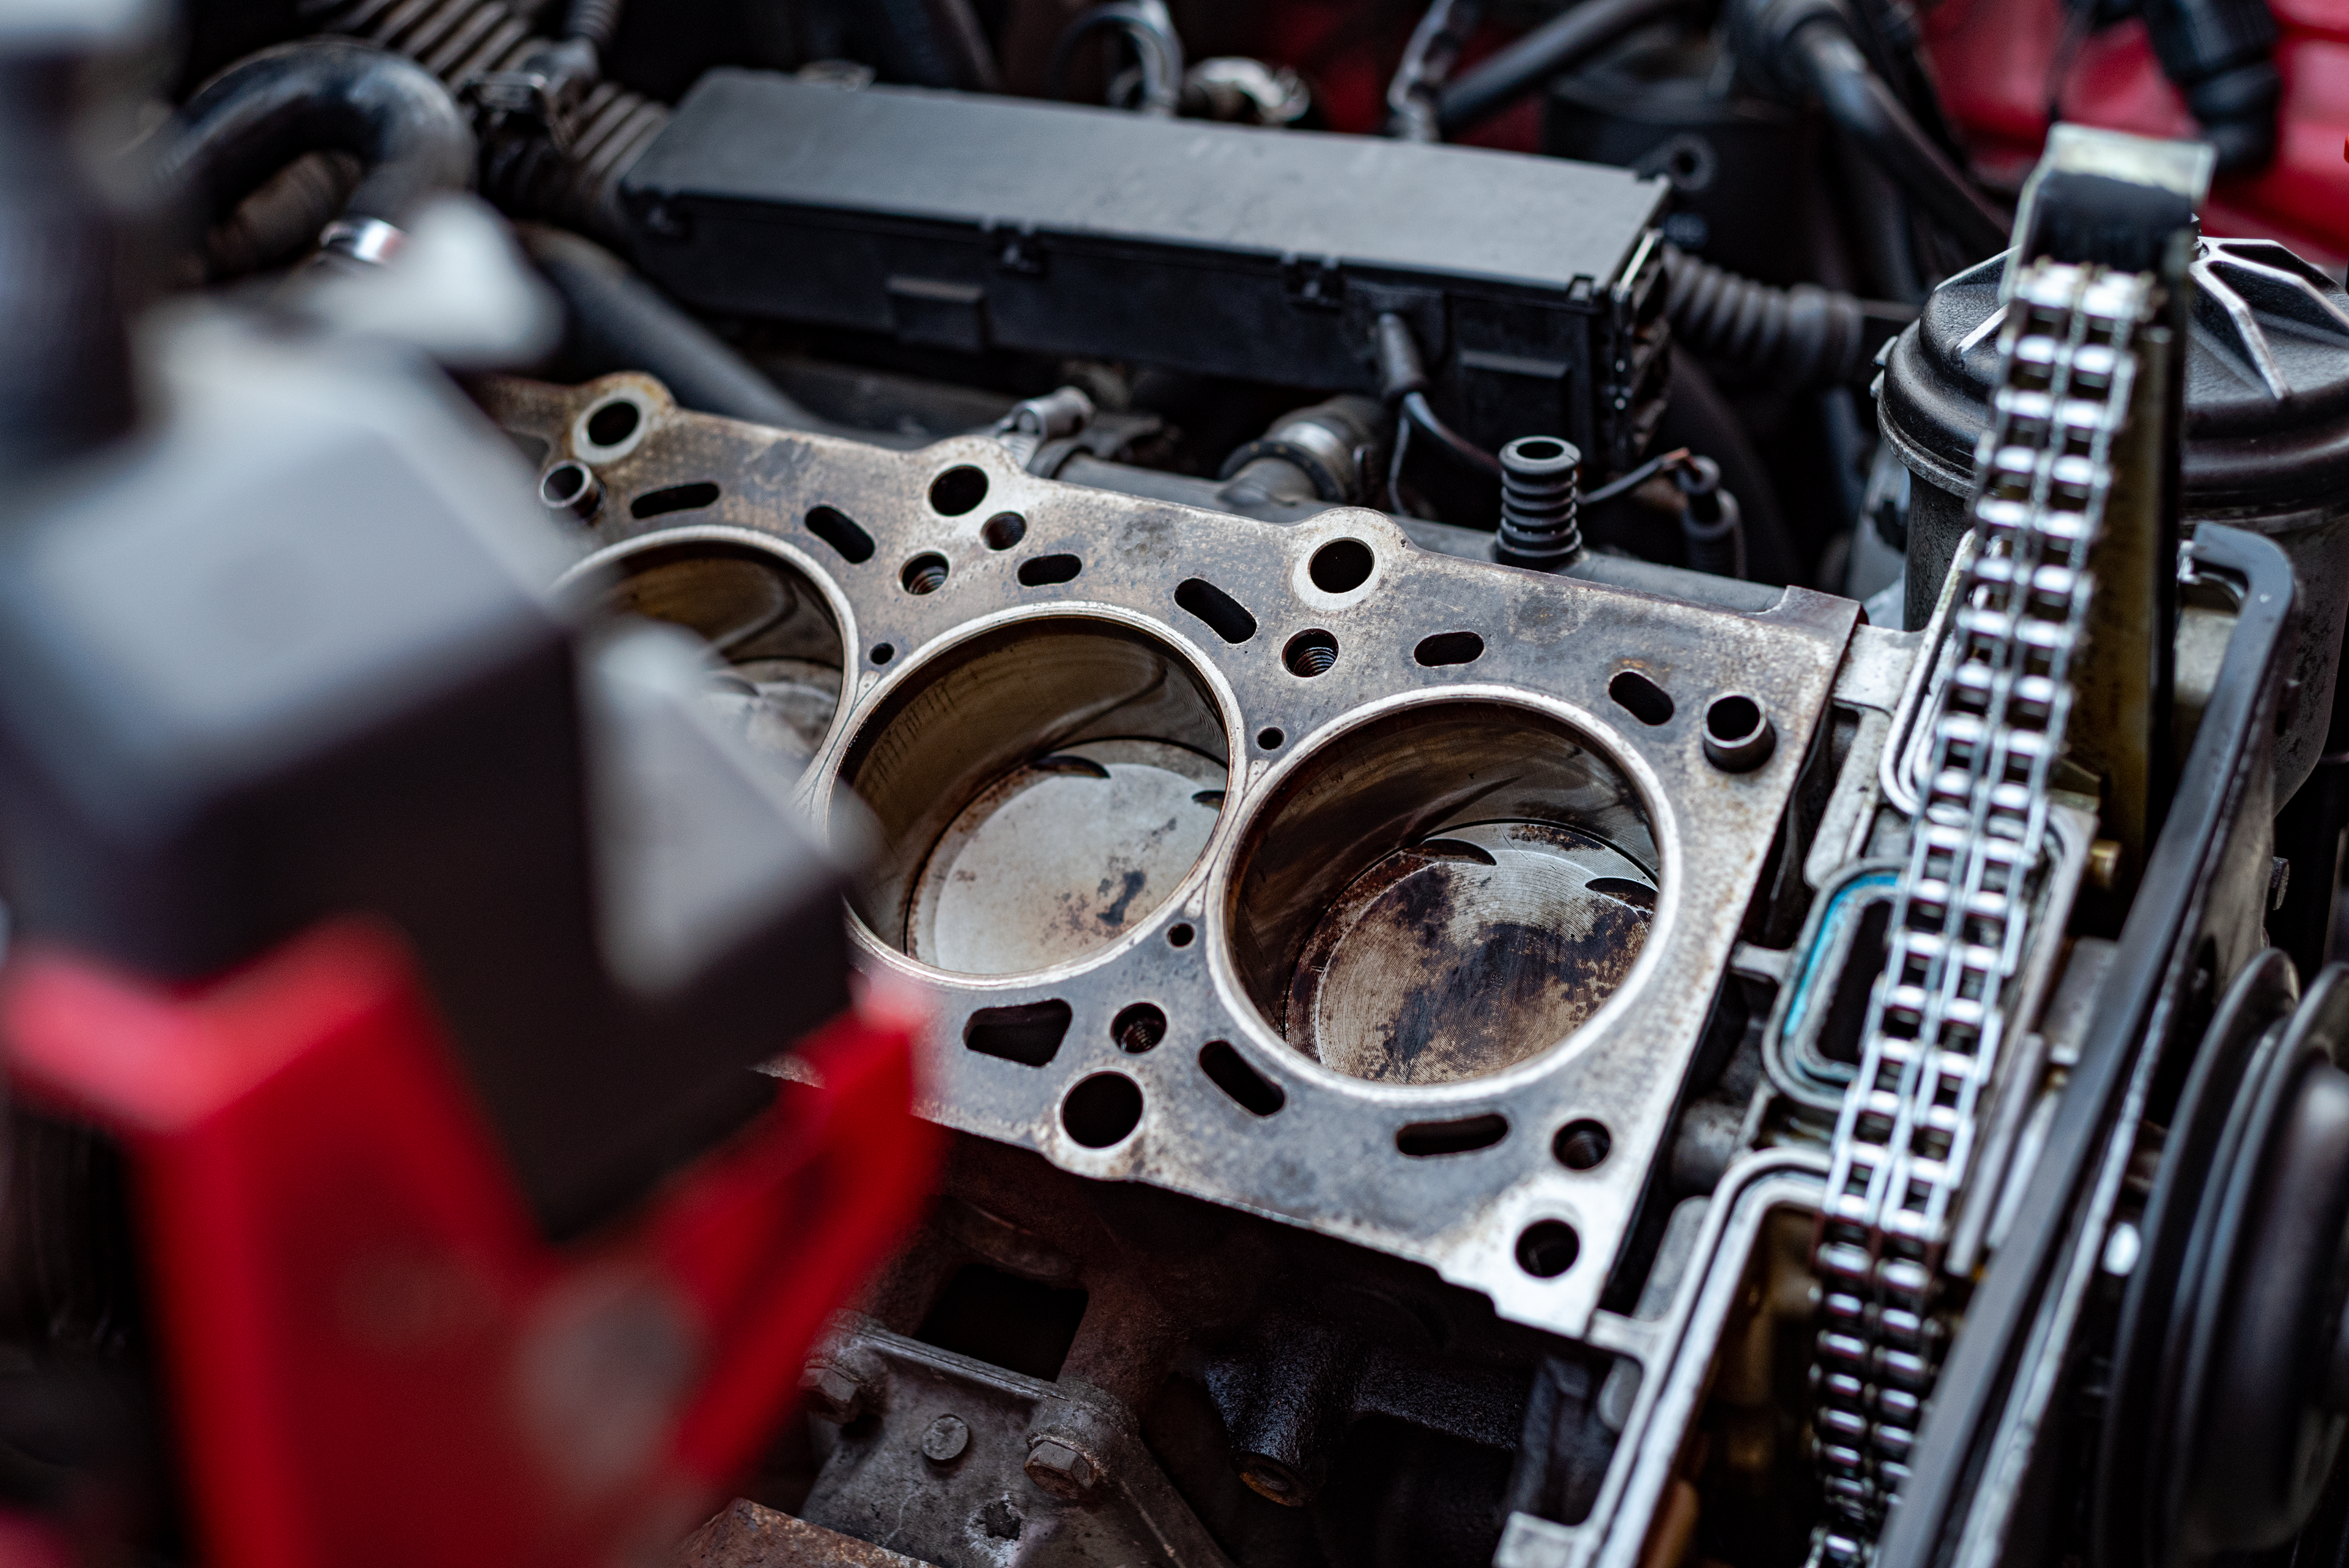
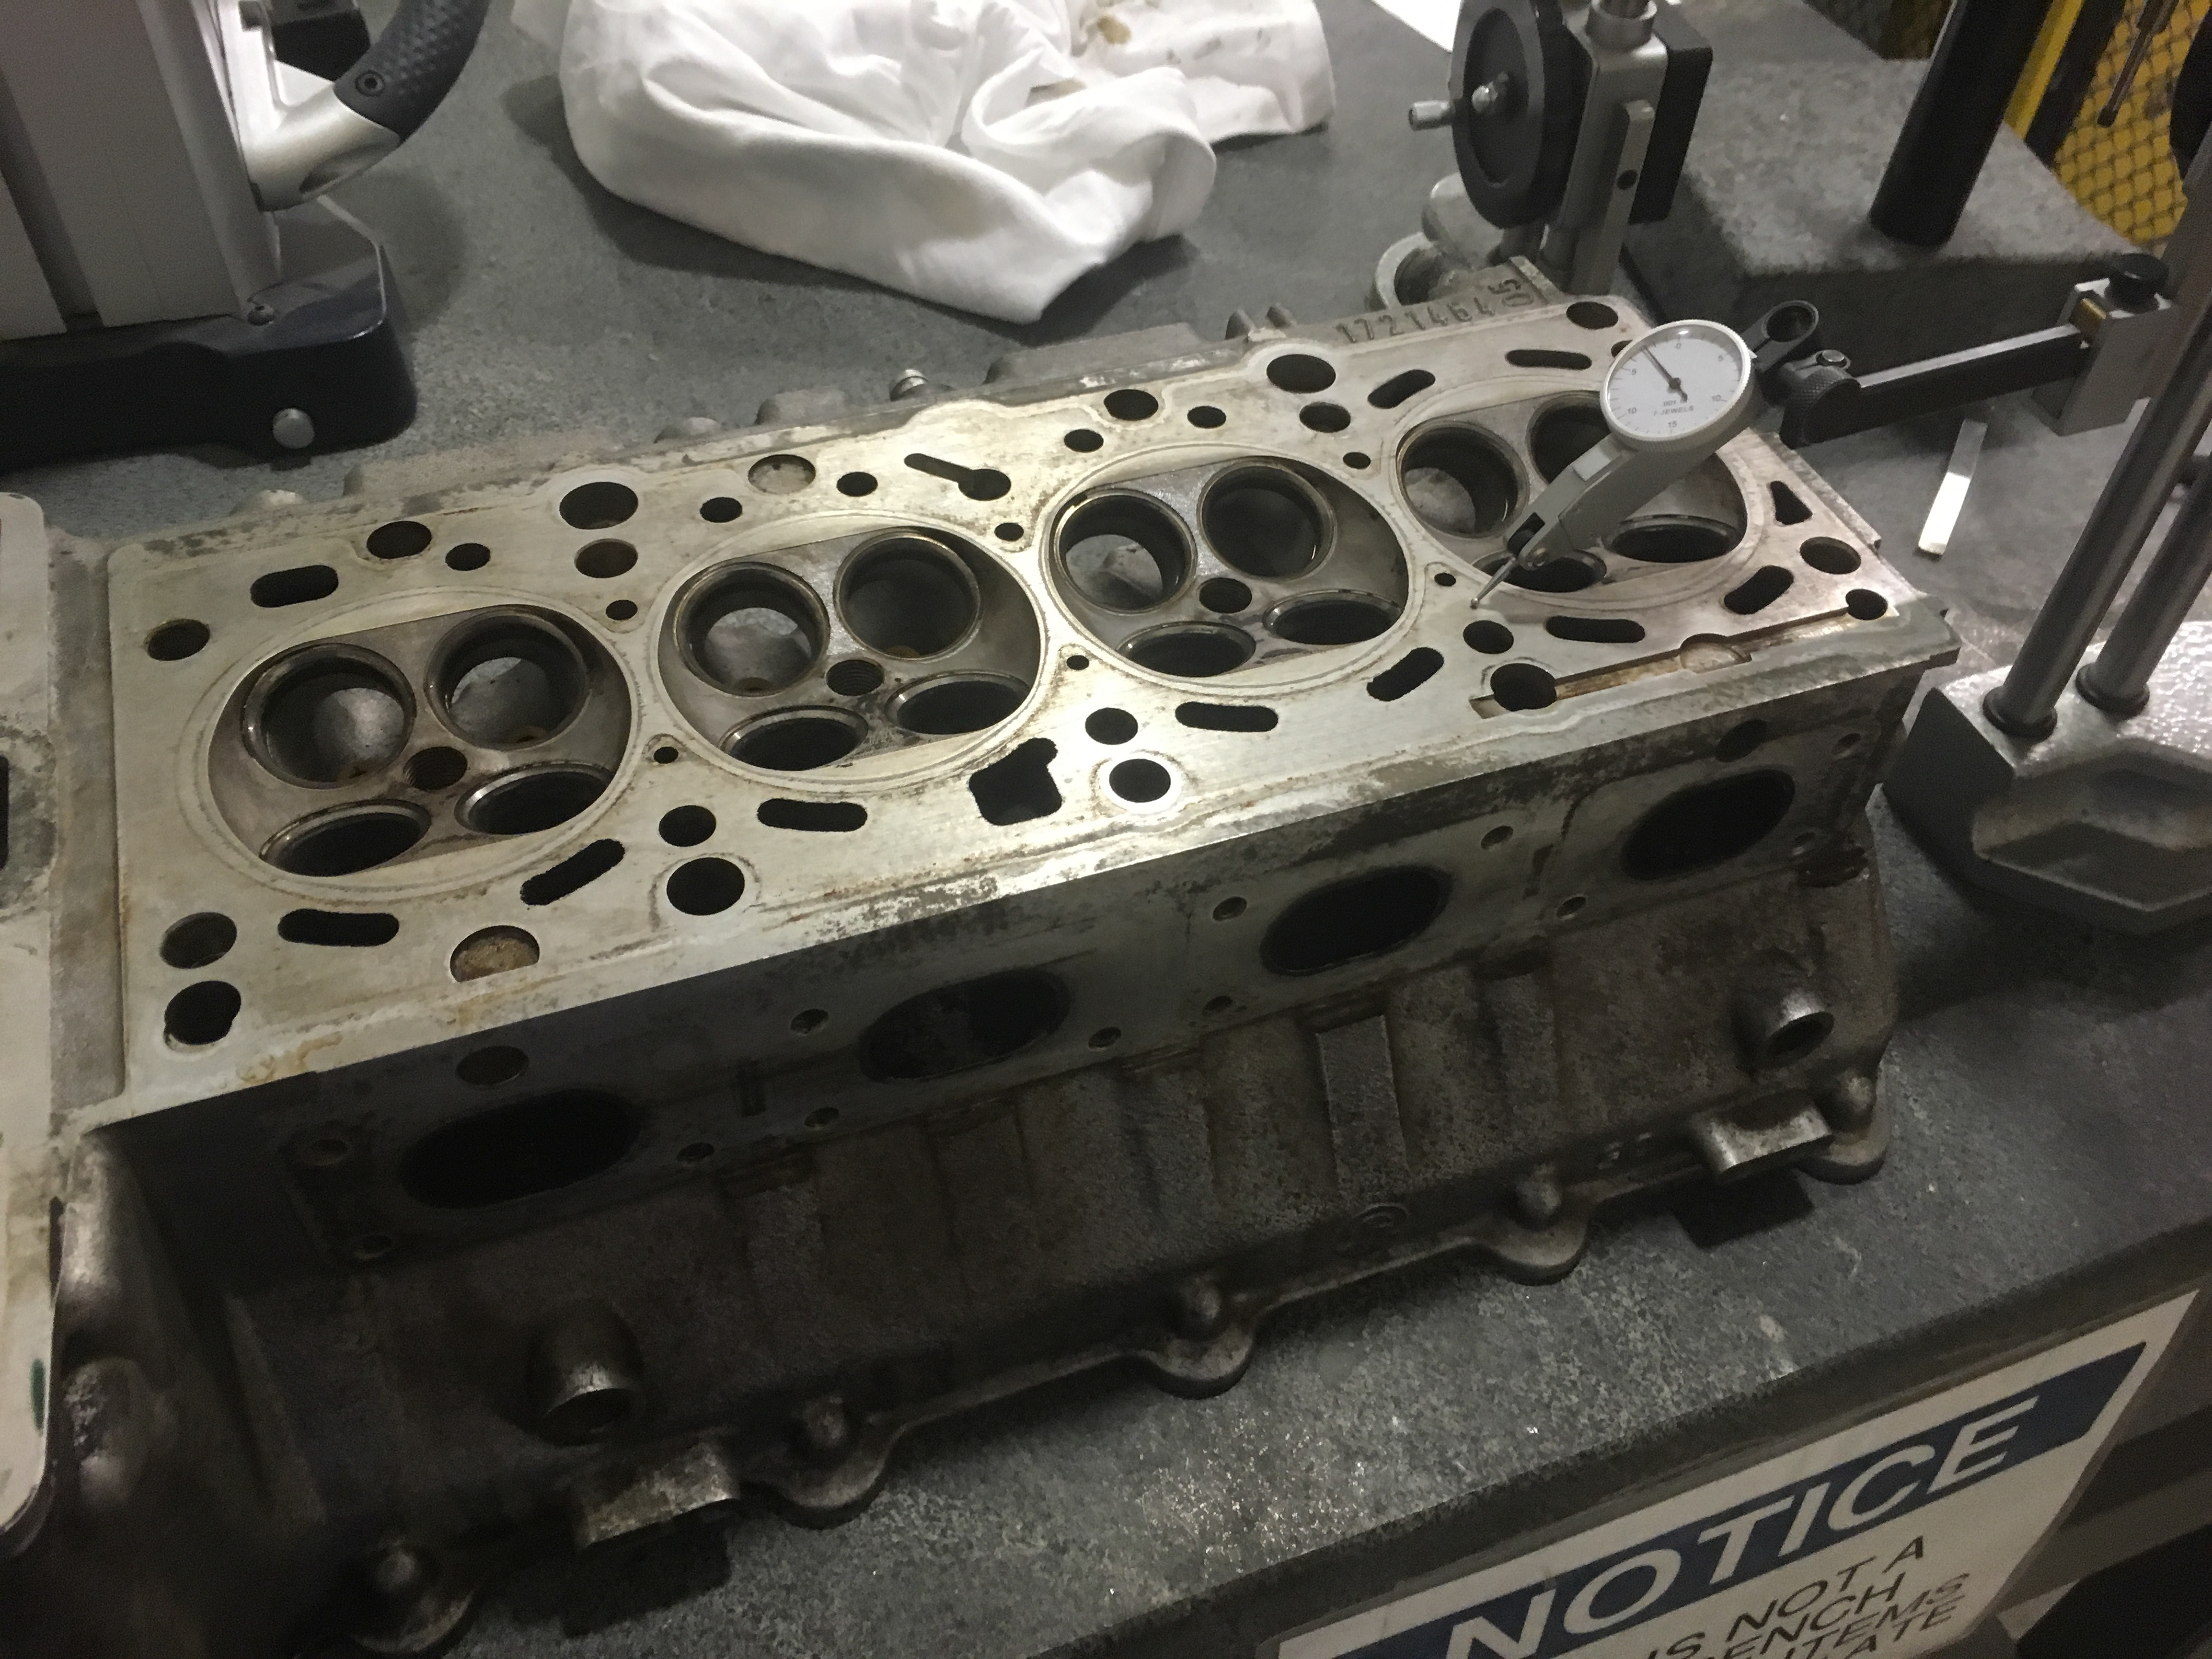
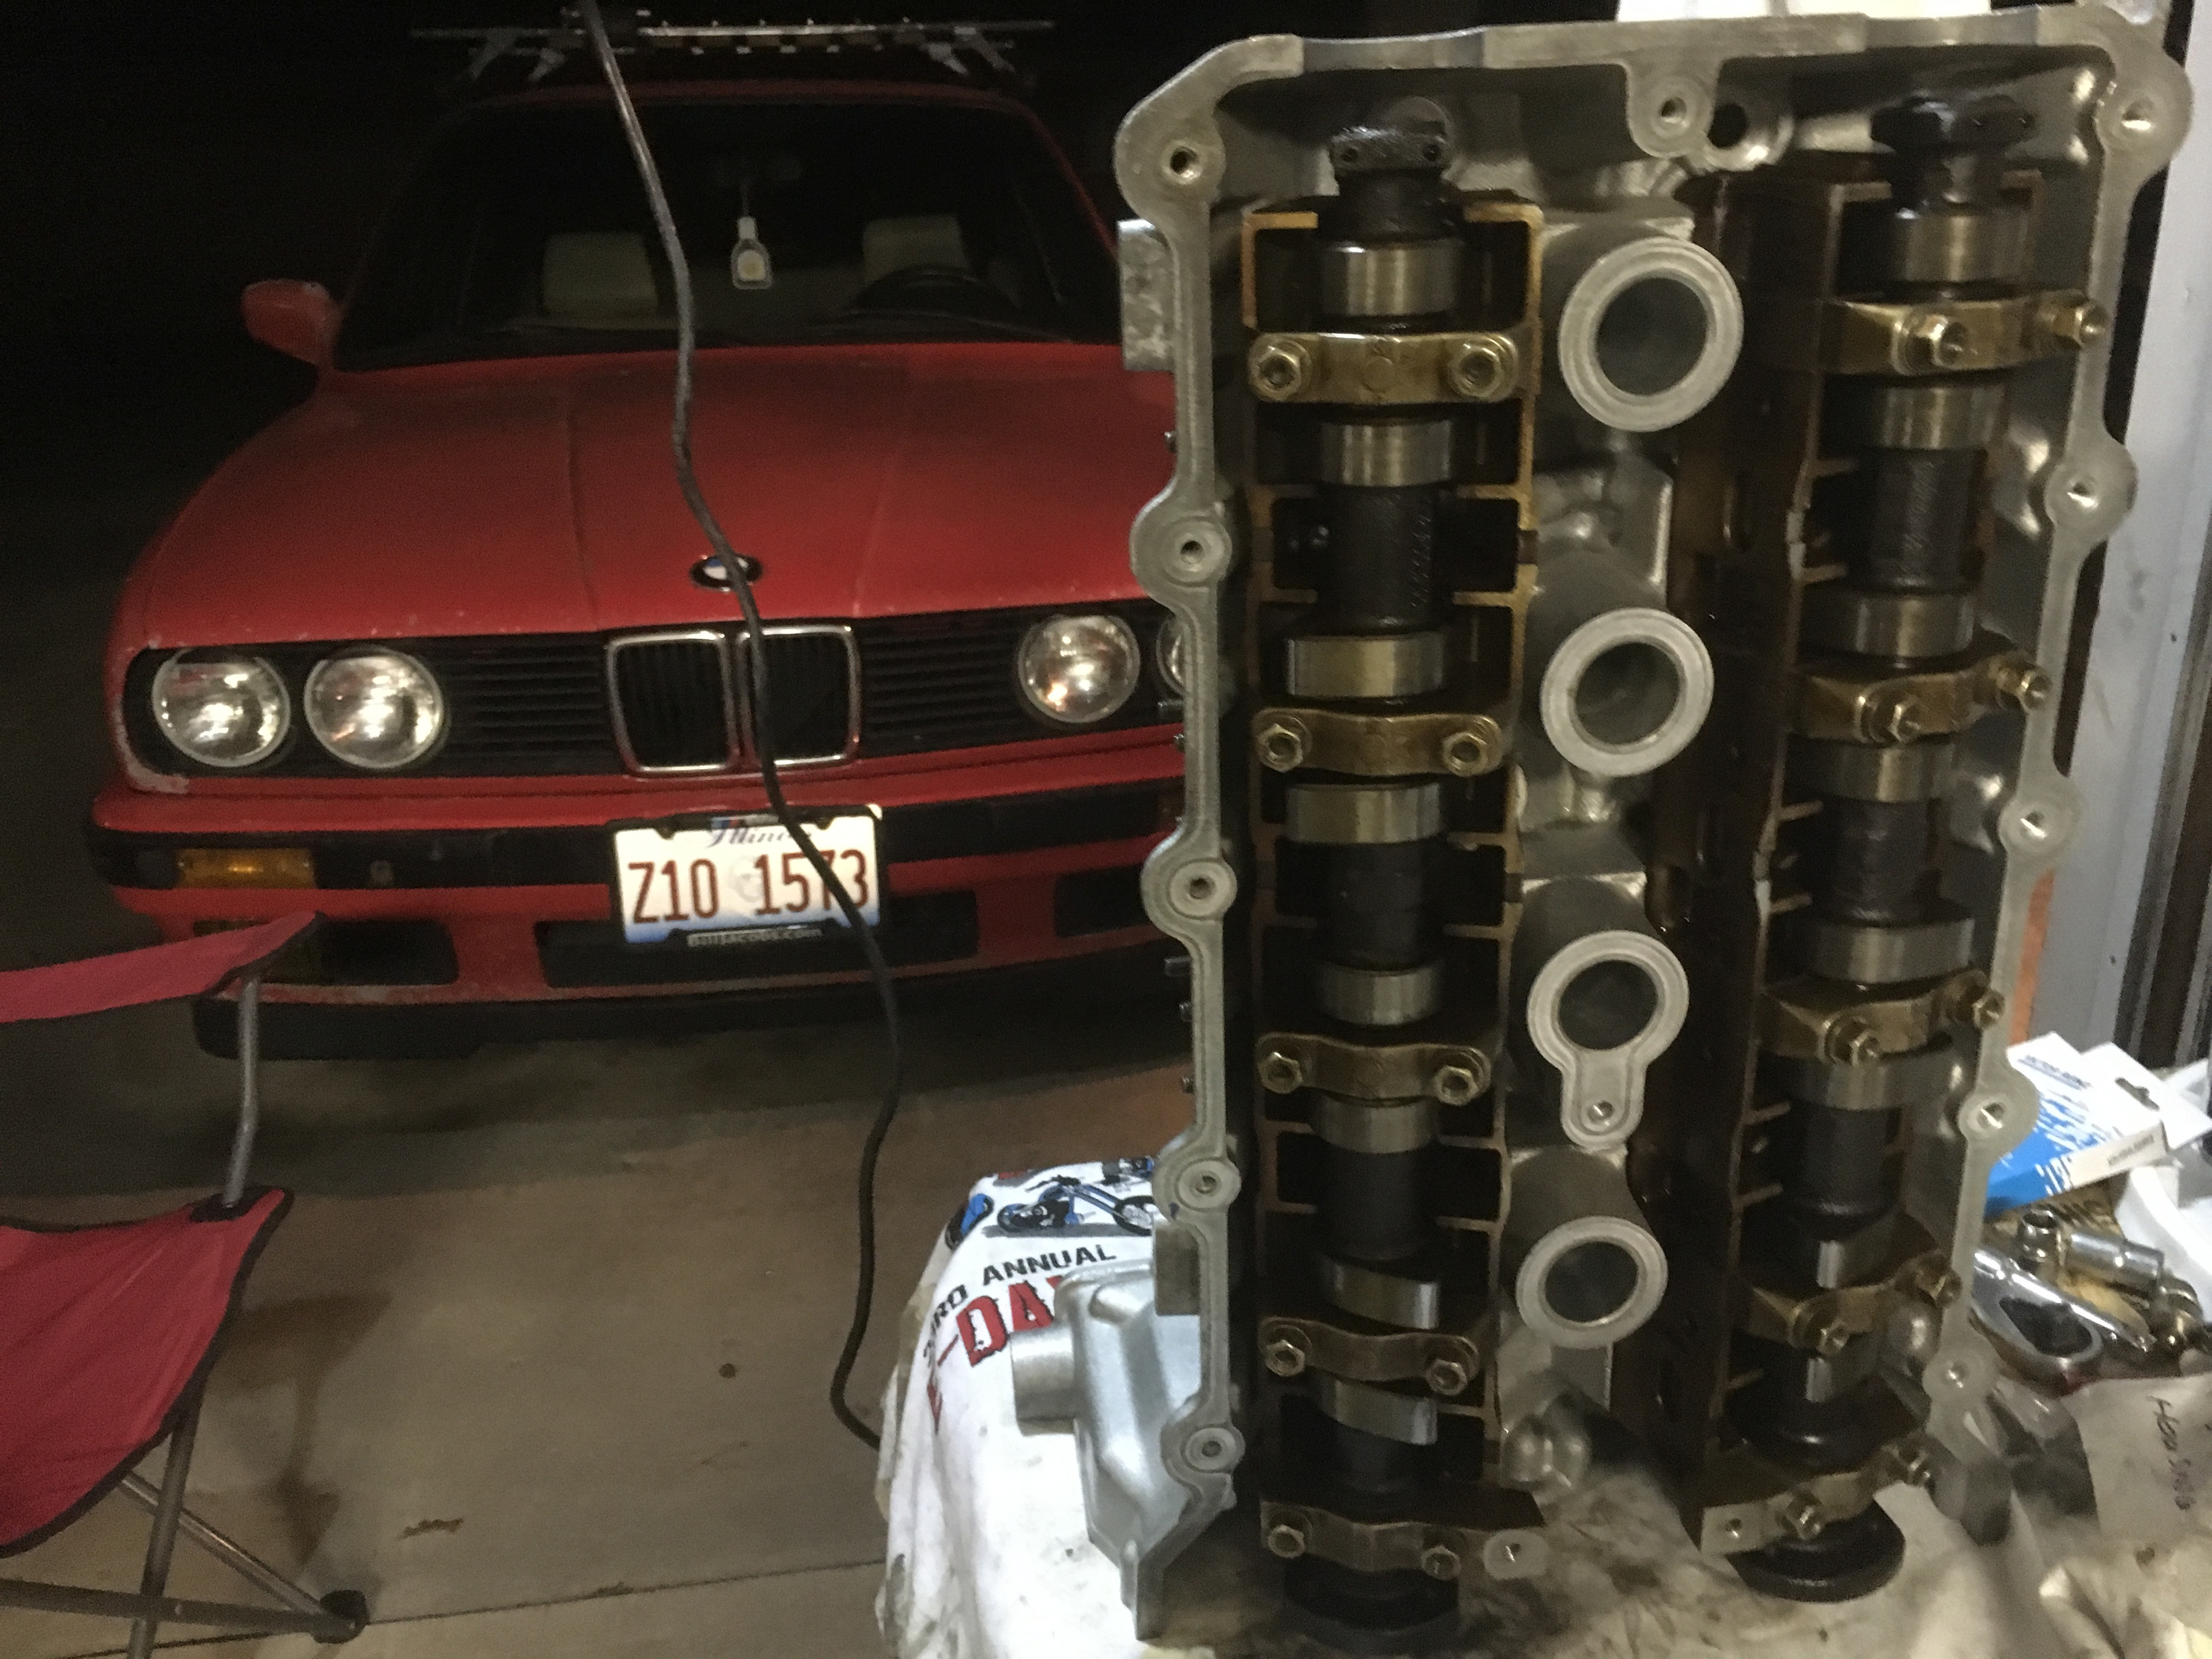
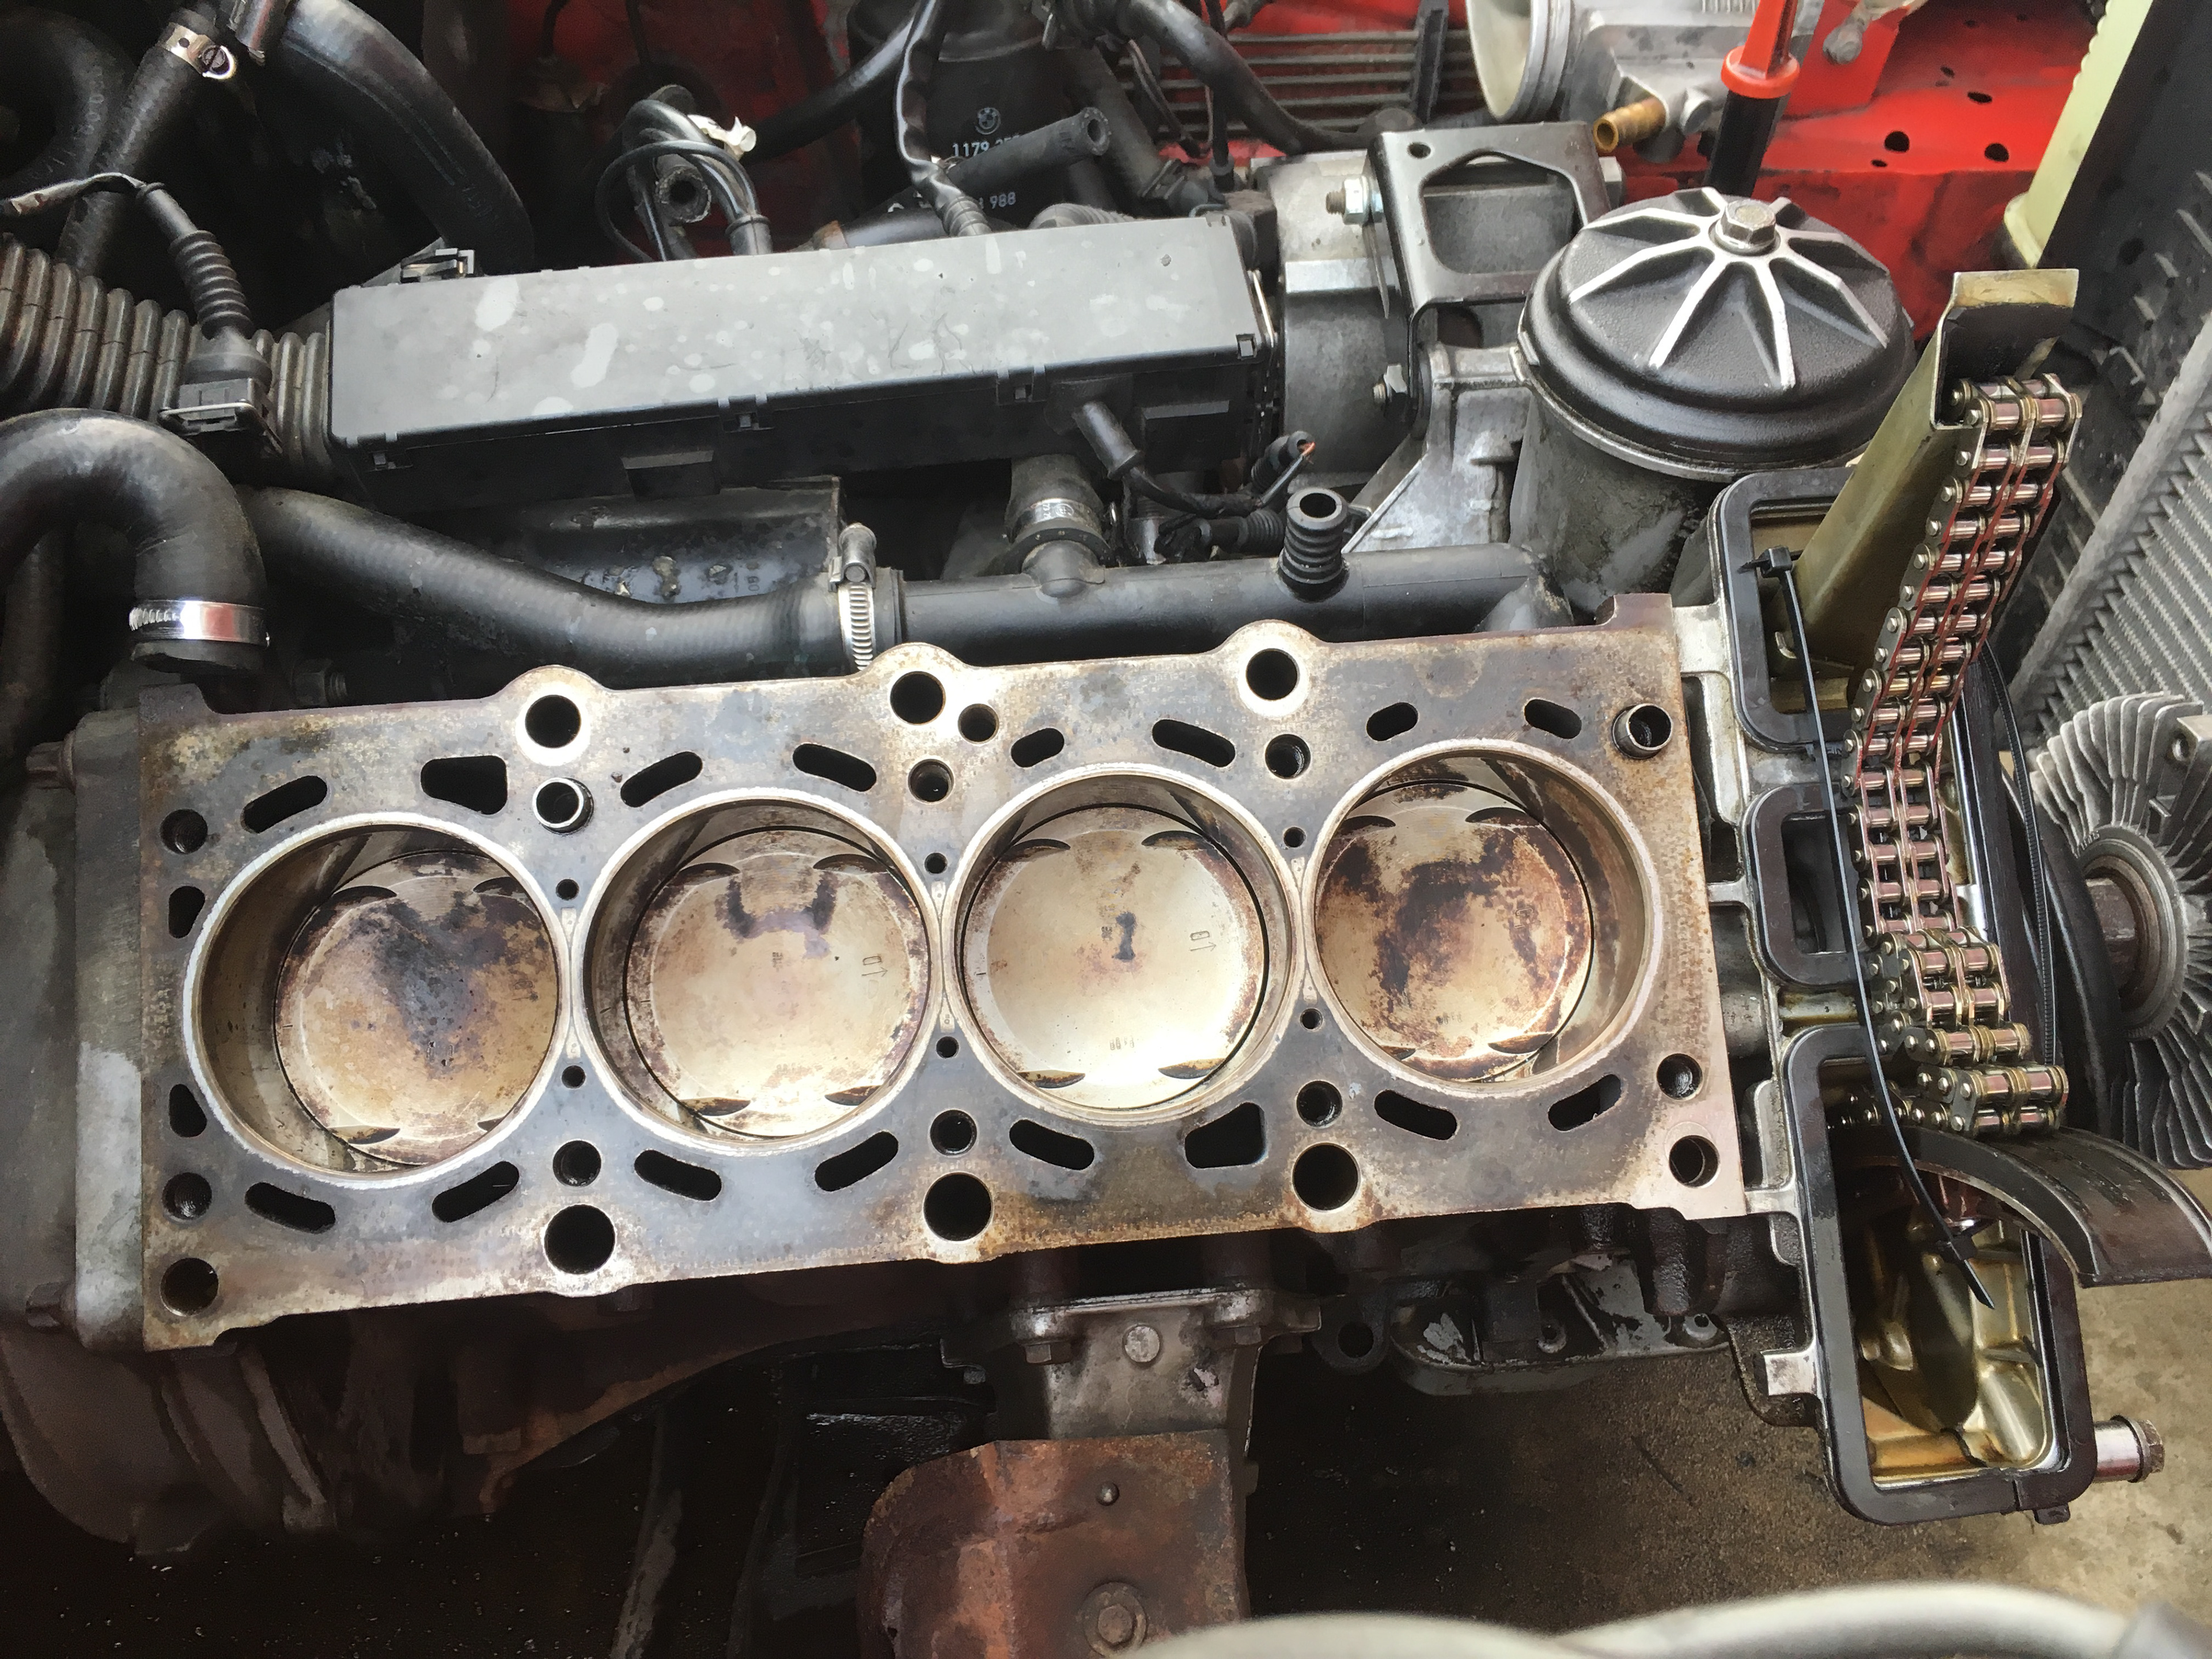
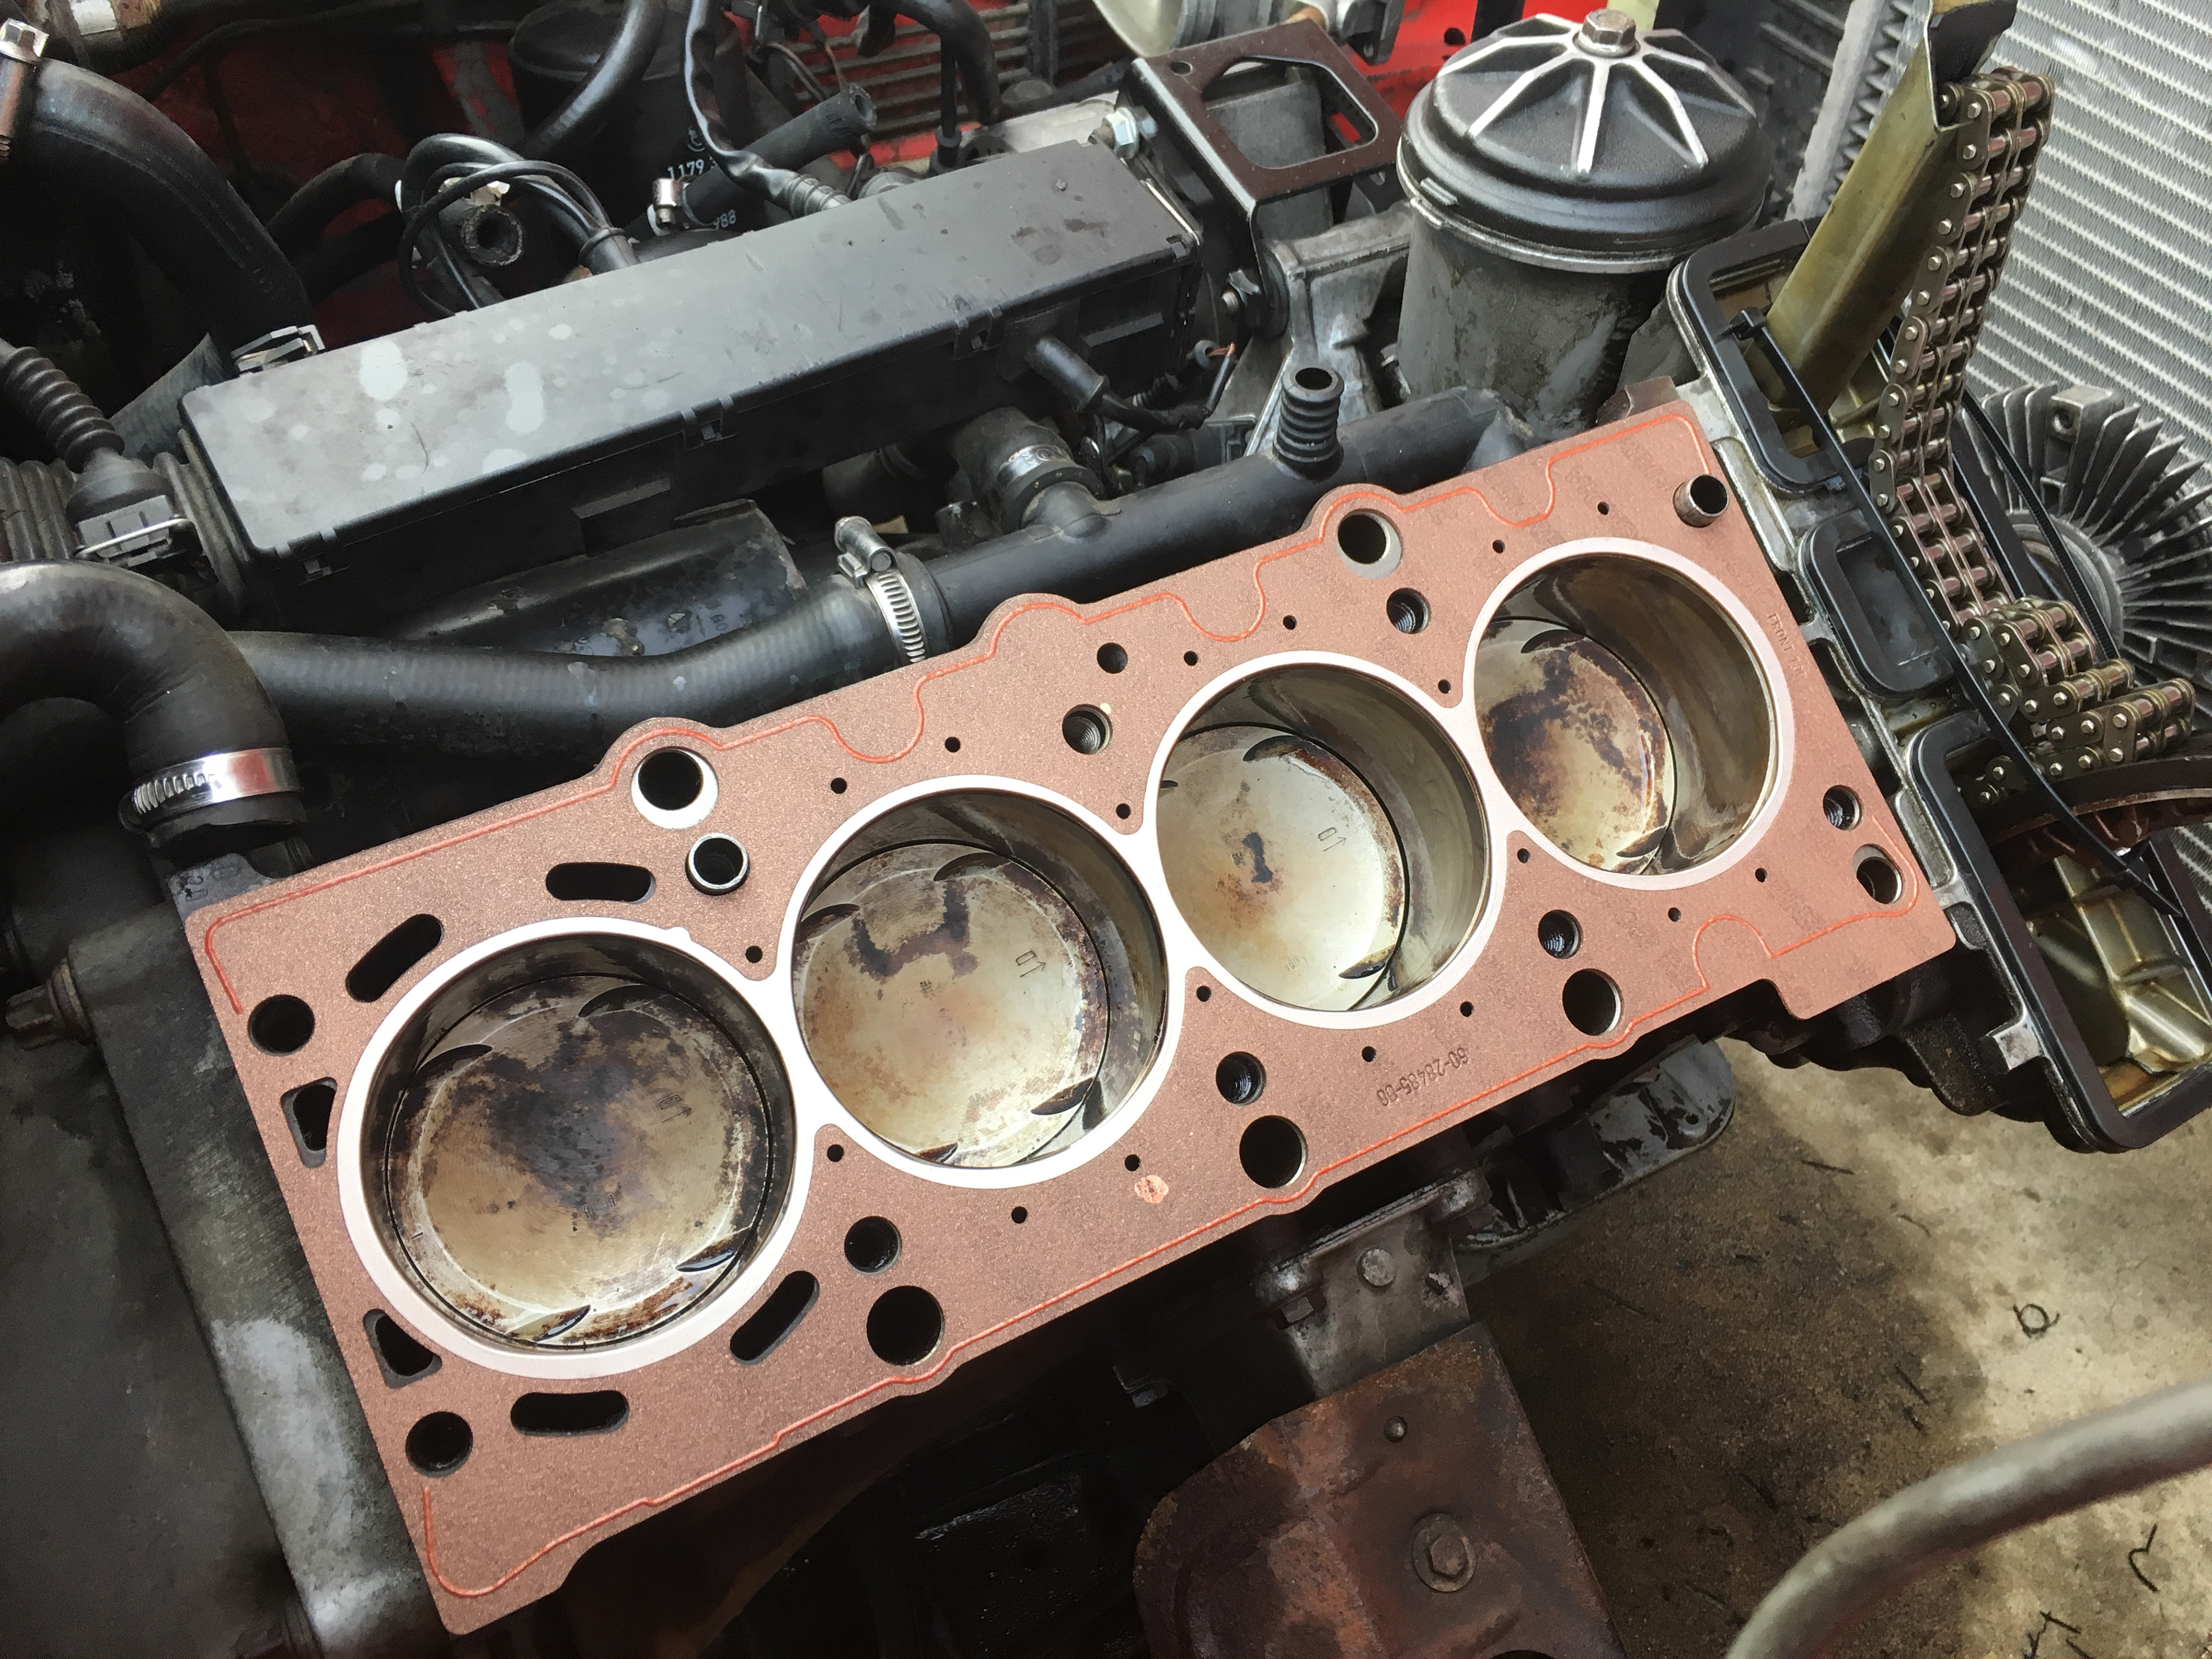
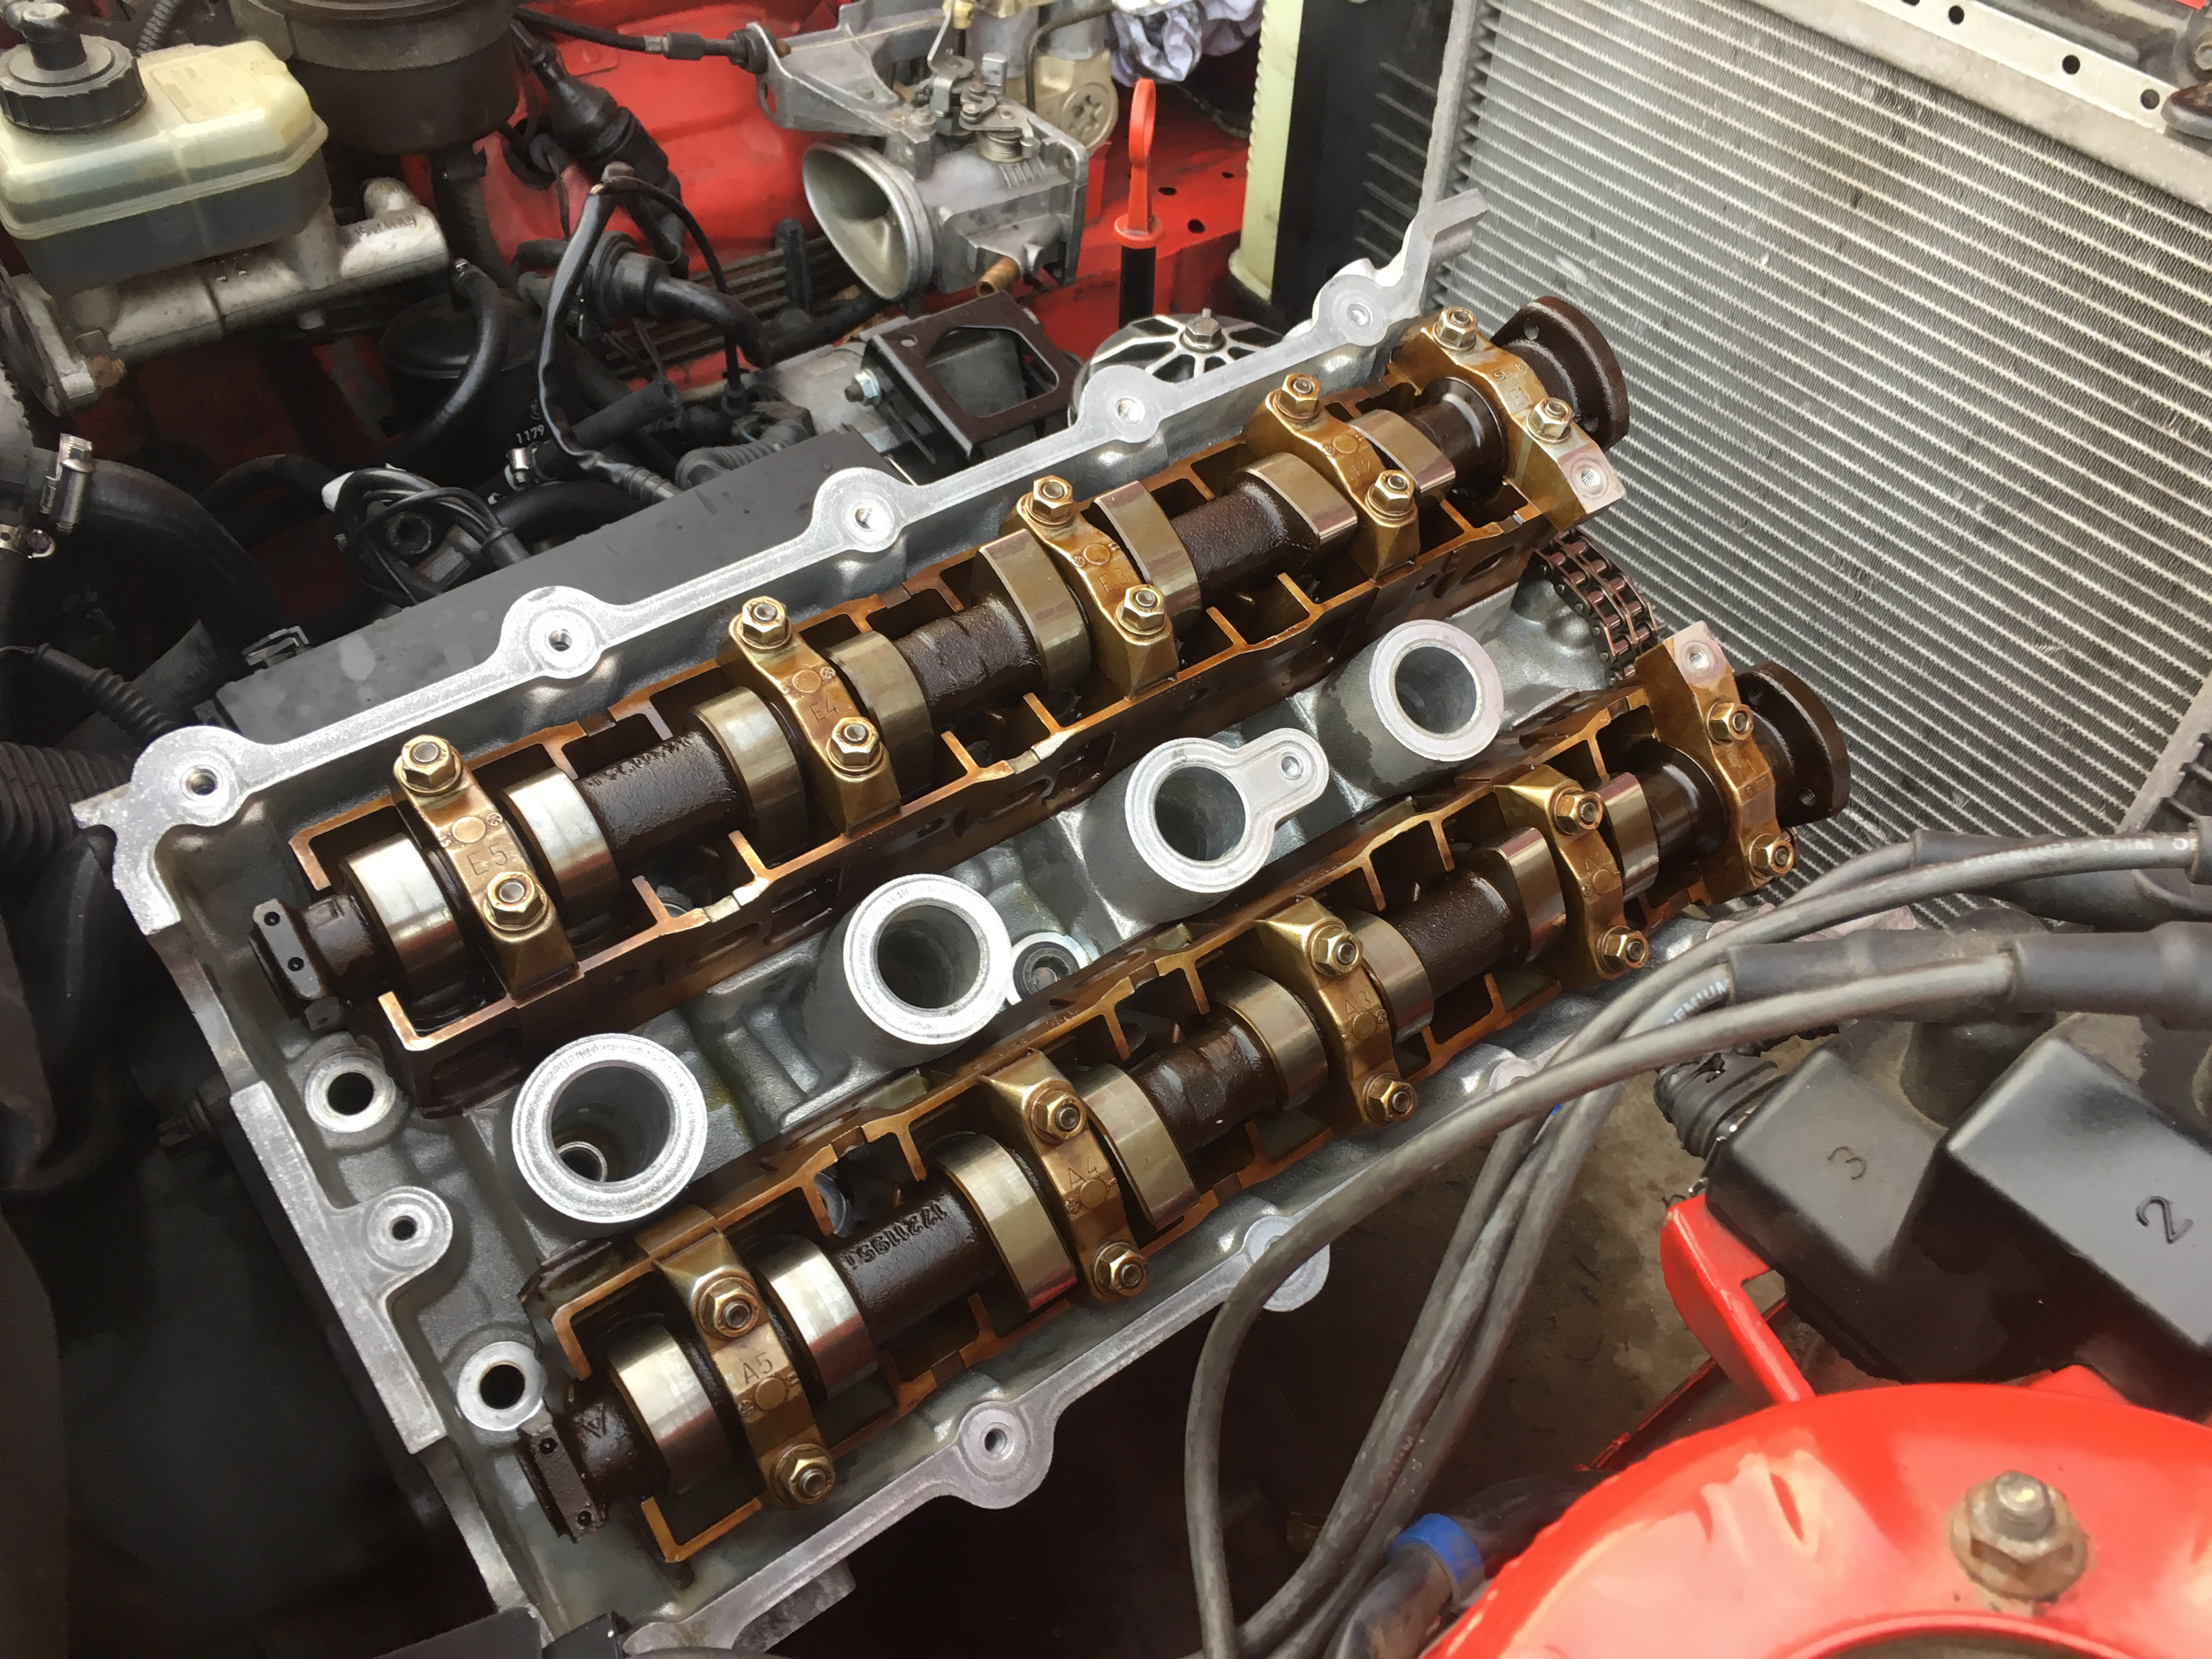
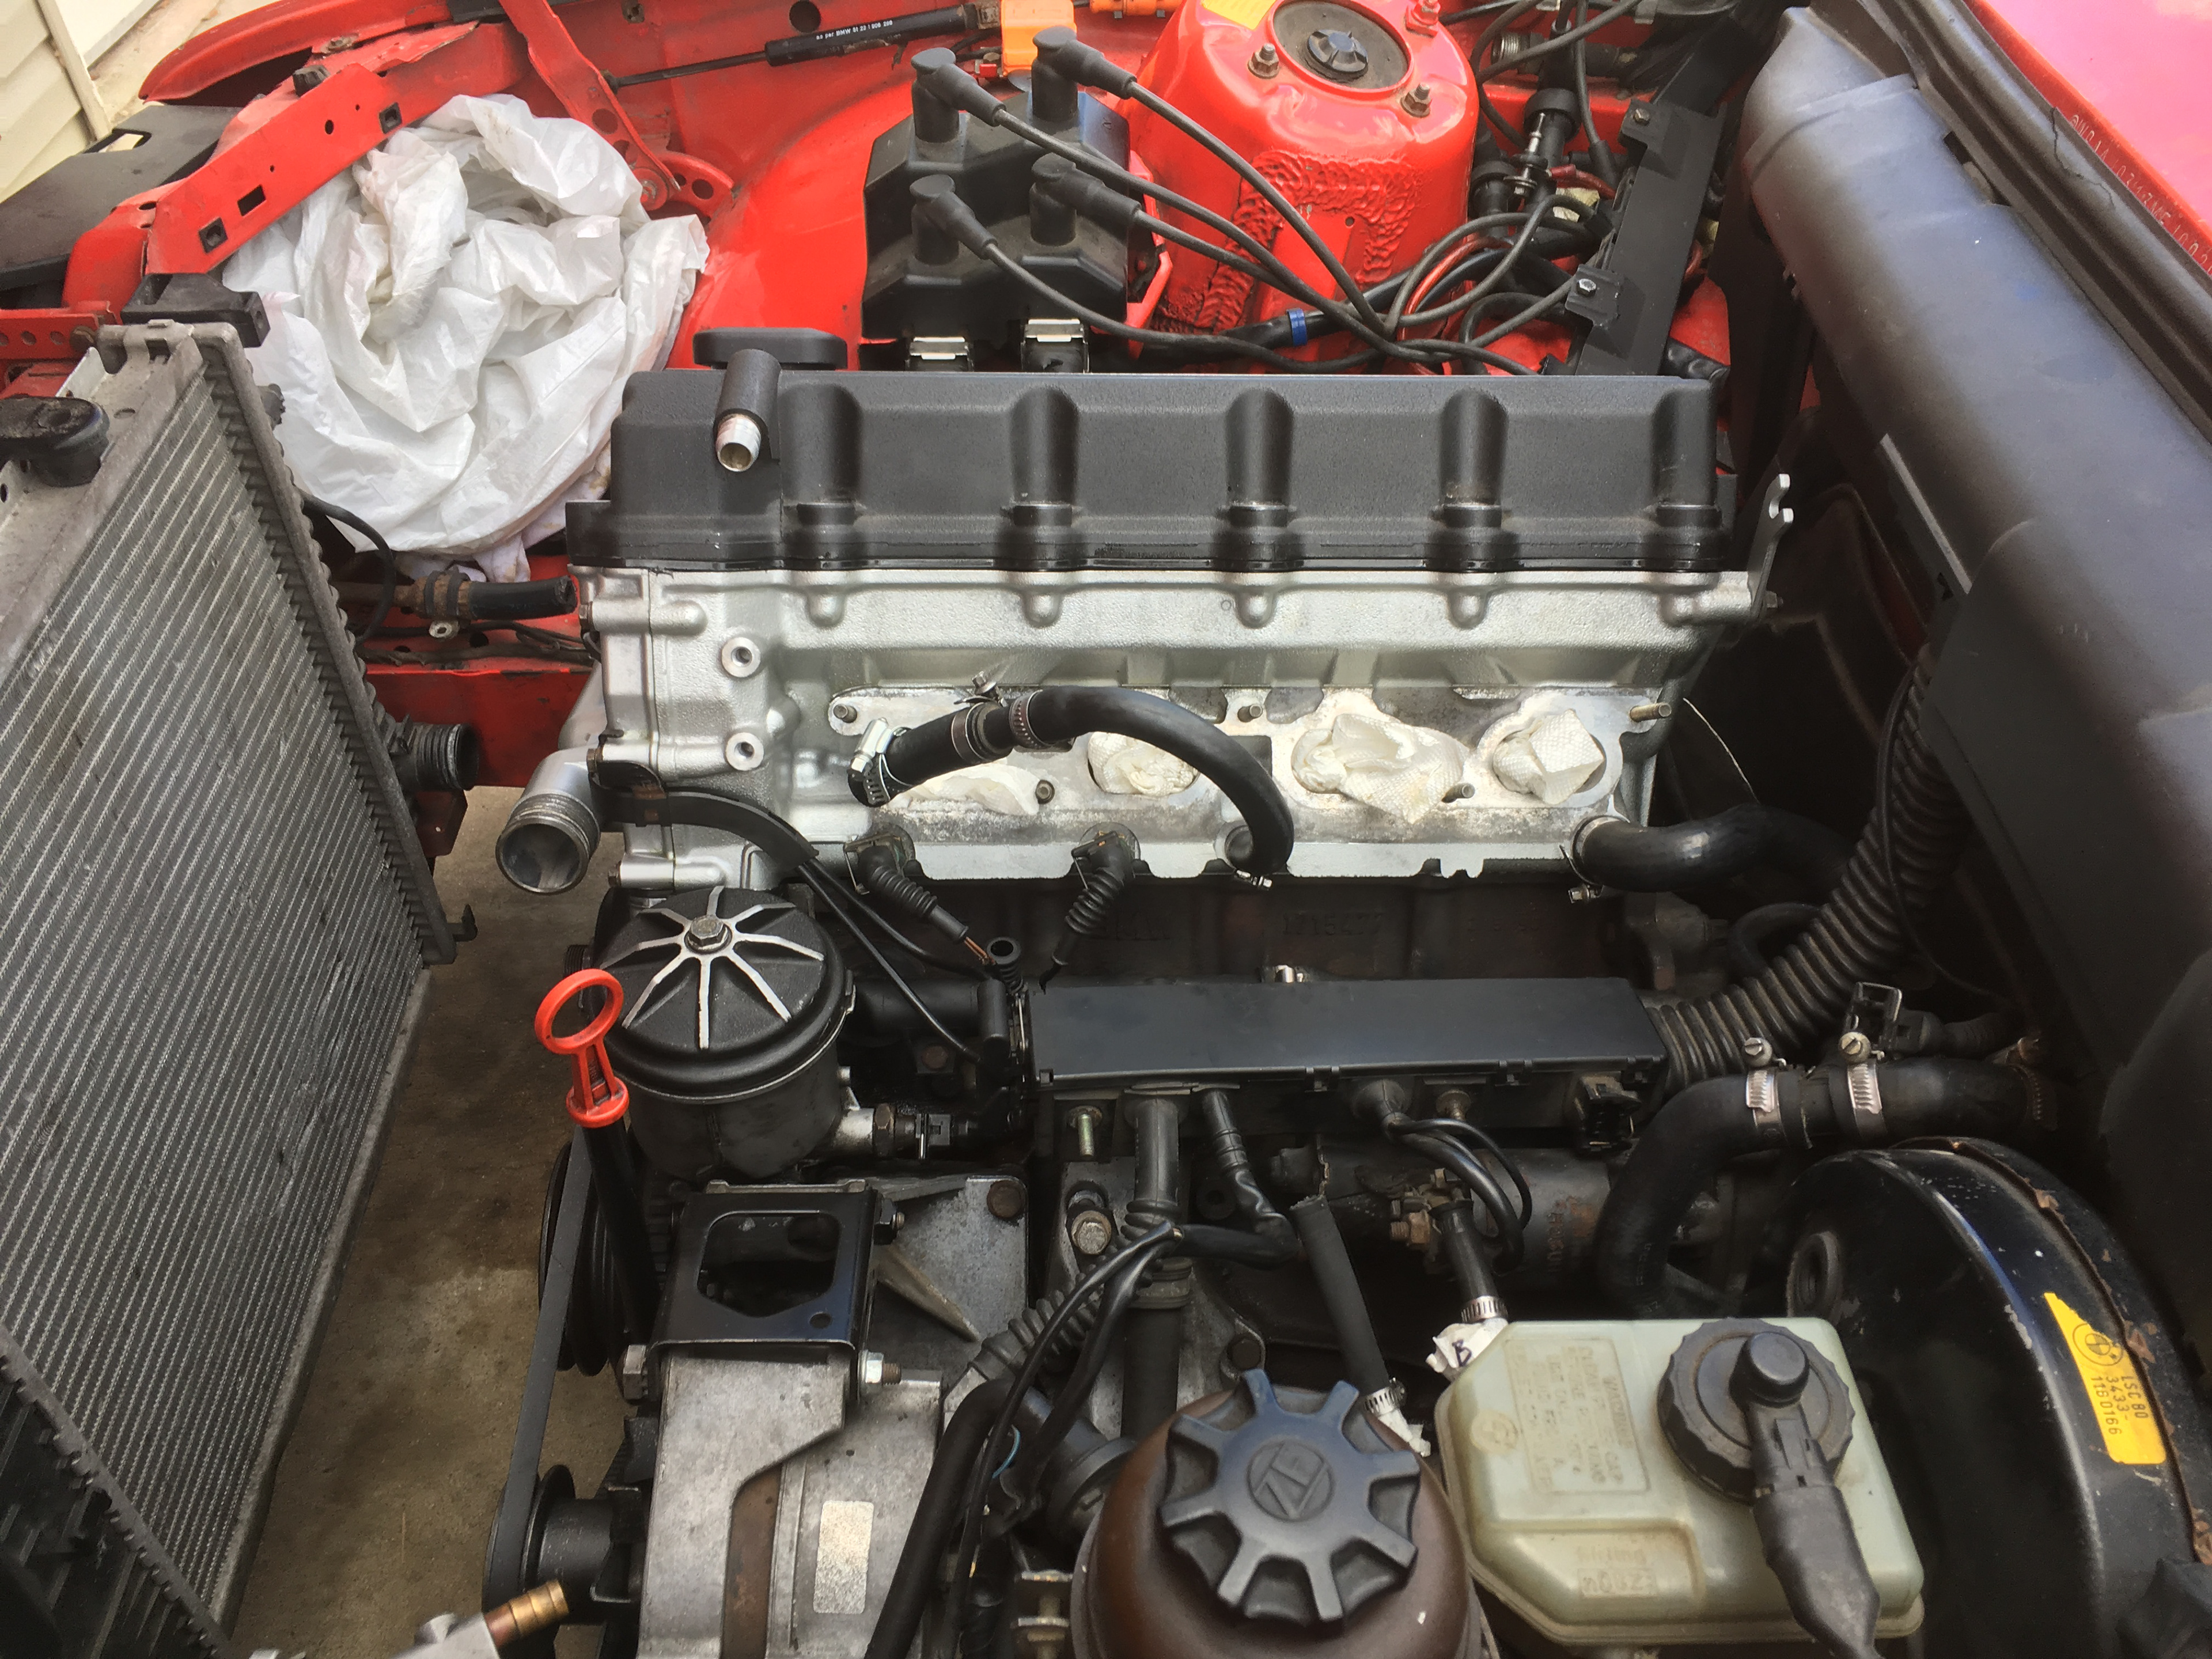
Once the intake manifold, exhaust manifold, and cooling system were removed, the cylinder head was ready to come off. The valve cover was removed, exposing the camshafts. The thermostat and front cover of the cylinder head were removed and the paper gaskets carefully scraped off. Although the manual calls for removing the camshafts first, it is simpler to remove the head with the camshafts installed; this was accomplished by turning down the head bolt socket on a lathe to allow it to fit in the small clearances. Loosening of the head bolts was done in the reverse order called out by the torque spec to prevent distortion. With all connecting components removed and the bolts removed, the head was pulled off the block, exposing the pistons. Excess soot was gently removed from the pistons using an abrasive pad and alcohol. The head bolt threads were cleaned by re-threading an old bolt and wiping away the dirt.
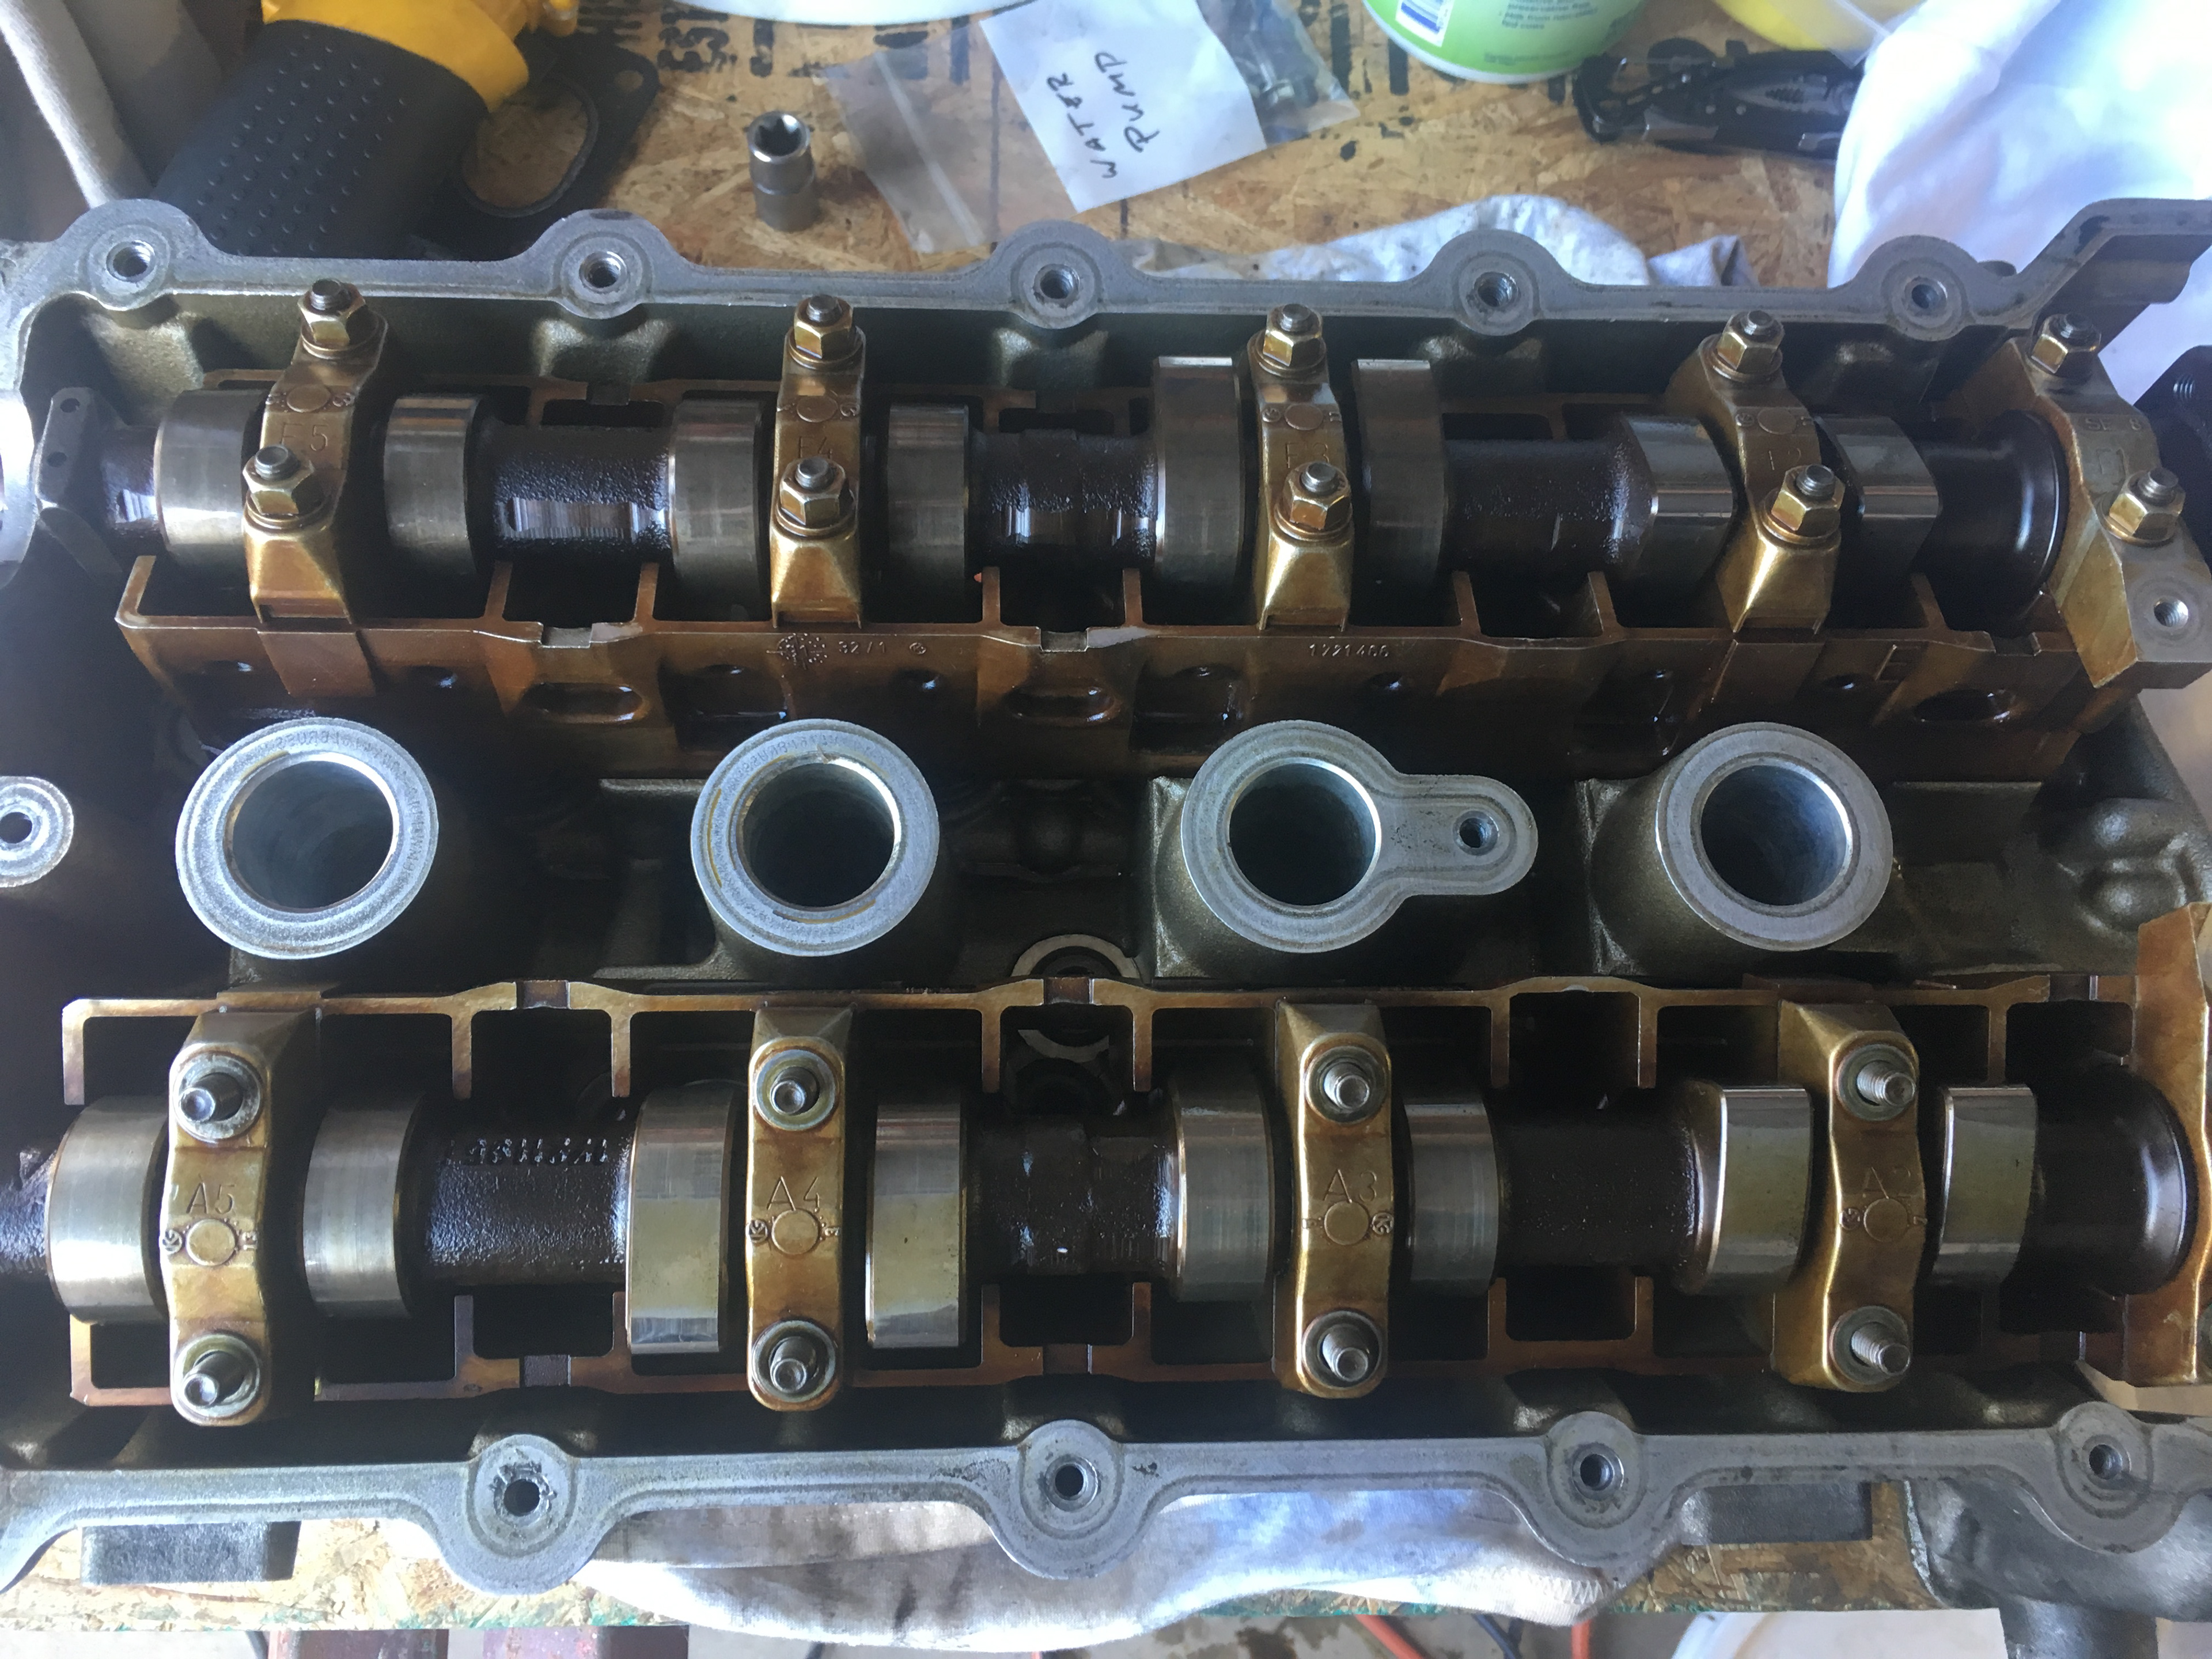
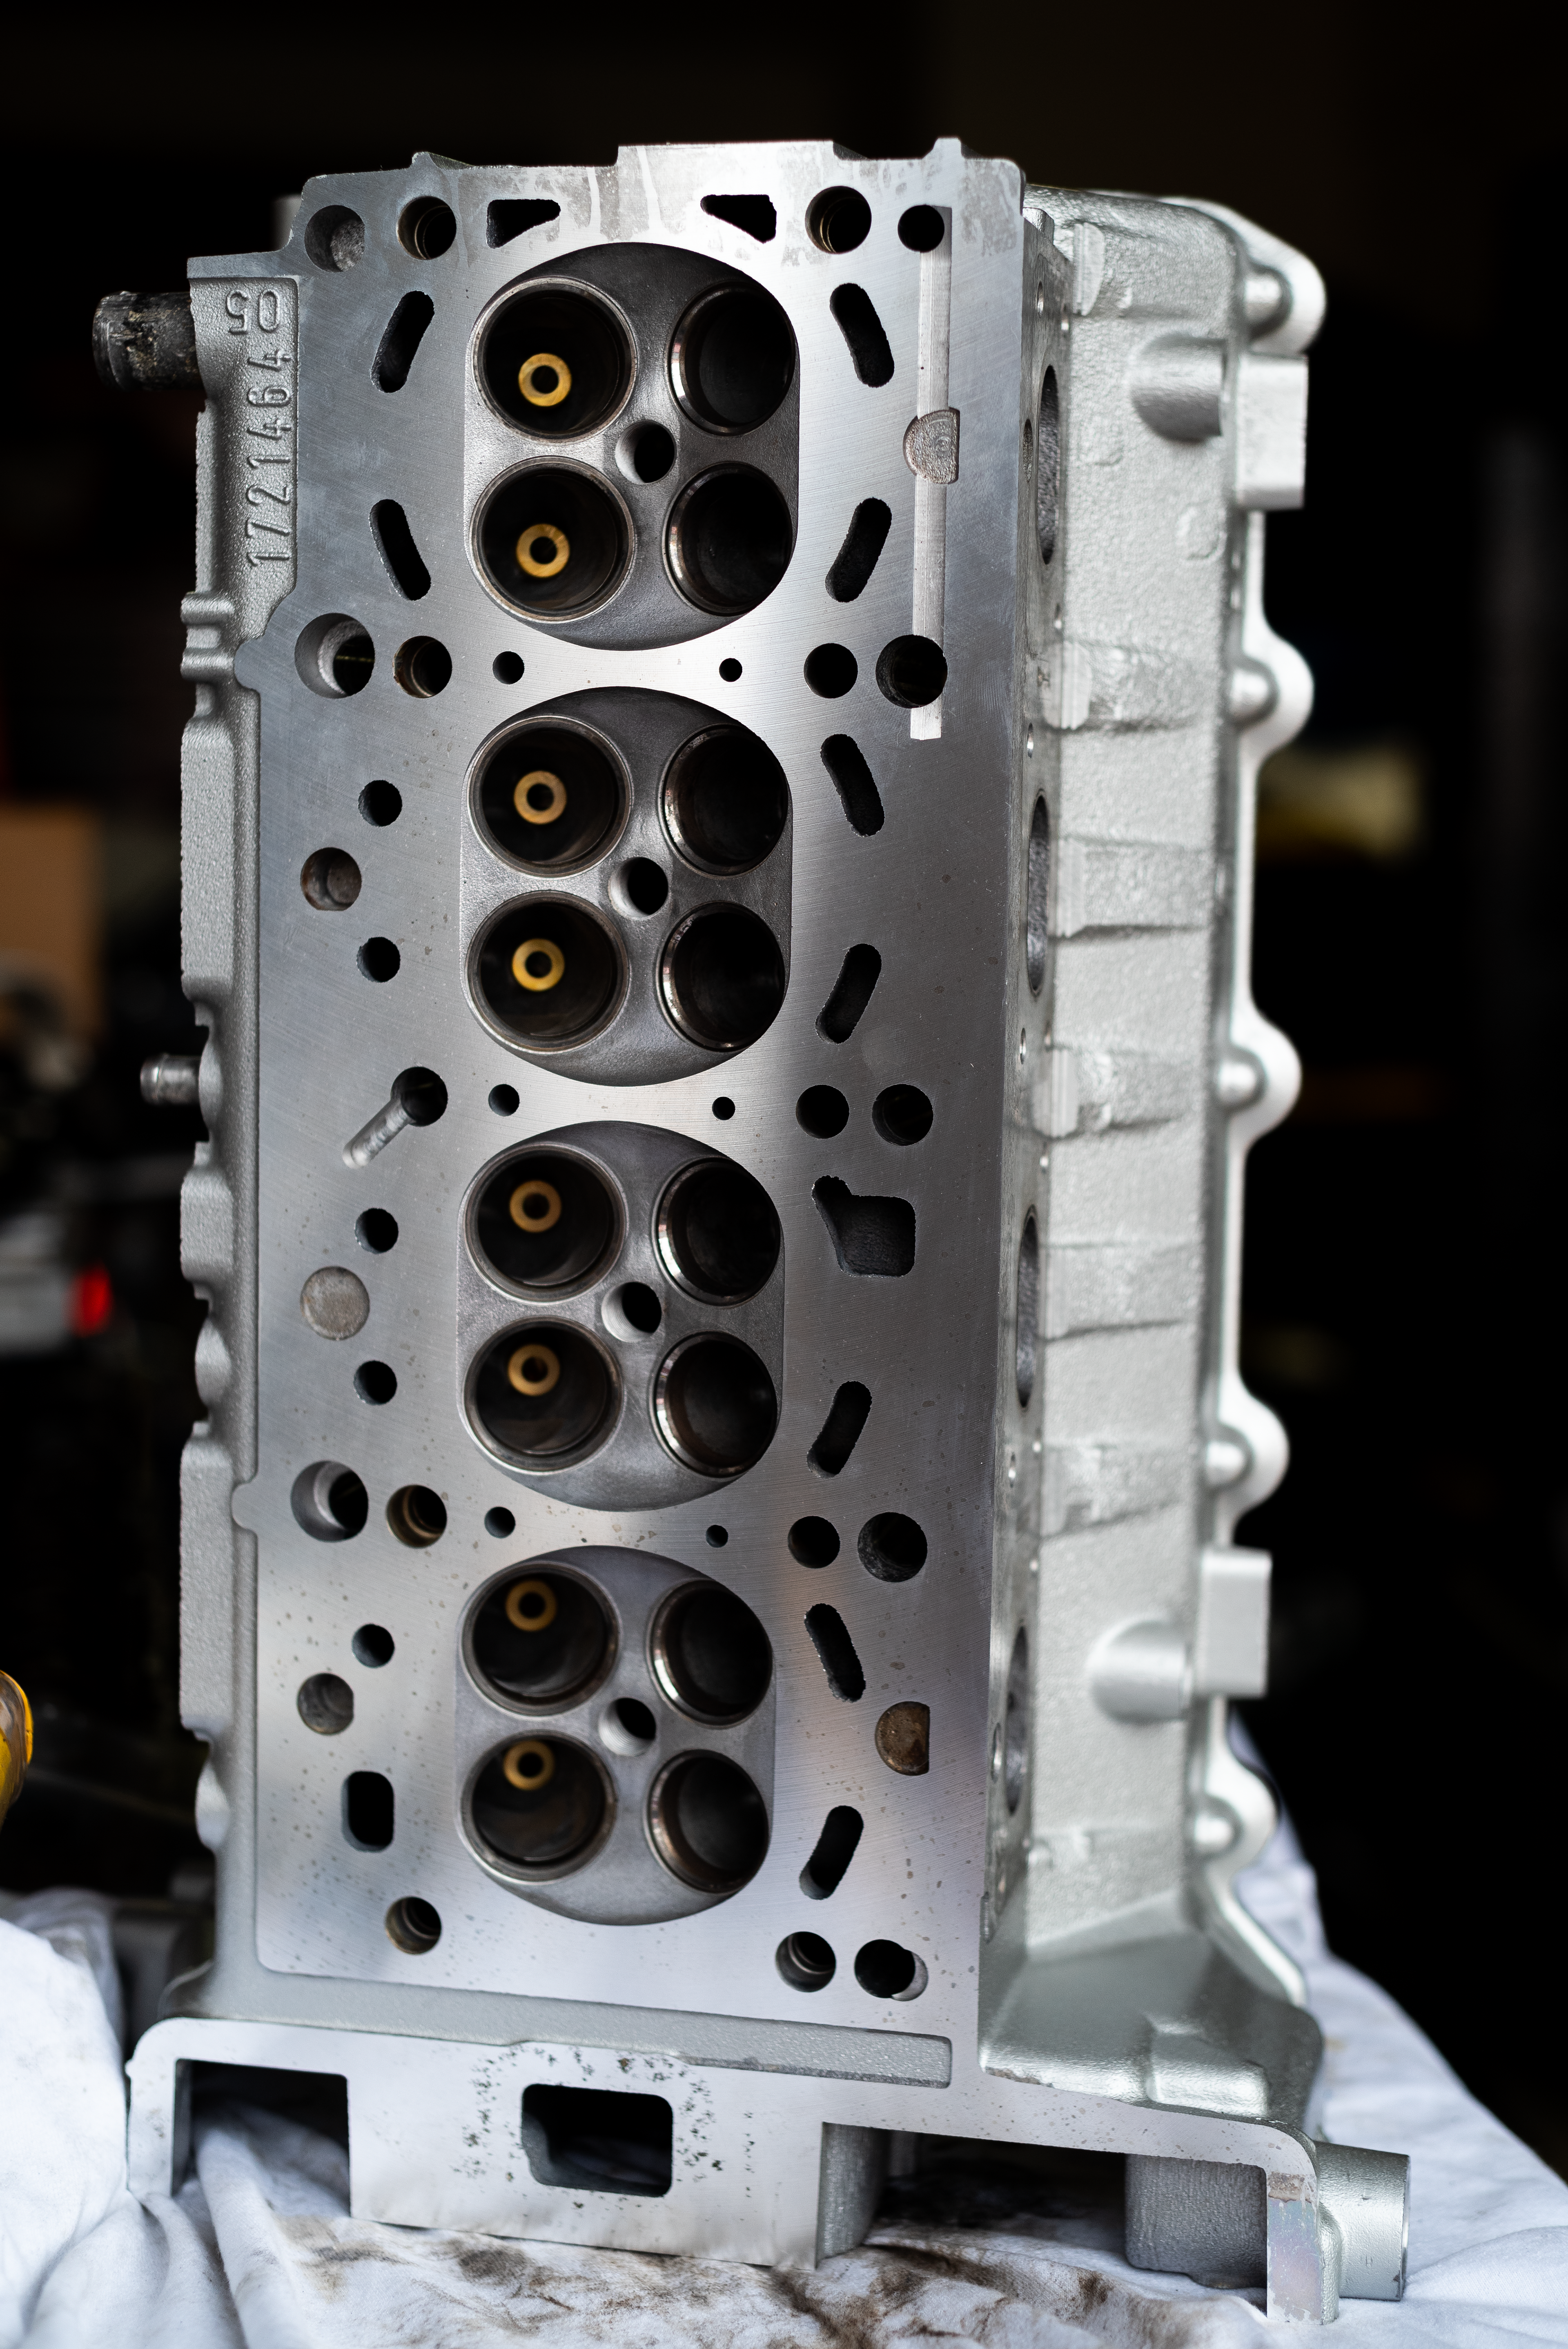
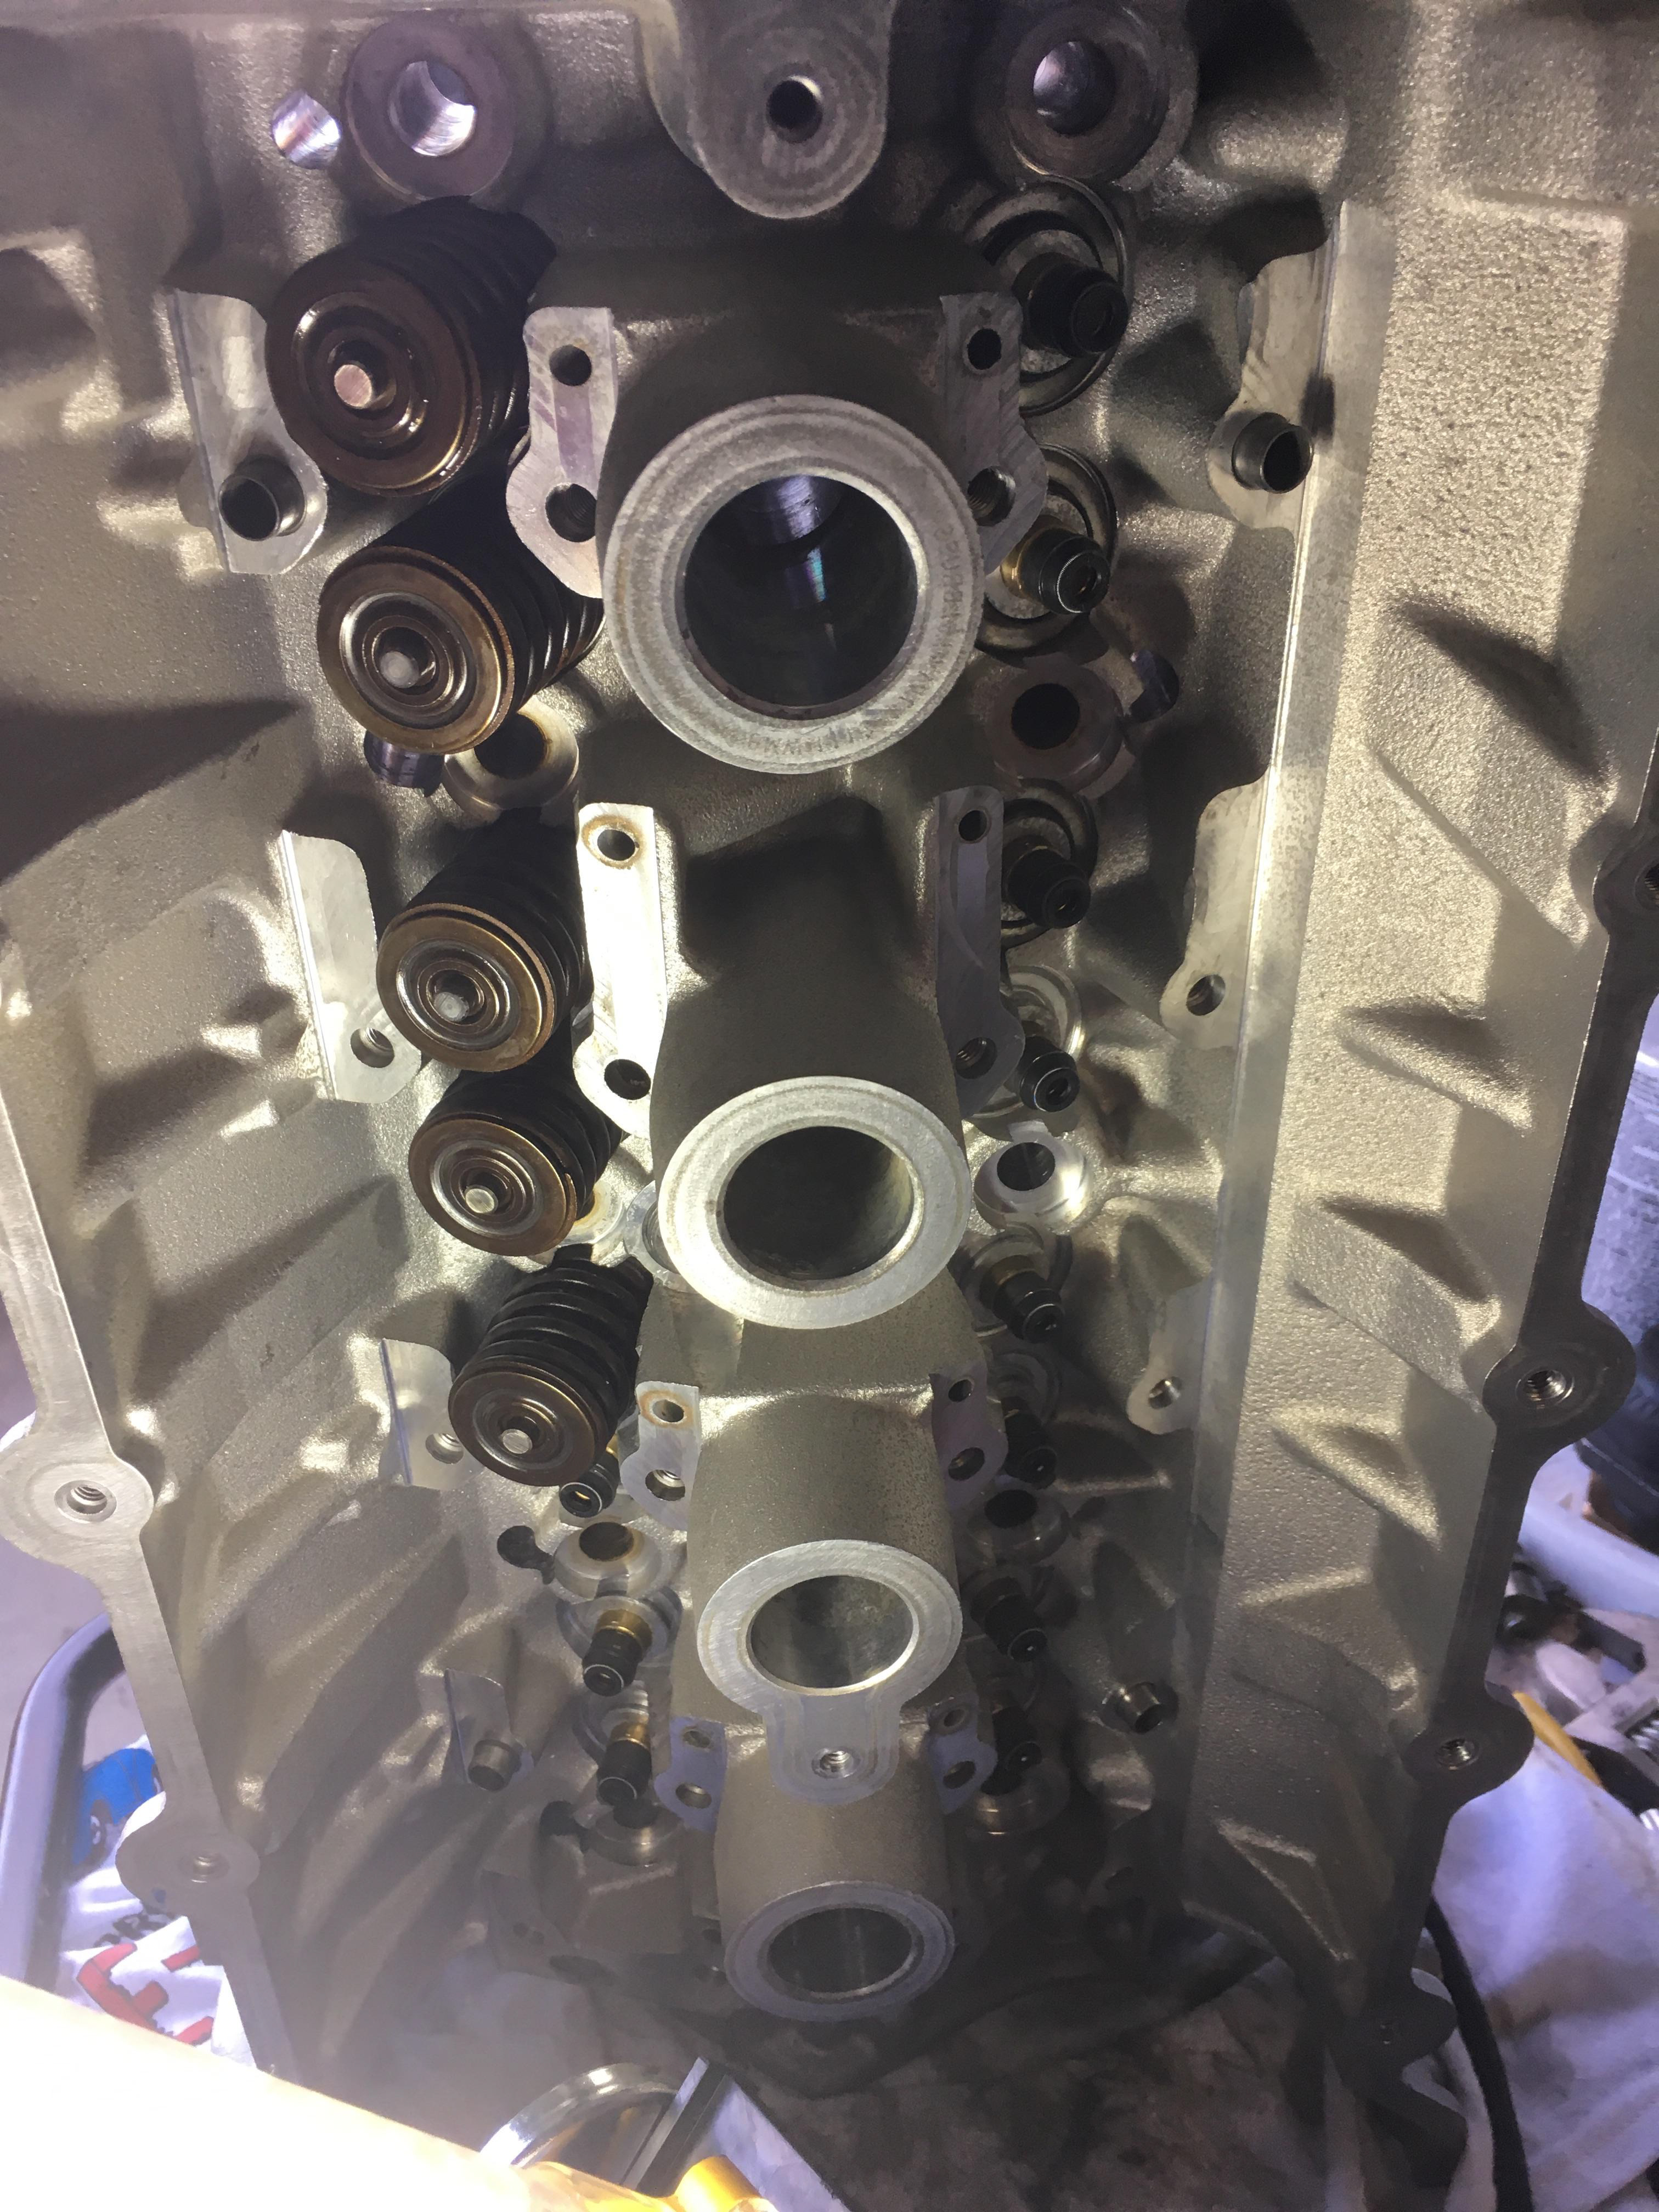
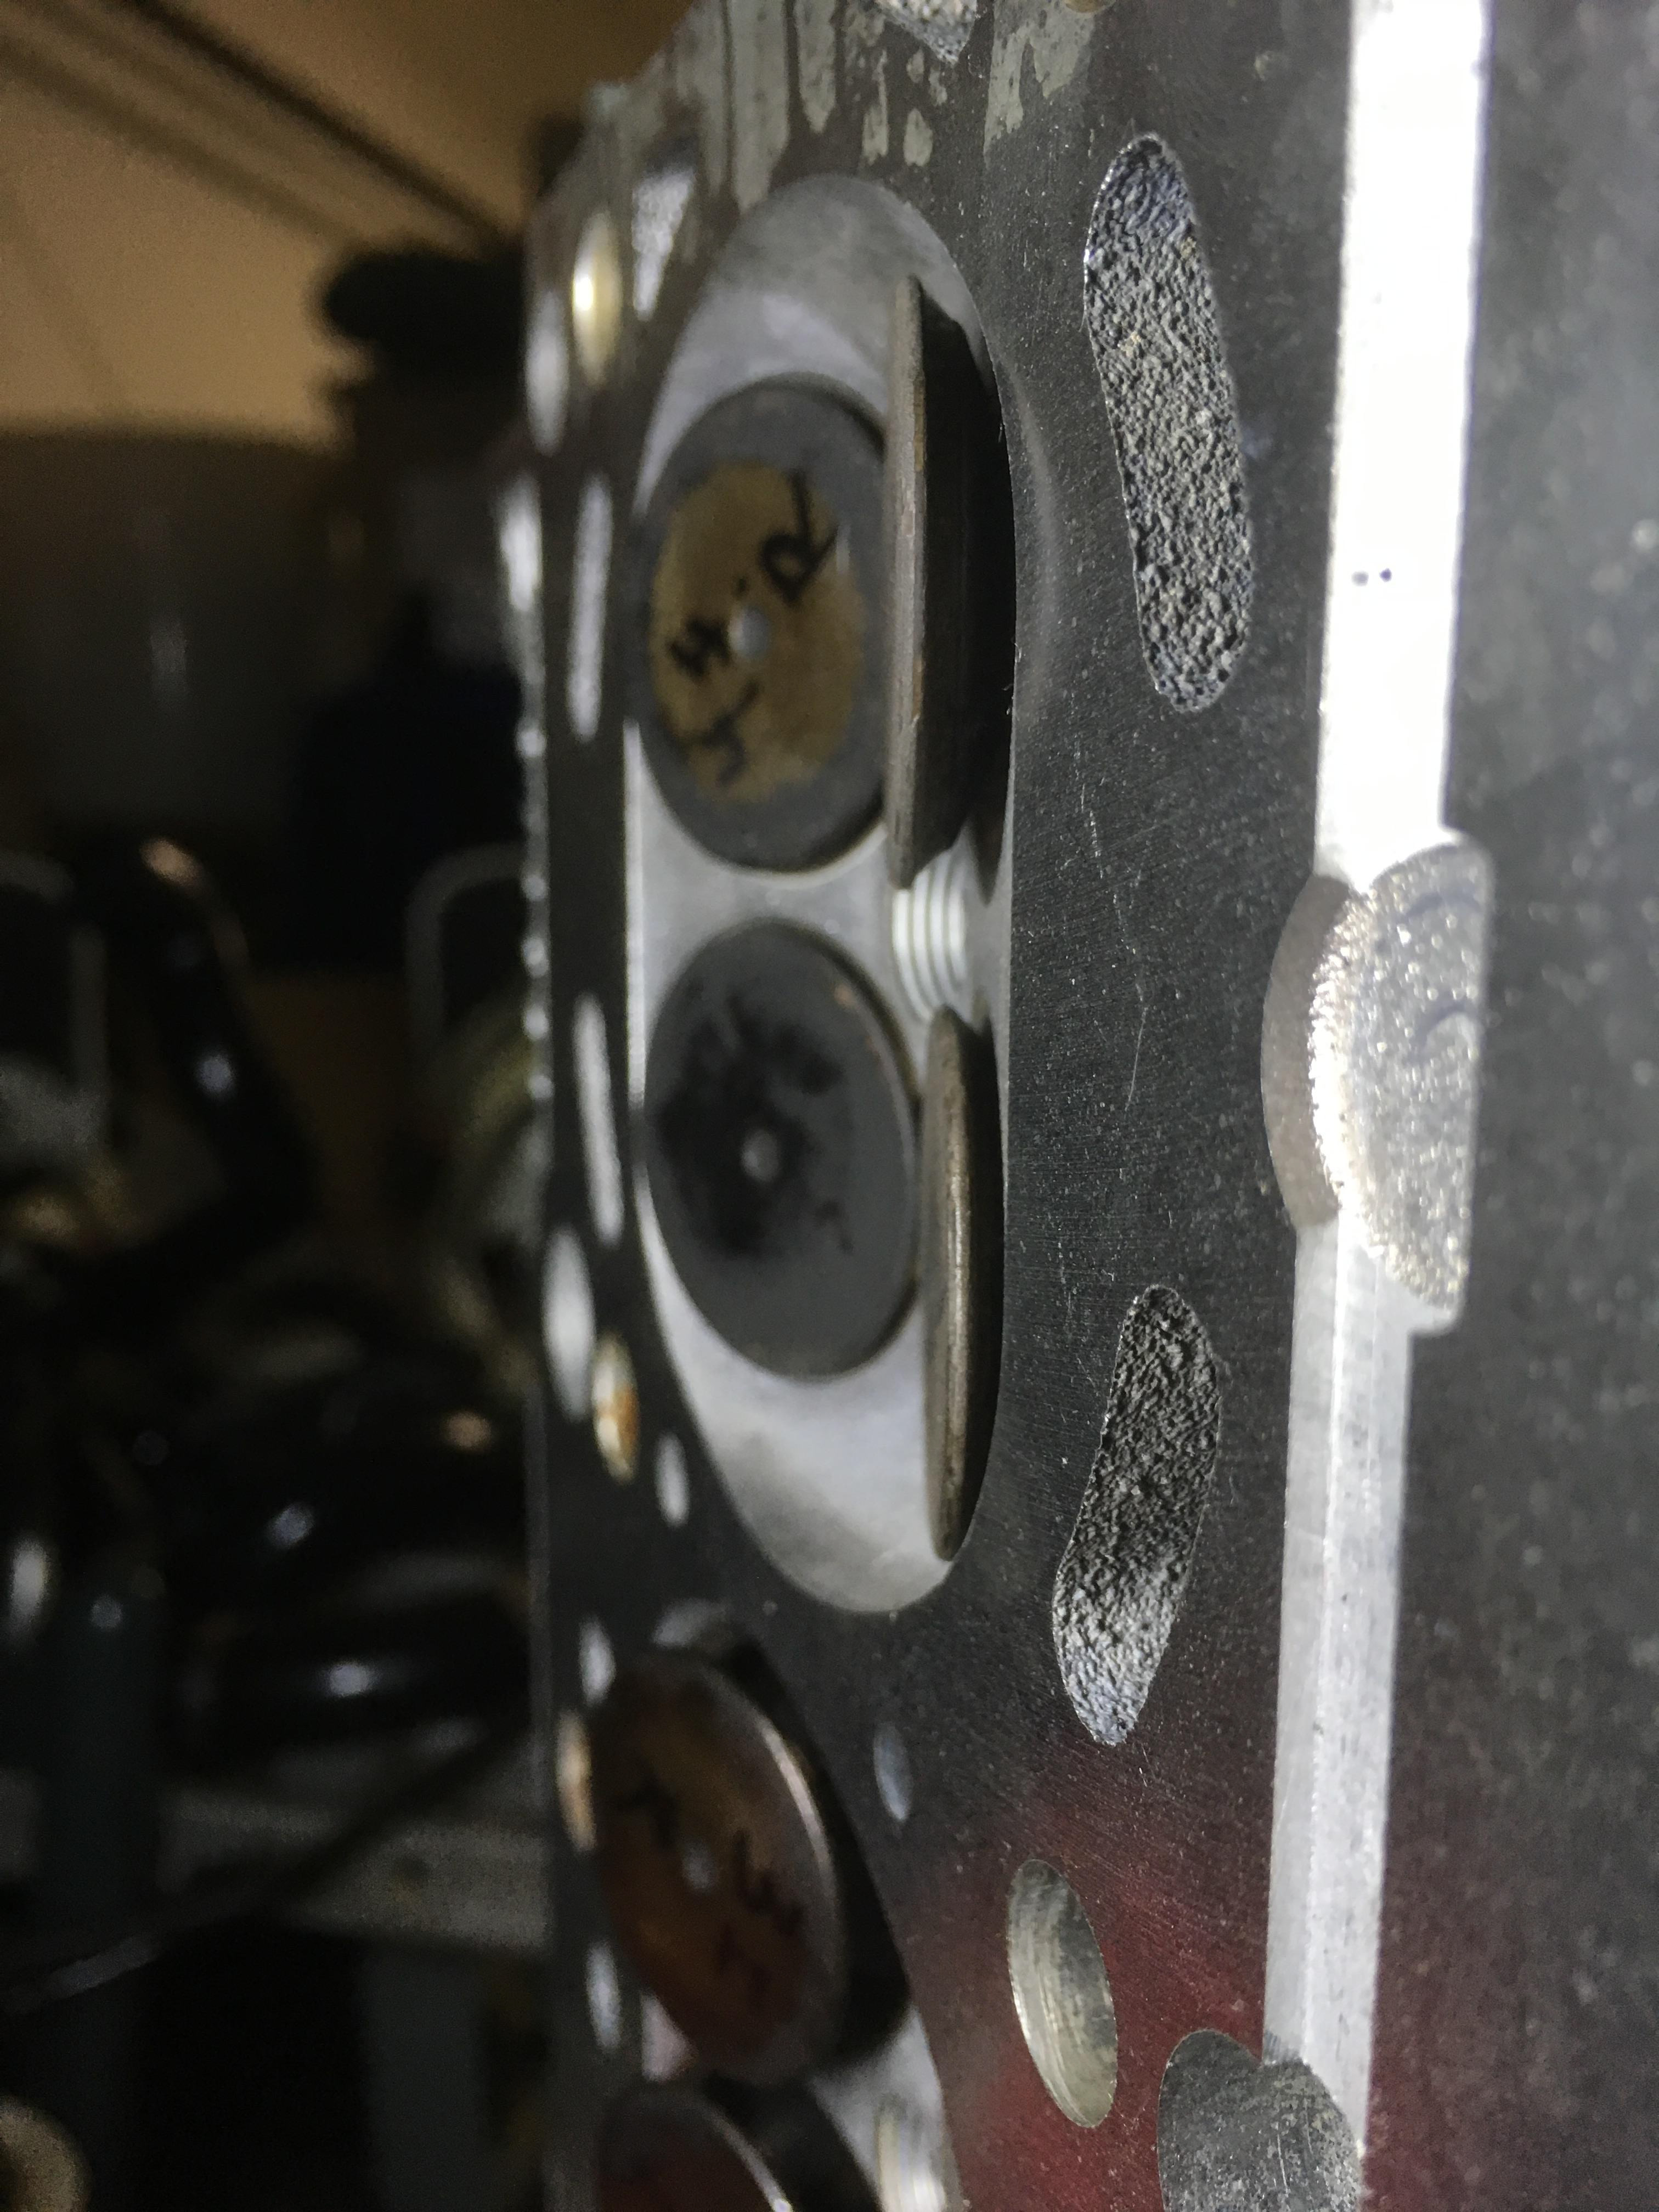
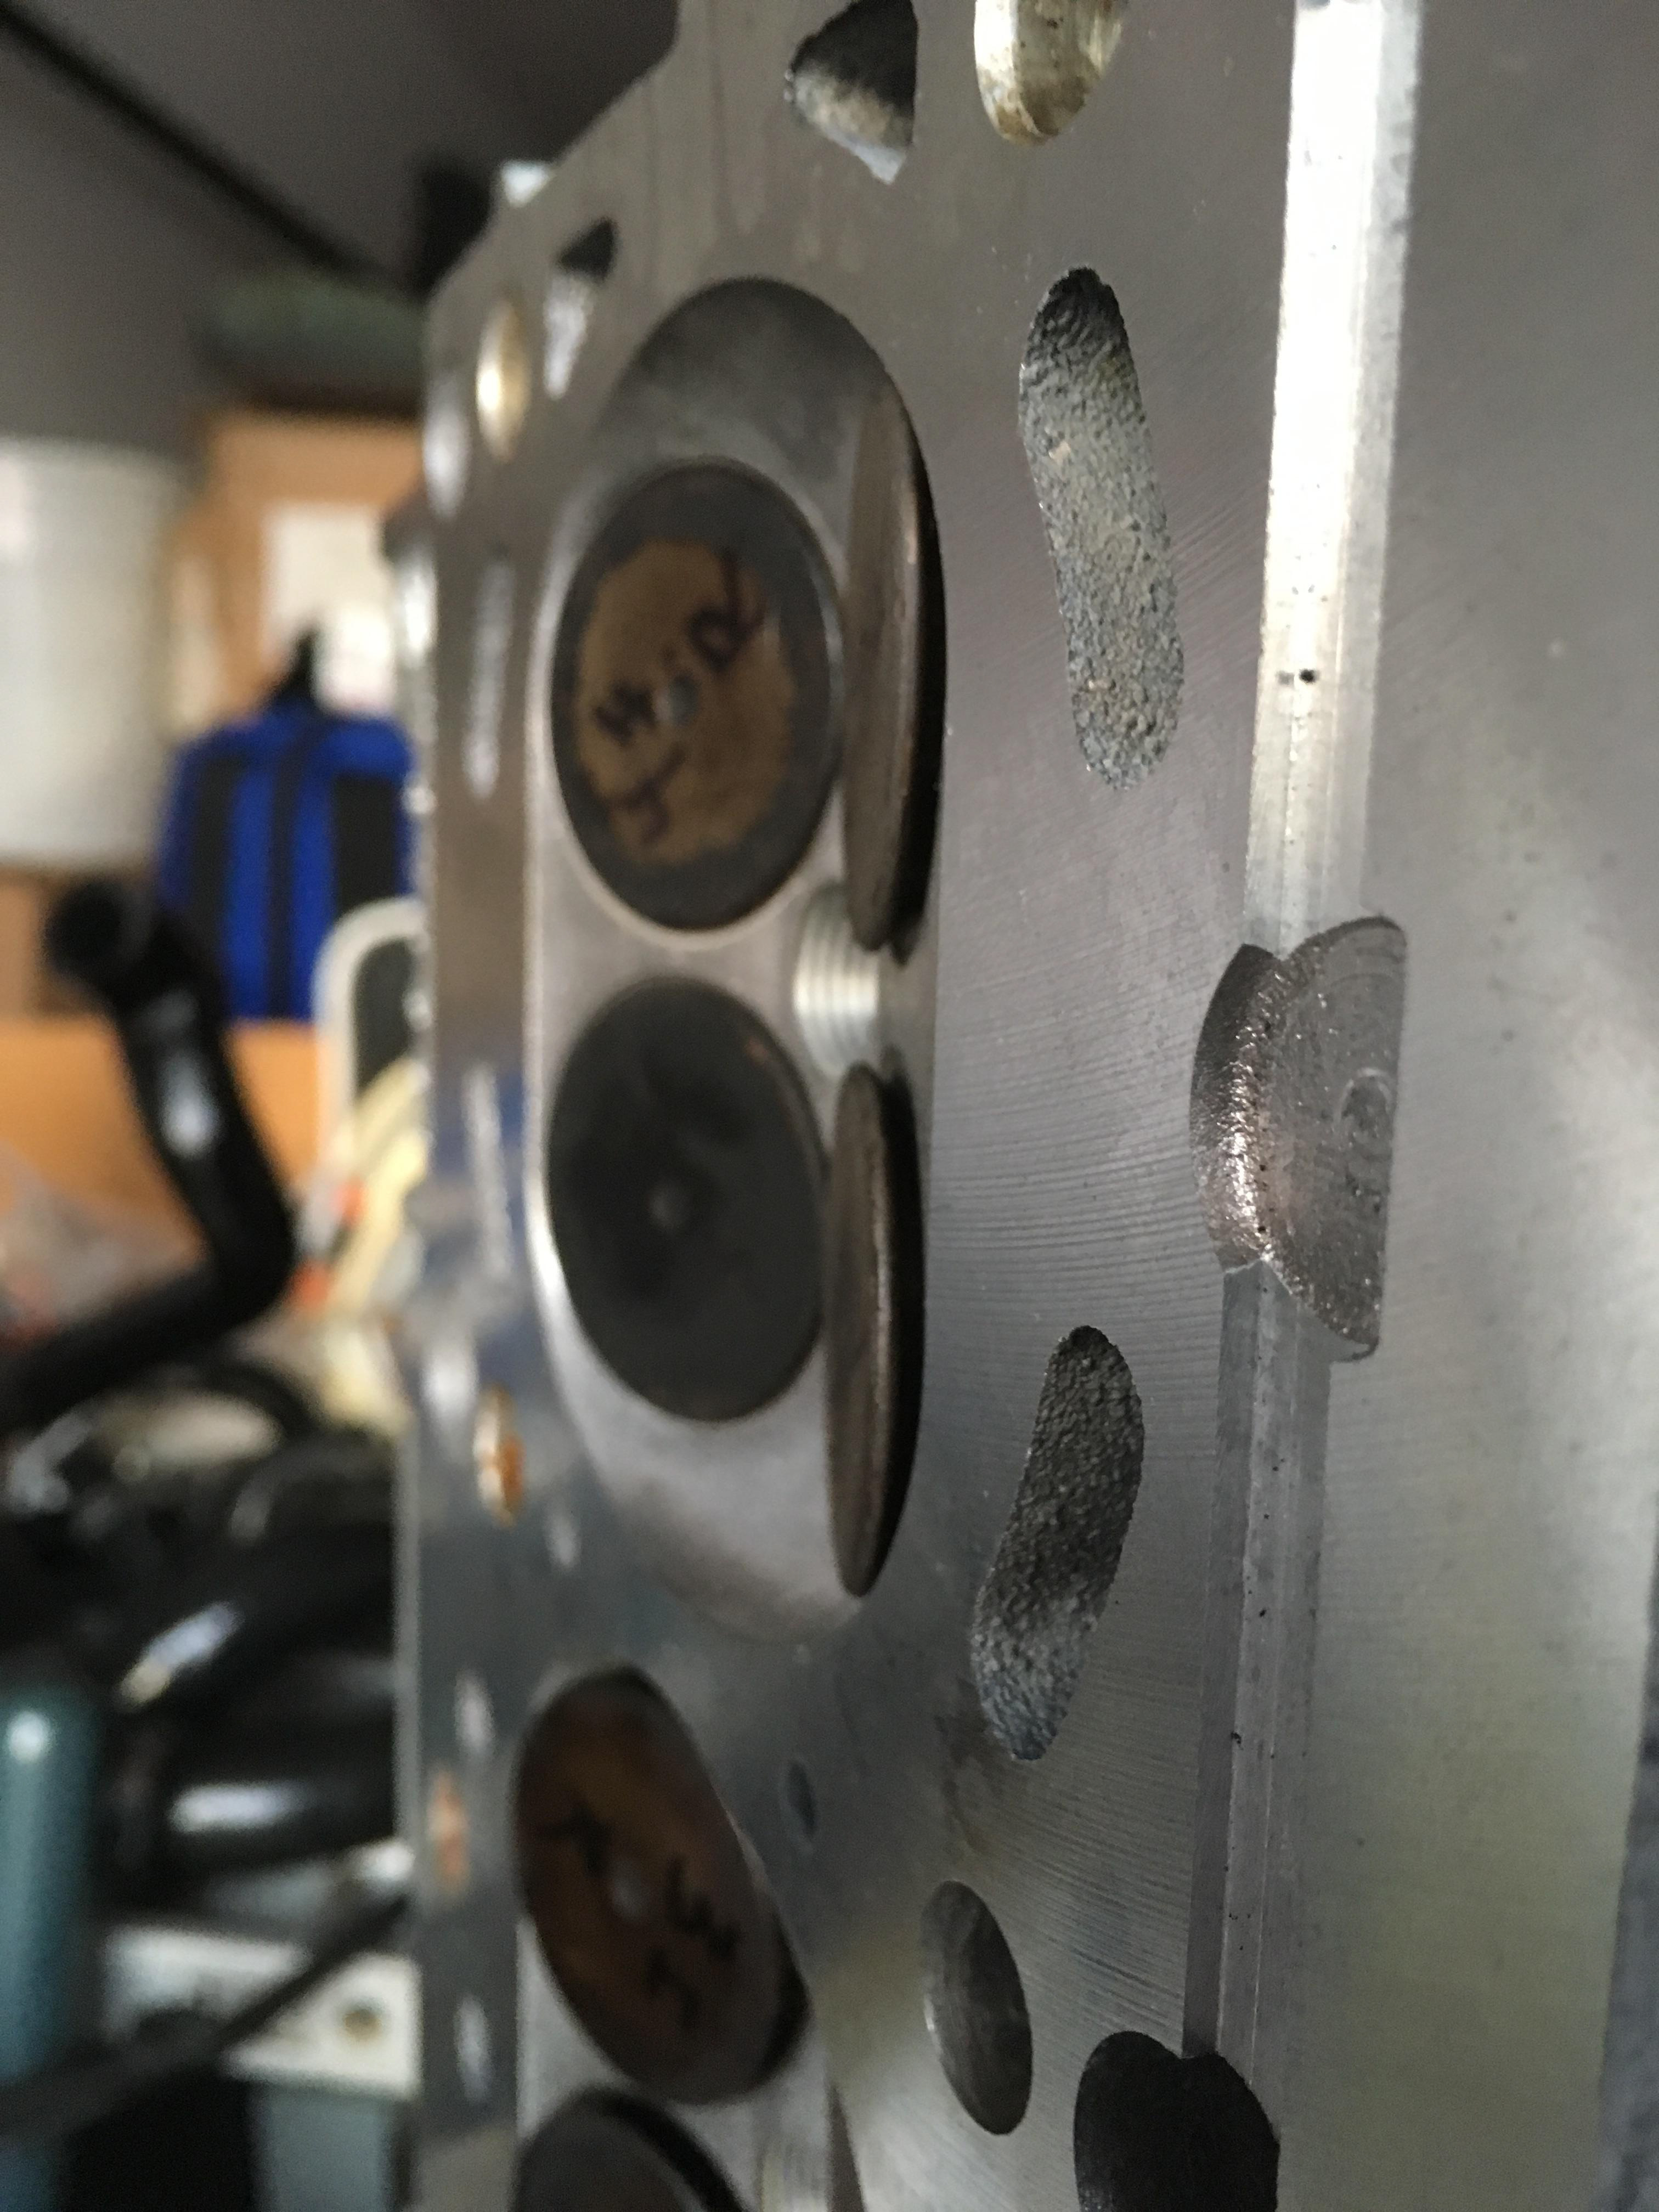
With the head removed, the camshafts were unbolted and removed, along with the hydraulic tappets. Valves were removed by compressing the spring, pulling apart the retainer, and removing all components. It is important to keep all of the valves in order, else they need to be lapped to fit back into their respective holes in the head. Valve stem seals were removed and thrown away, and all studs were removed by tightening two nuts against one another and using the interior nut to loosen and back out the stud. With all hardware removed, the cylinder head was sent to a local automotive machine shop to be cleaned and resurfaced. While the head was in the machine shop, the other parts were cleaned and painted.

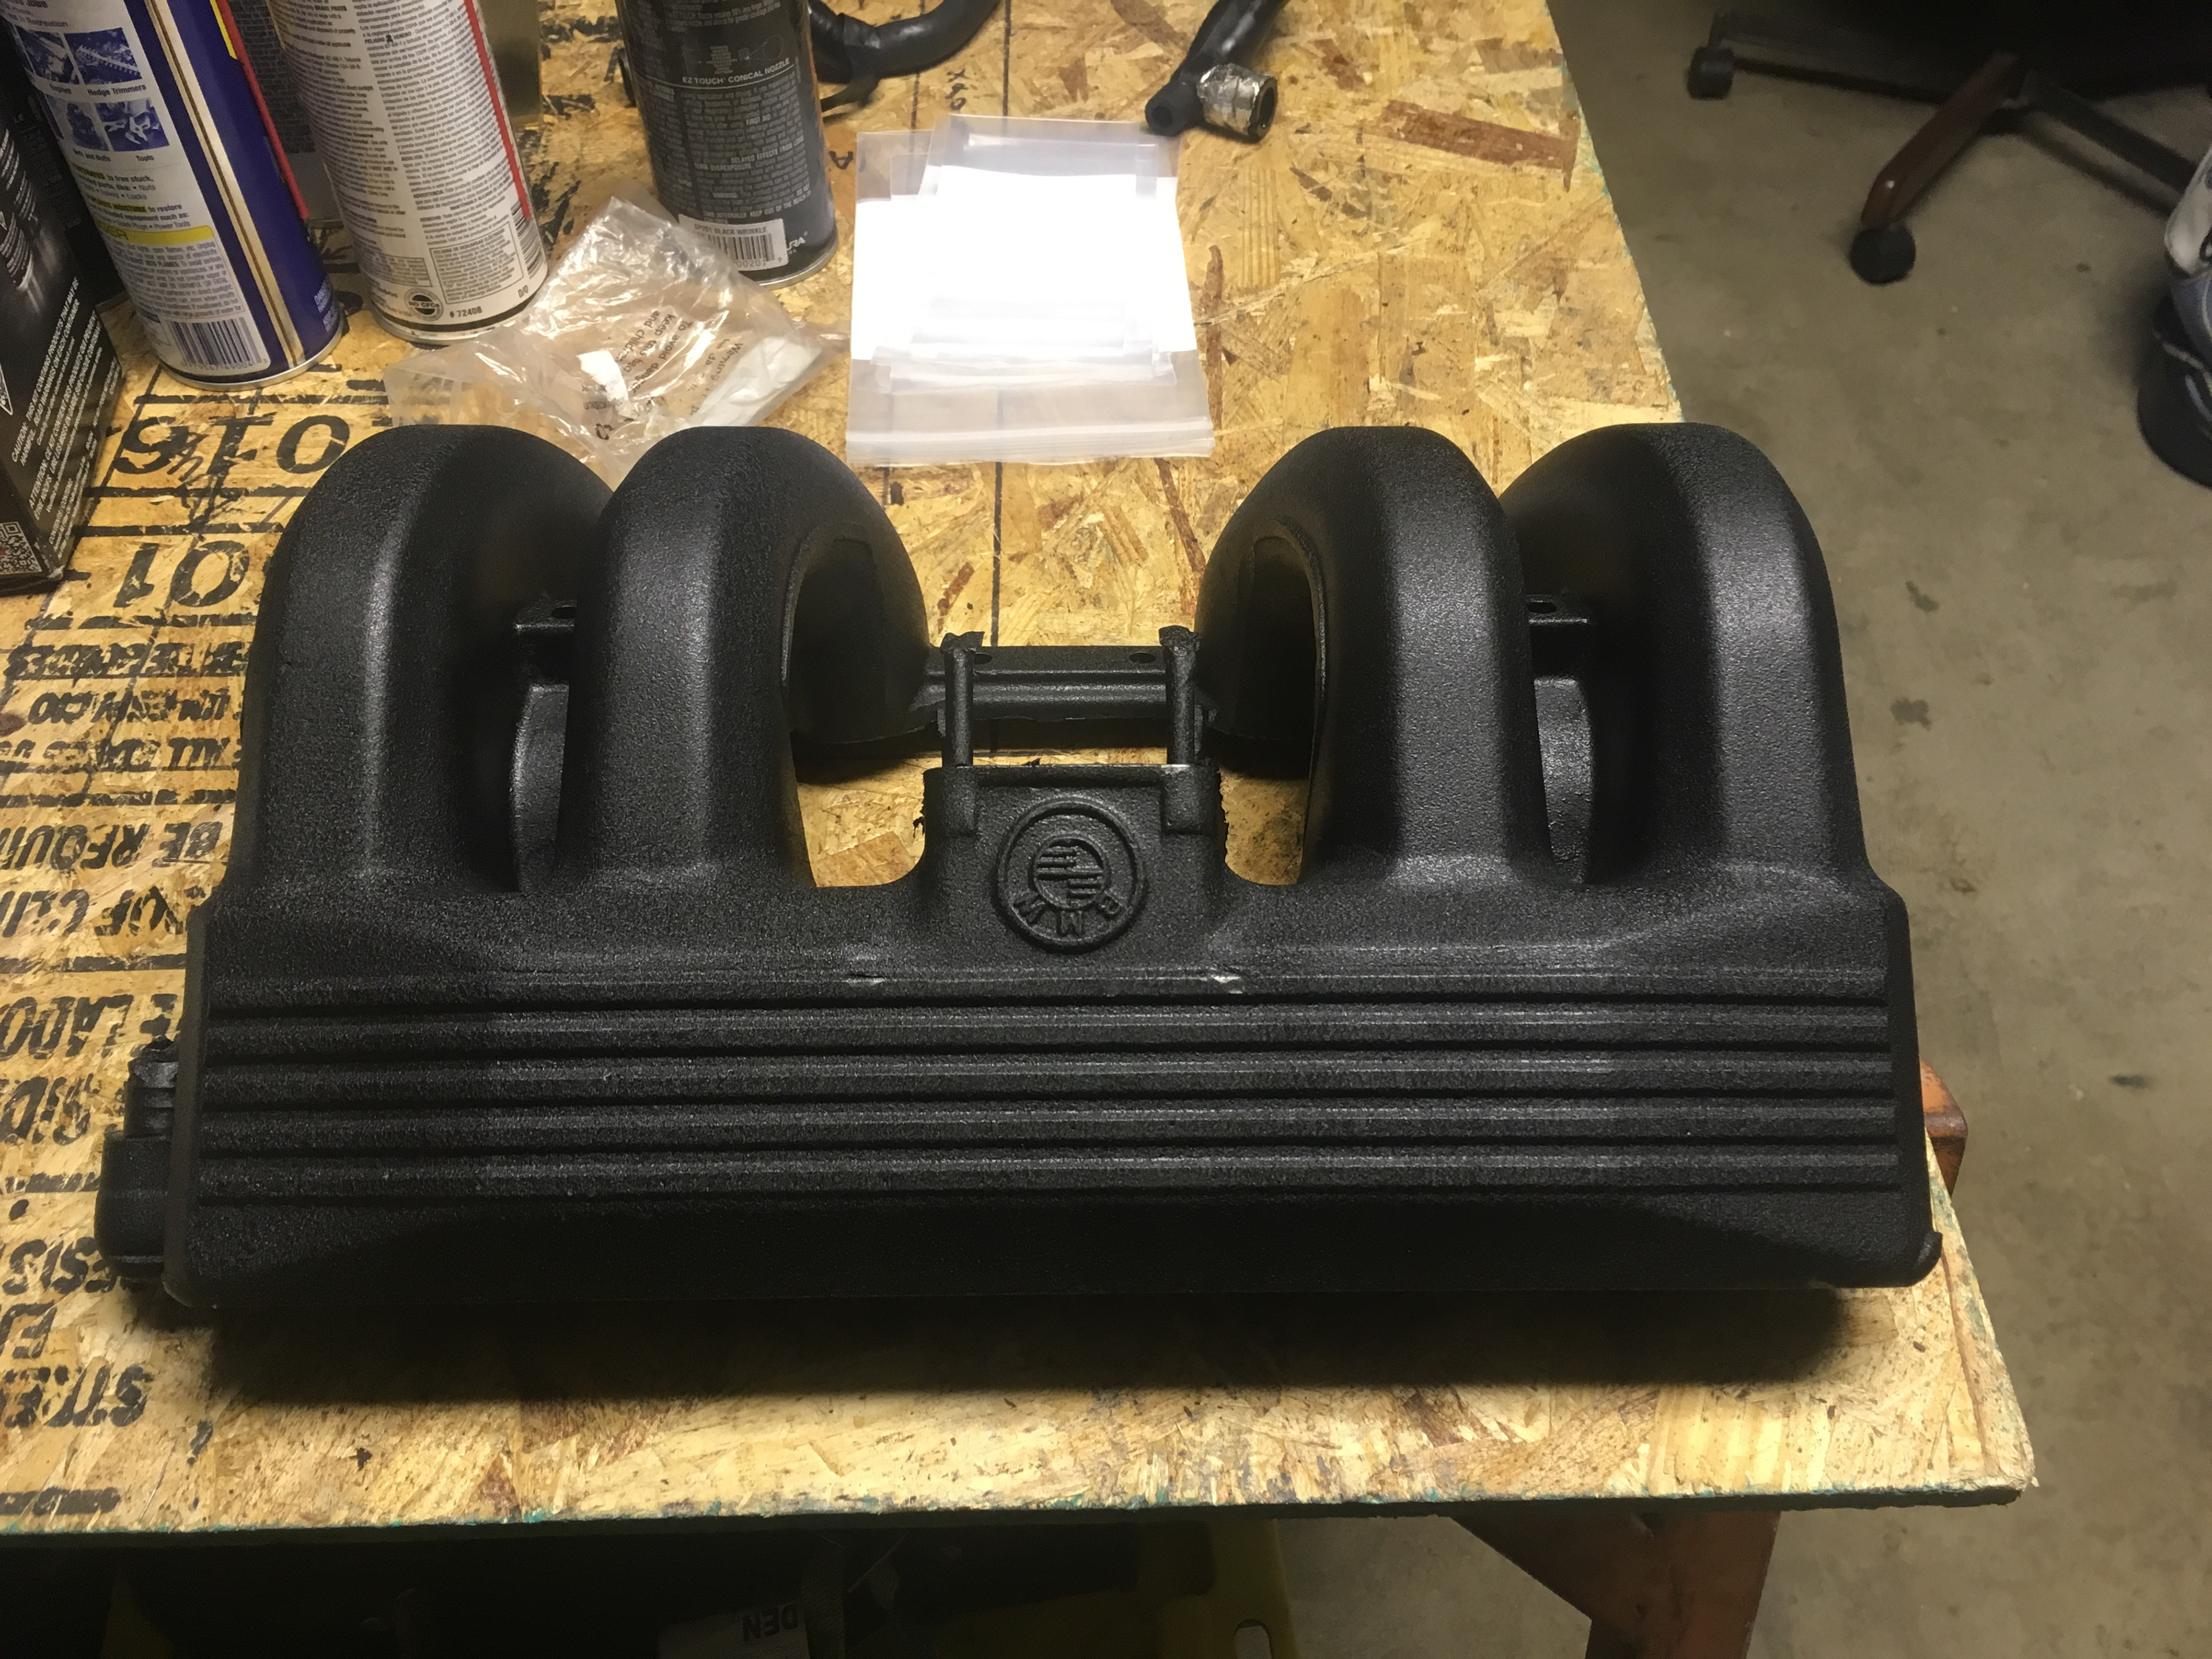
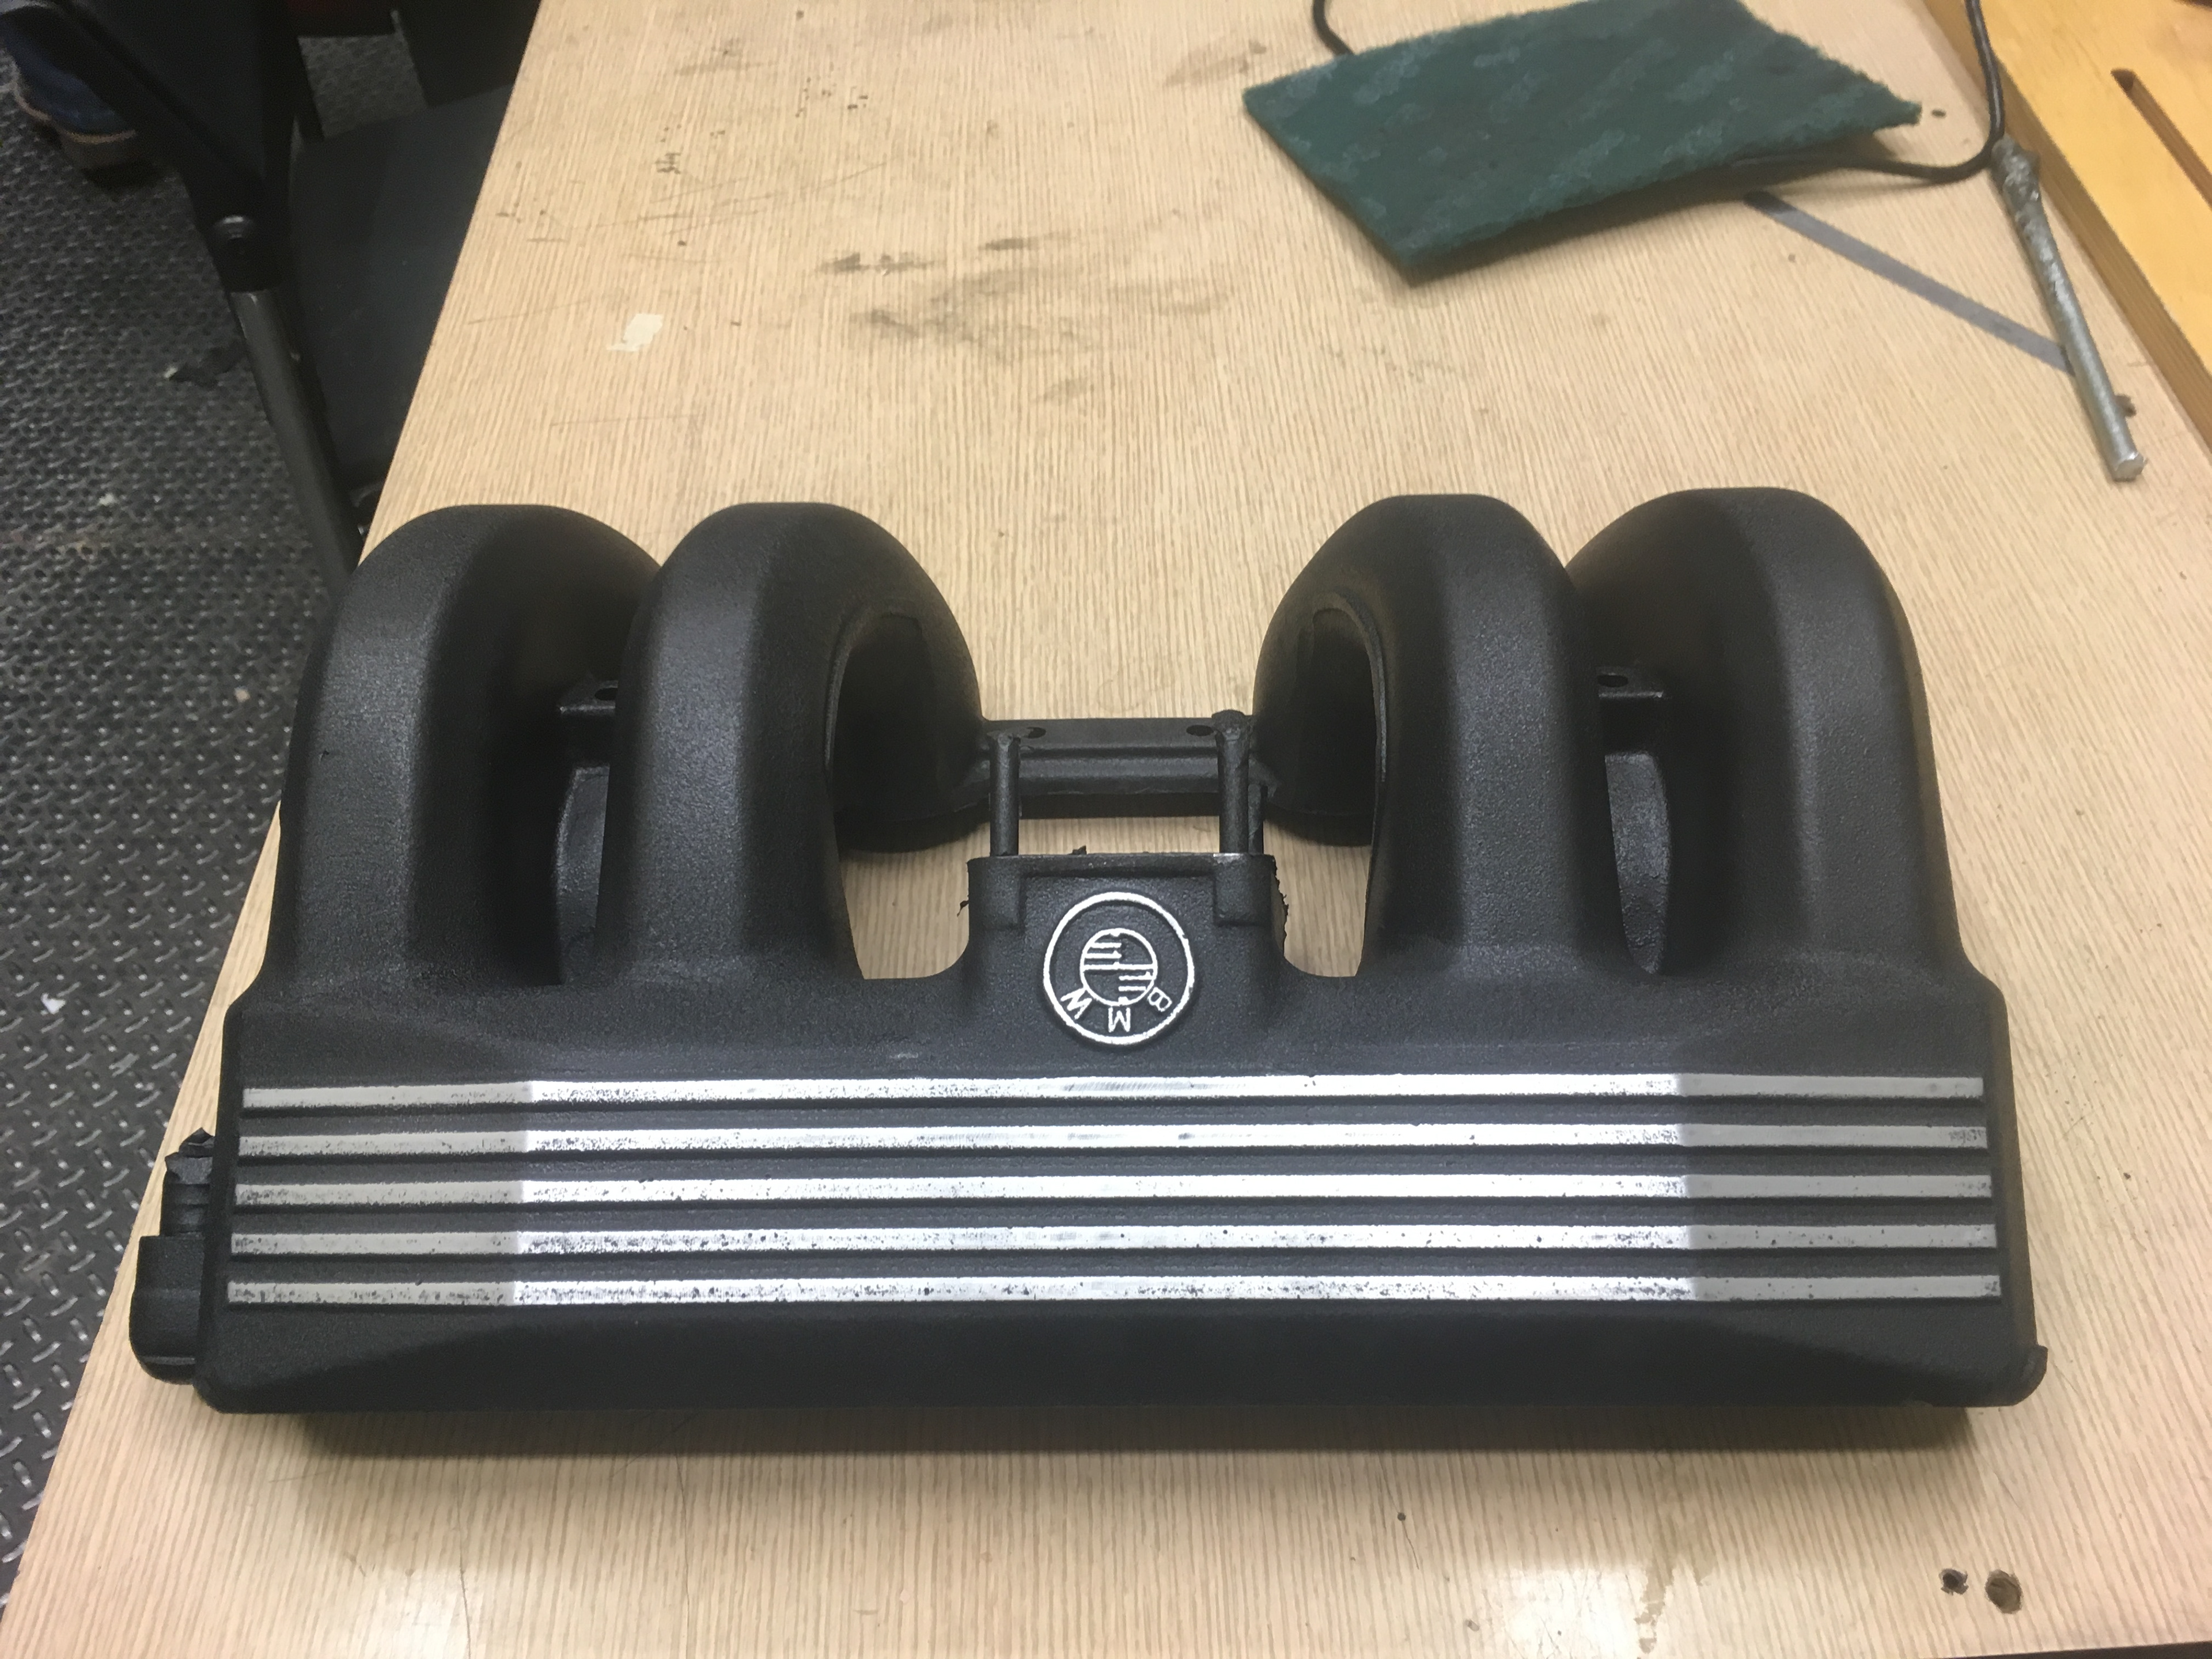
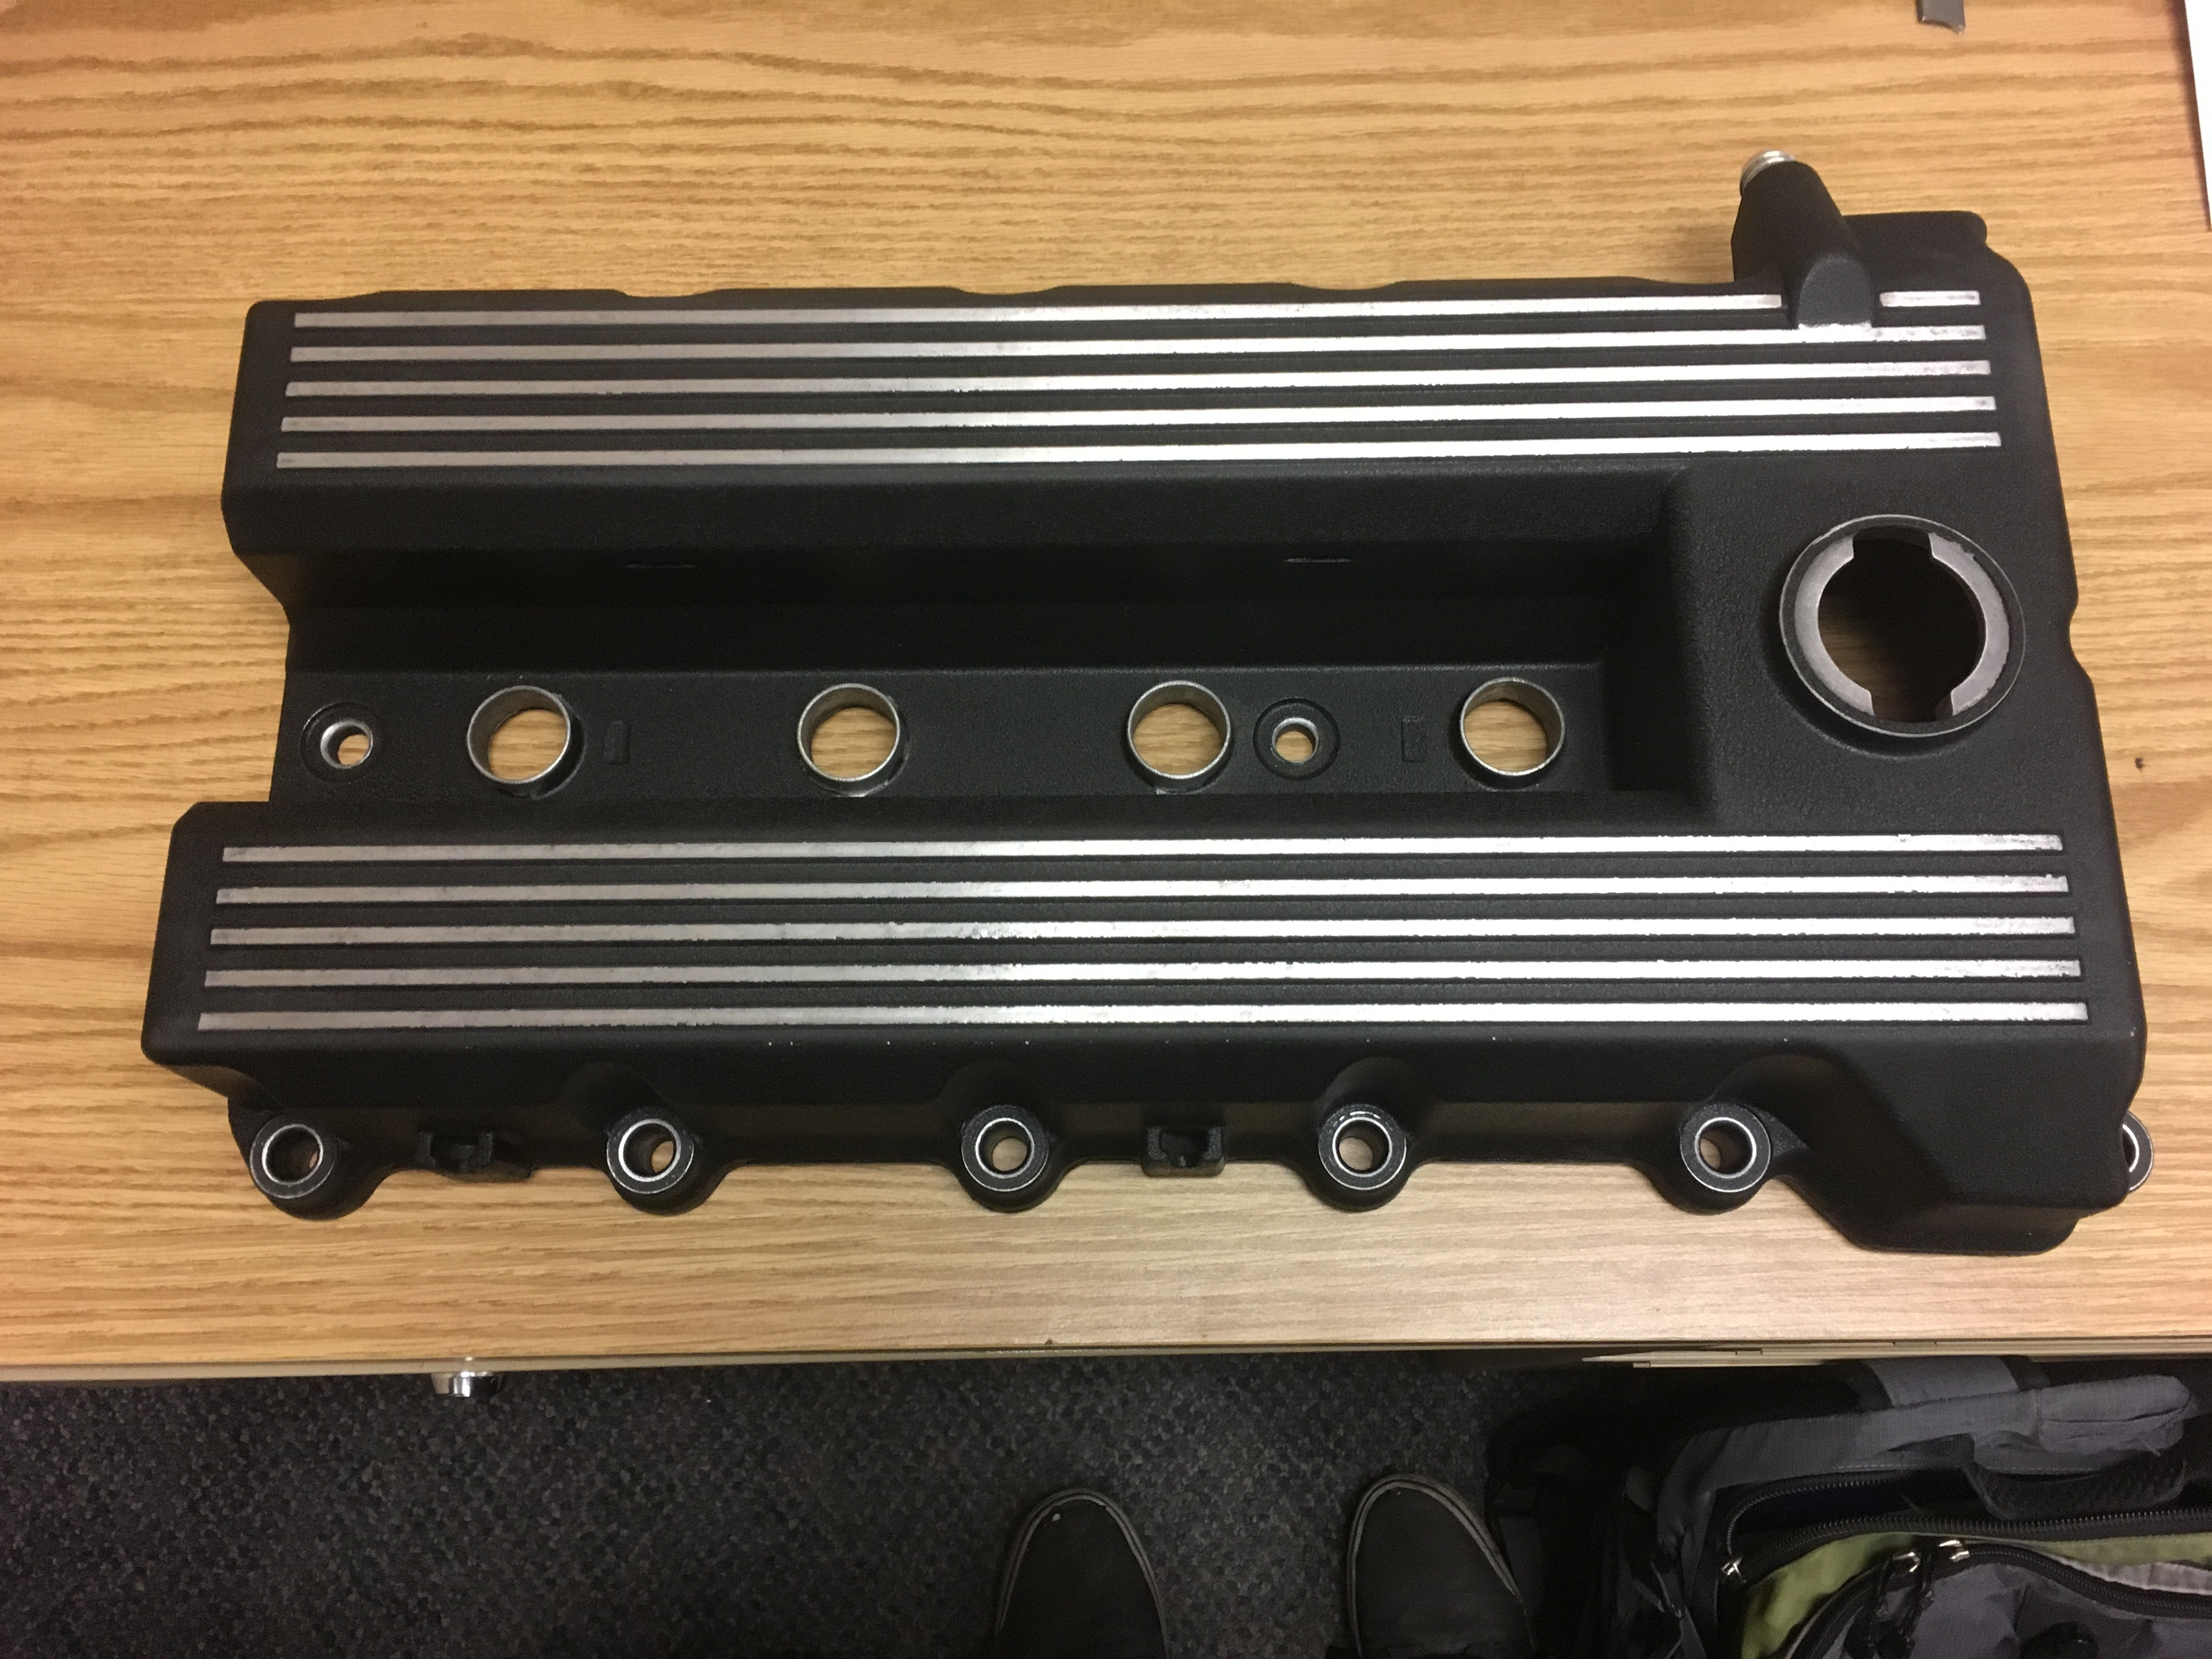
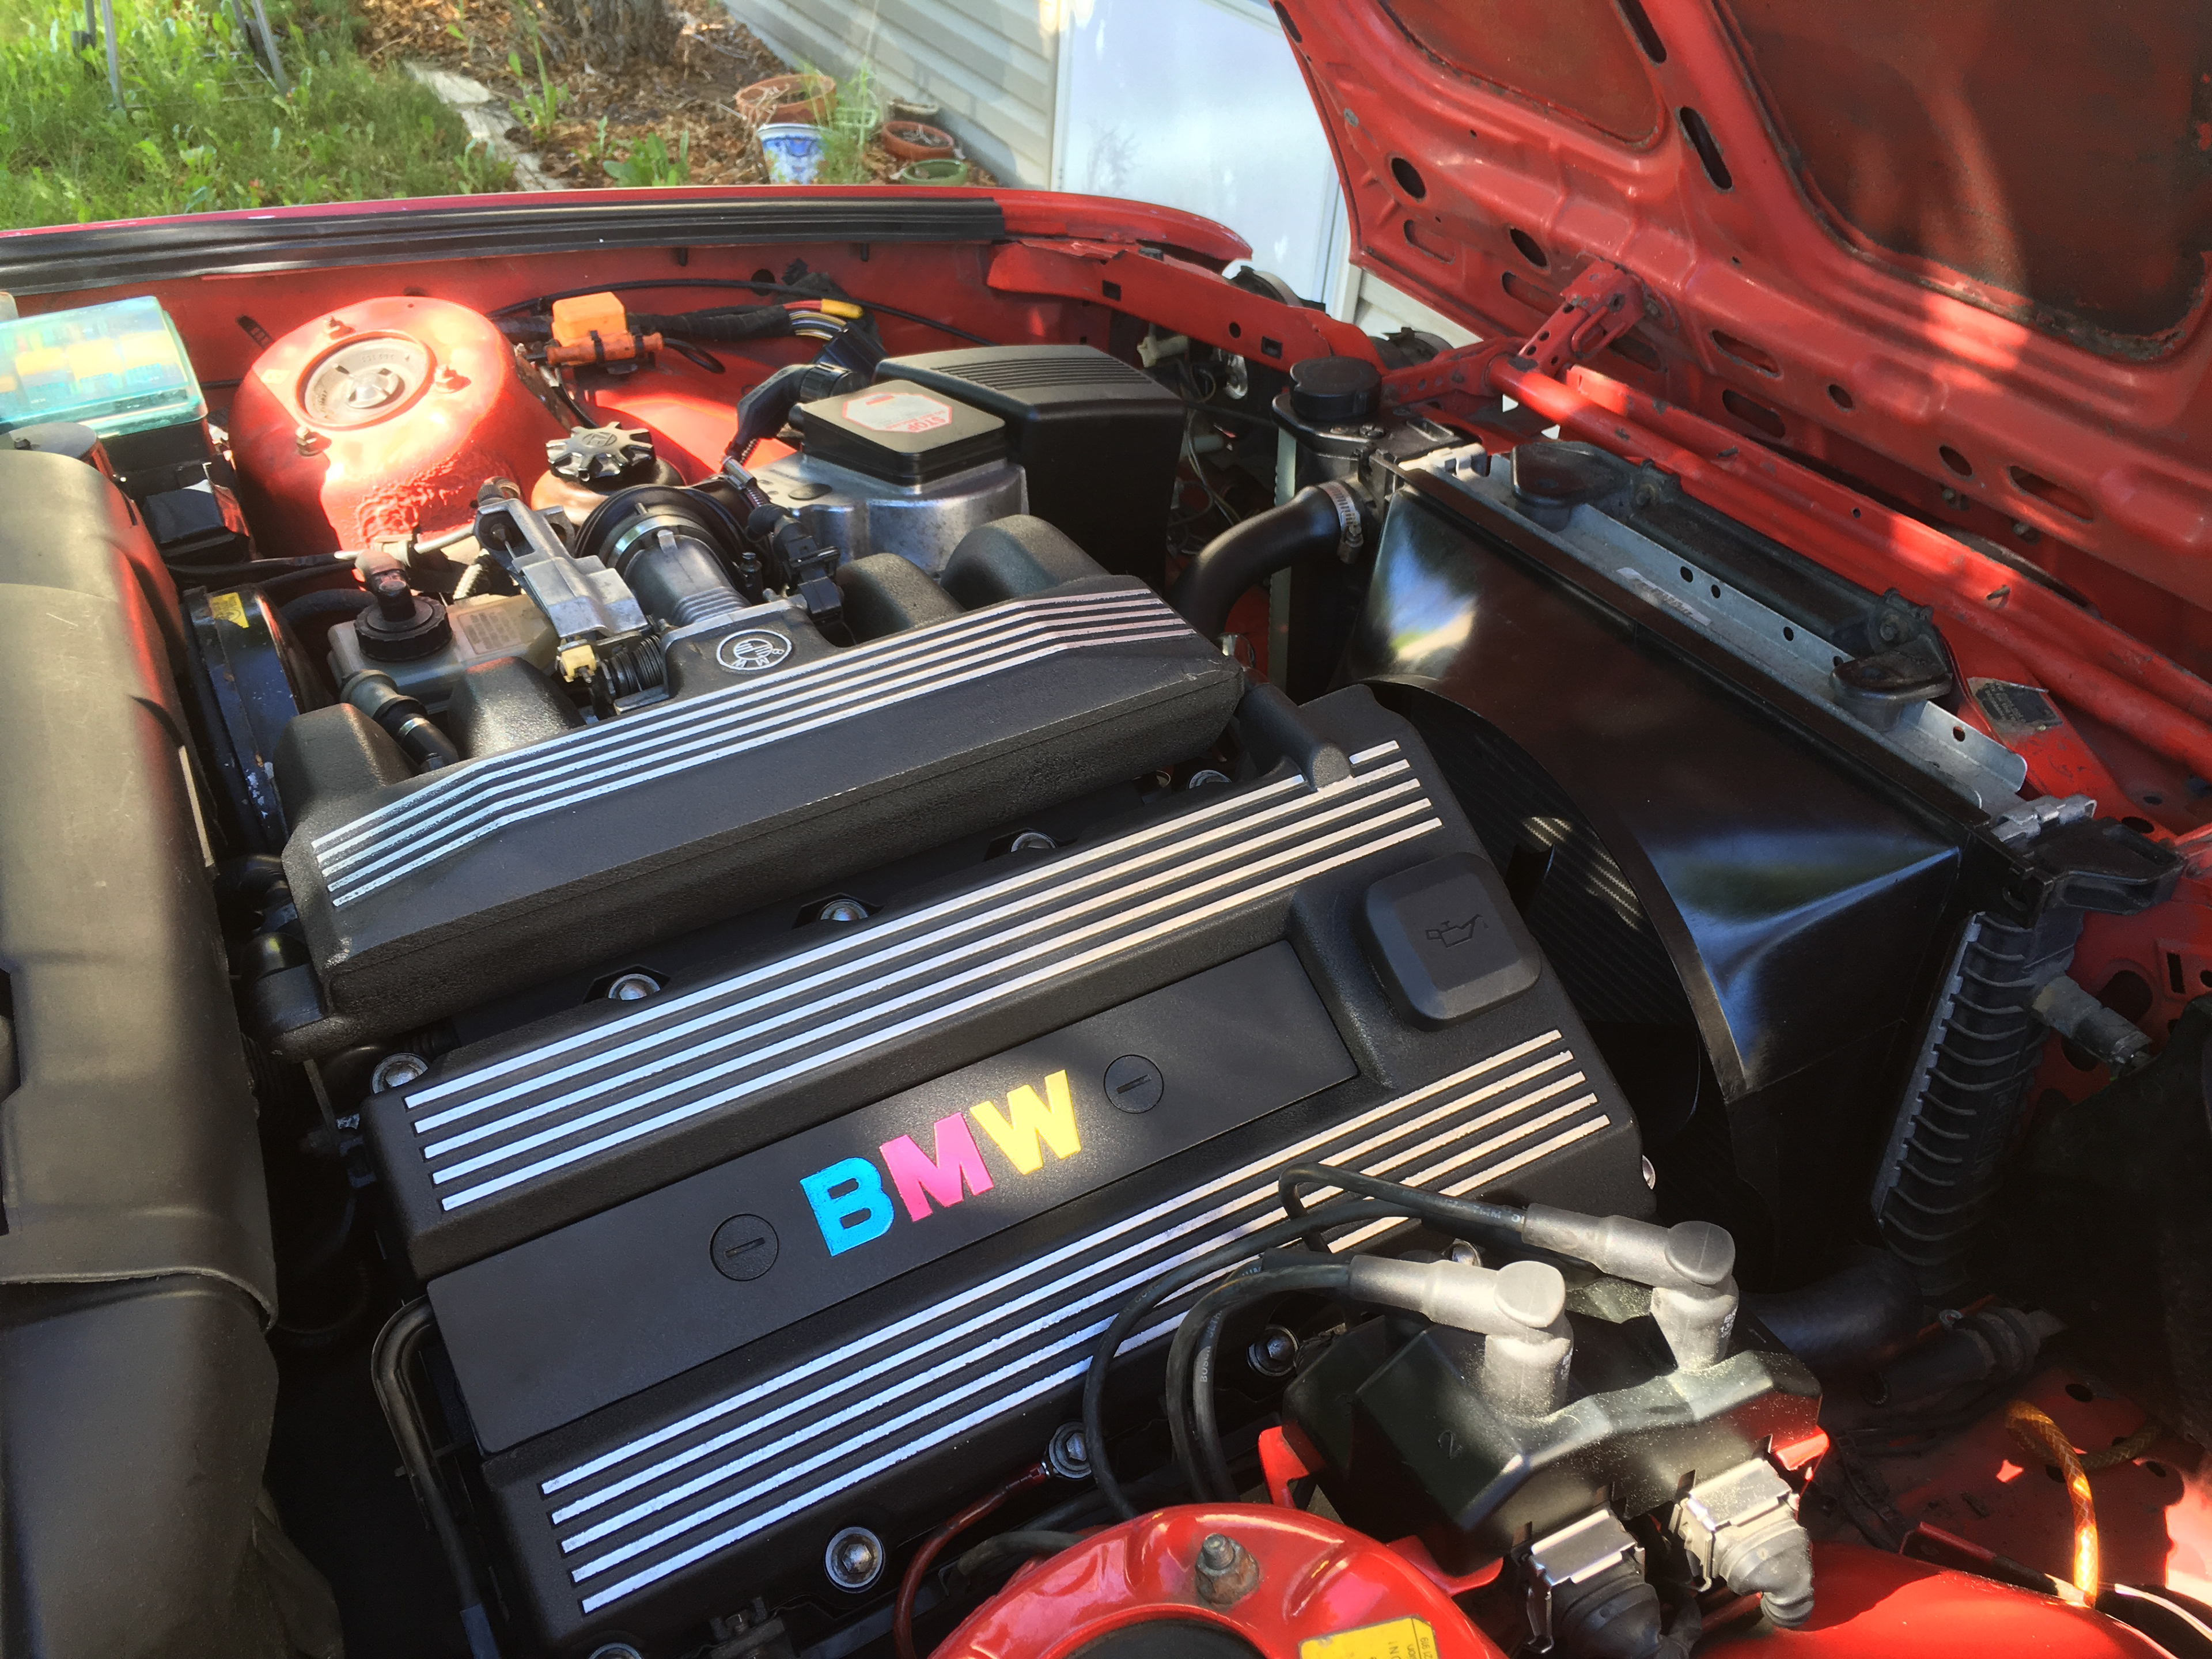
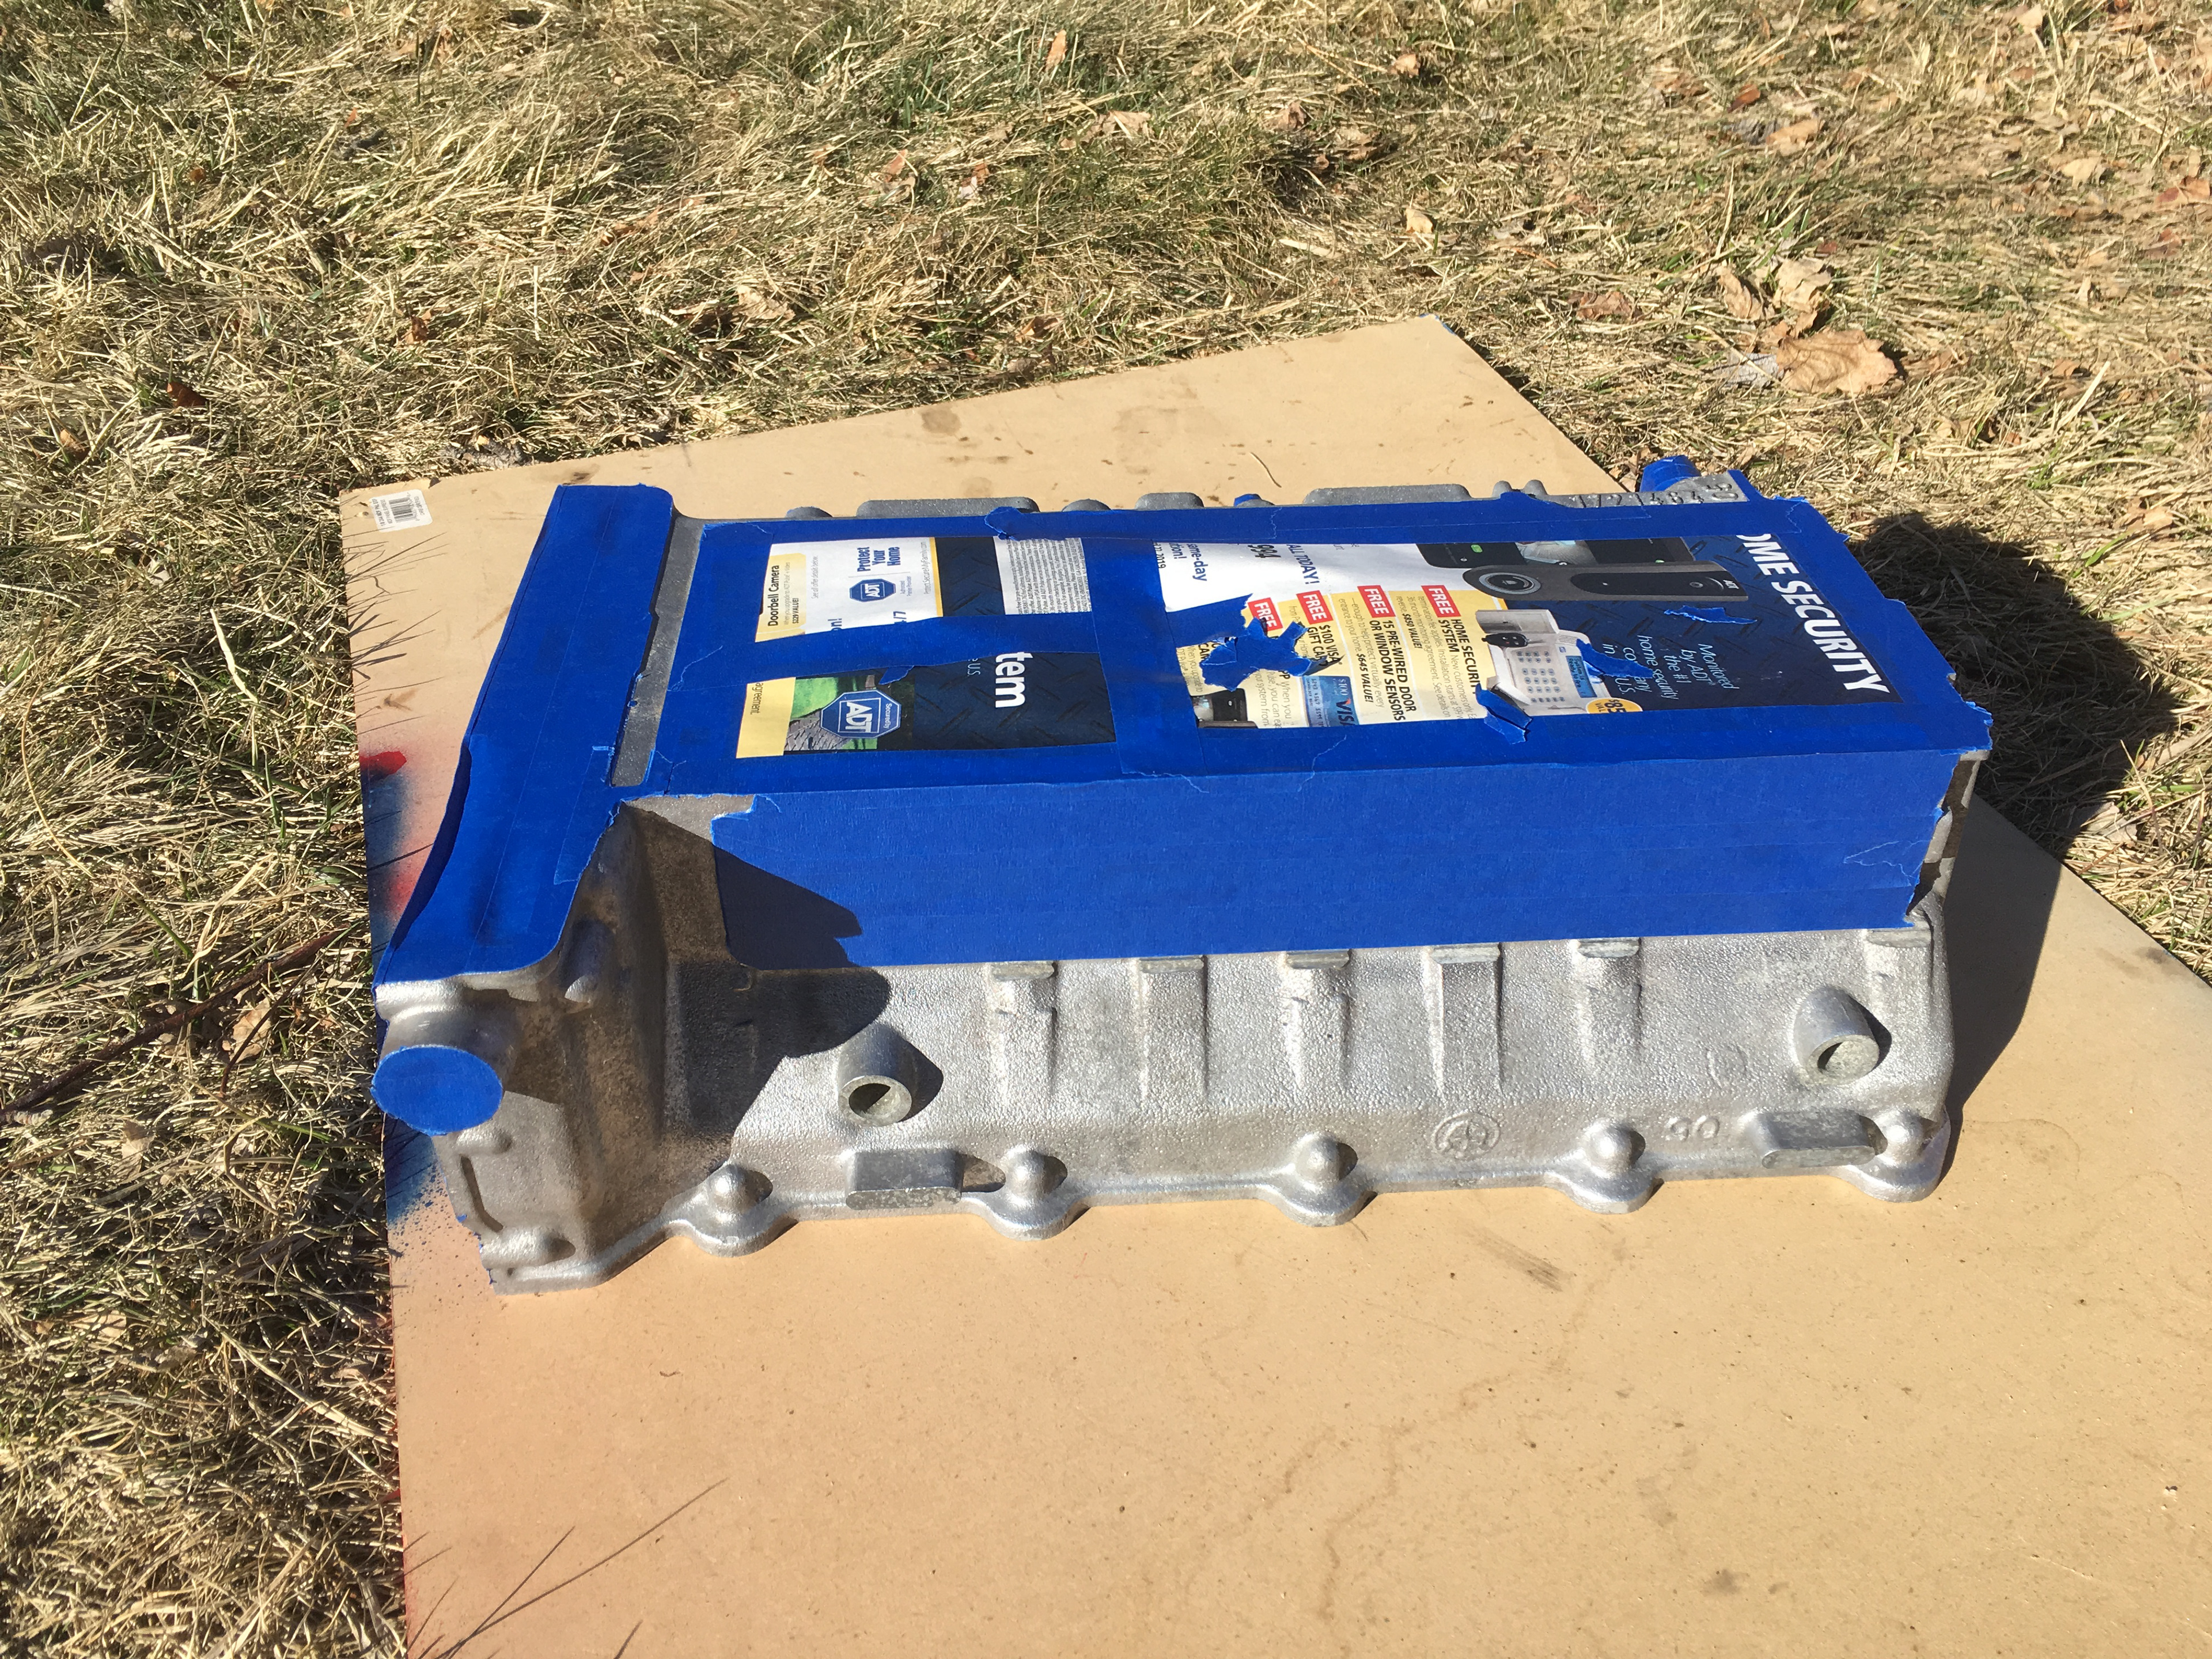
Once the head was returned from the shop, the internals and mating surfaces were masked off for paint. The head was painted with a high-temperature ceramic paint as well as a ceramic clear coat to give it a clean and durable finish. After sufficient drying time, the reassembly process began. New valves seals were installed, and the hardware, valves, and camshafts were re-installed on the head. This assembly sat overnight before assembly on the vehicle to allow the hydraulic tappets to settle and eliminate valve gaps.
With the engine head reassembled, the new head gasket was installed and the head rested on top. Prior to installation, the gasket was sprayed with a copper sealant to further prevent loss of compression in the future. The new head bolts were oiled and hand-threaded into the block. Old bolts cannot be used because the torque required to secure the head to the block causes the bolts to permanently deform (known as stretch bolts). The bolts were torqued to spec in the proper sequence to prevent distortion of the head.
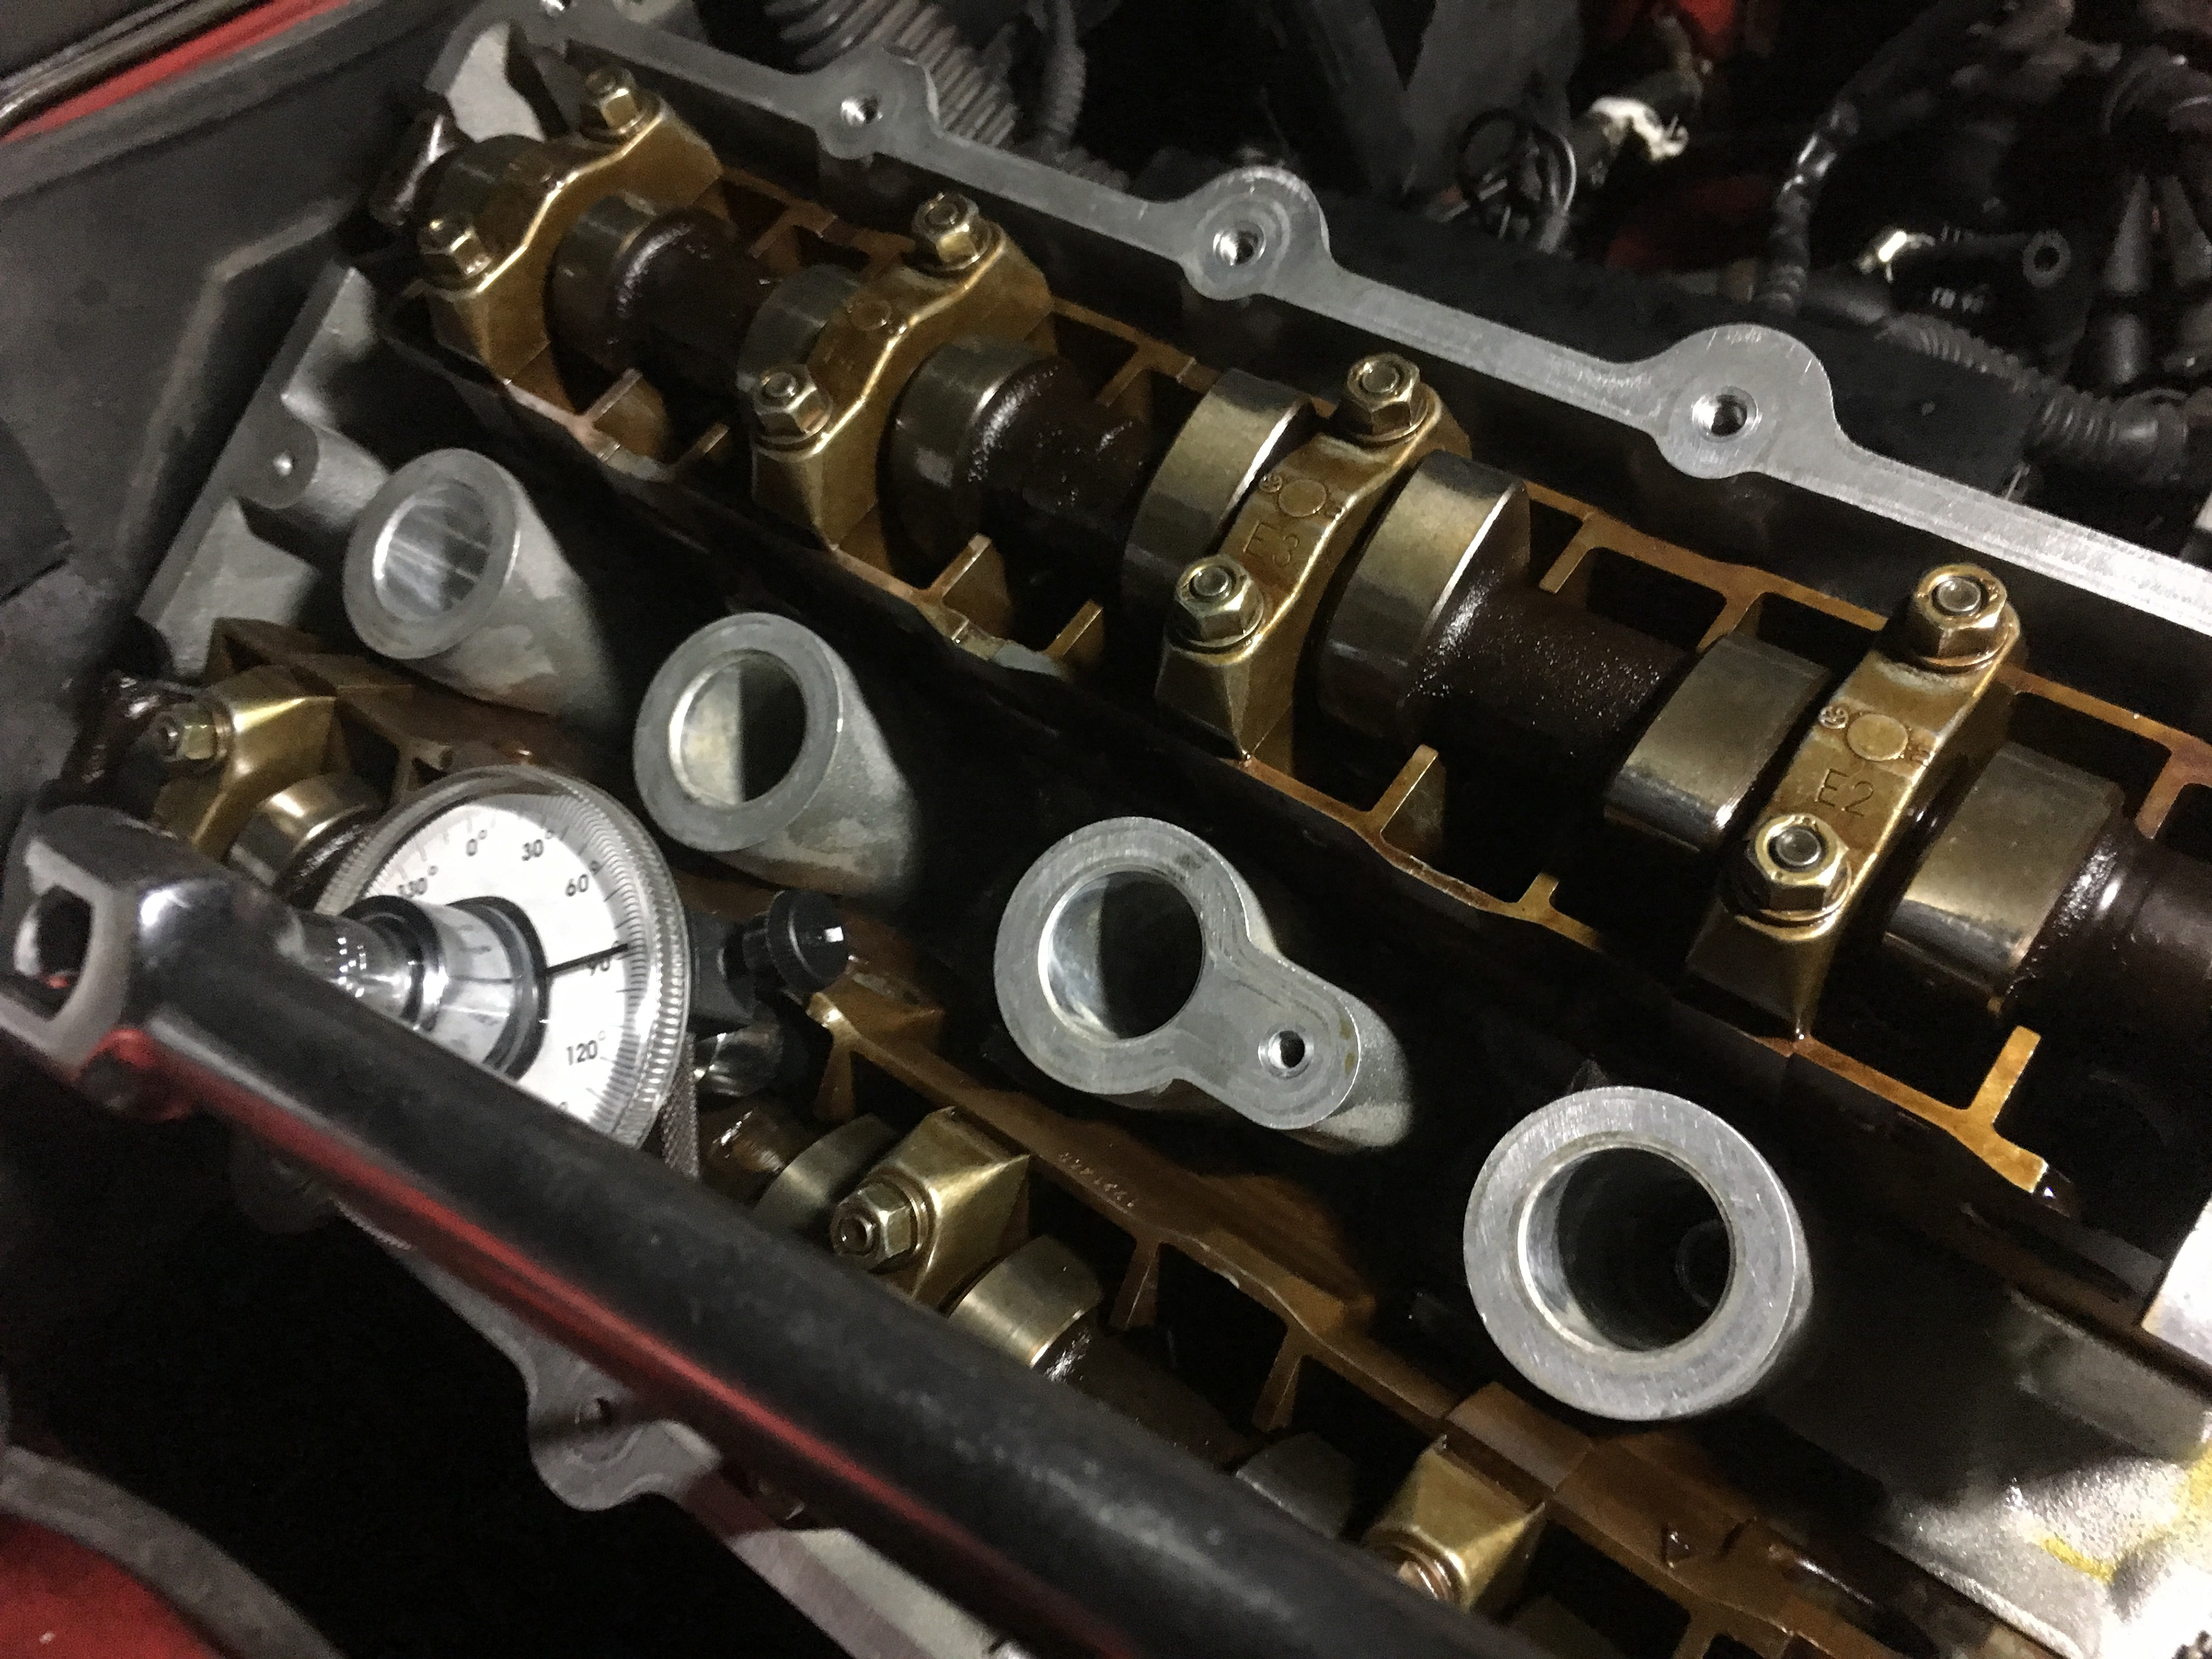
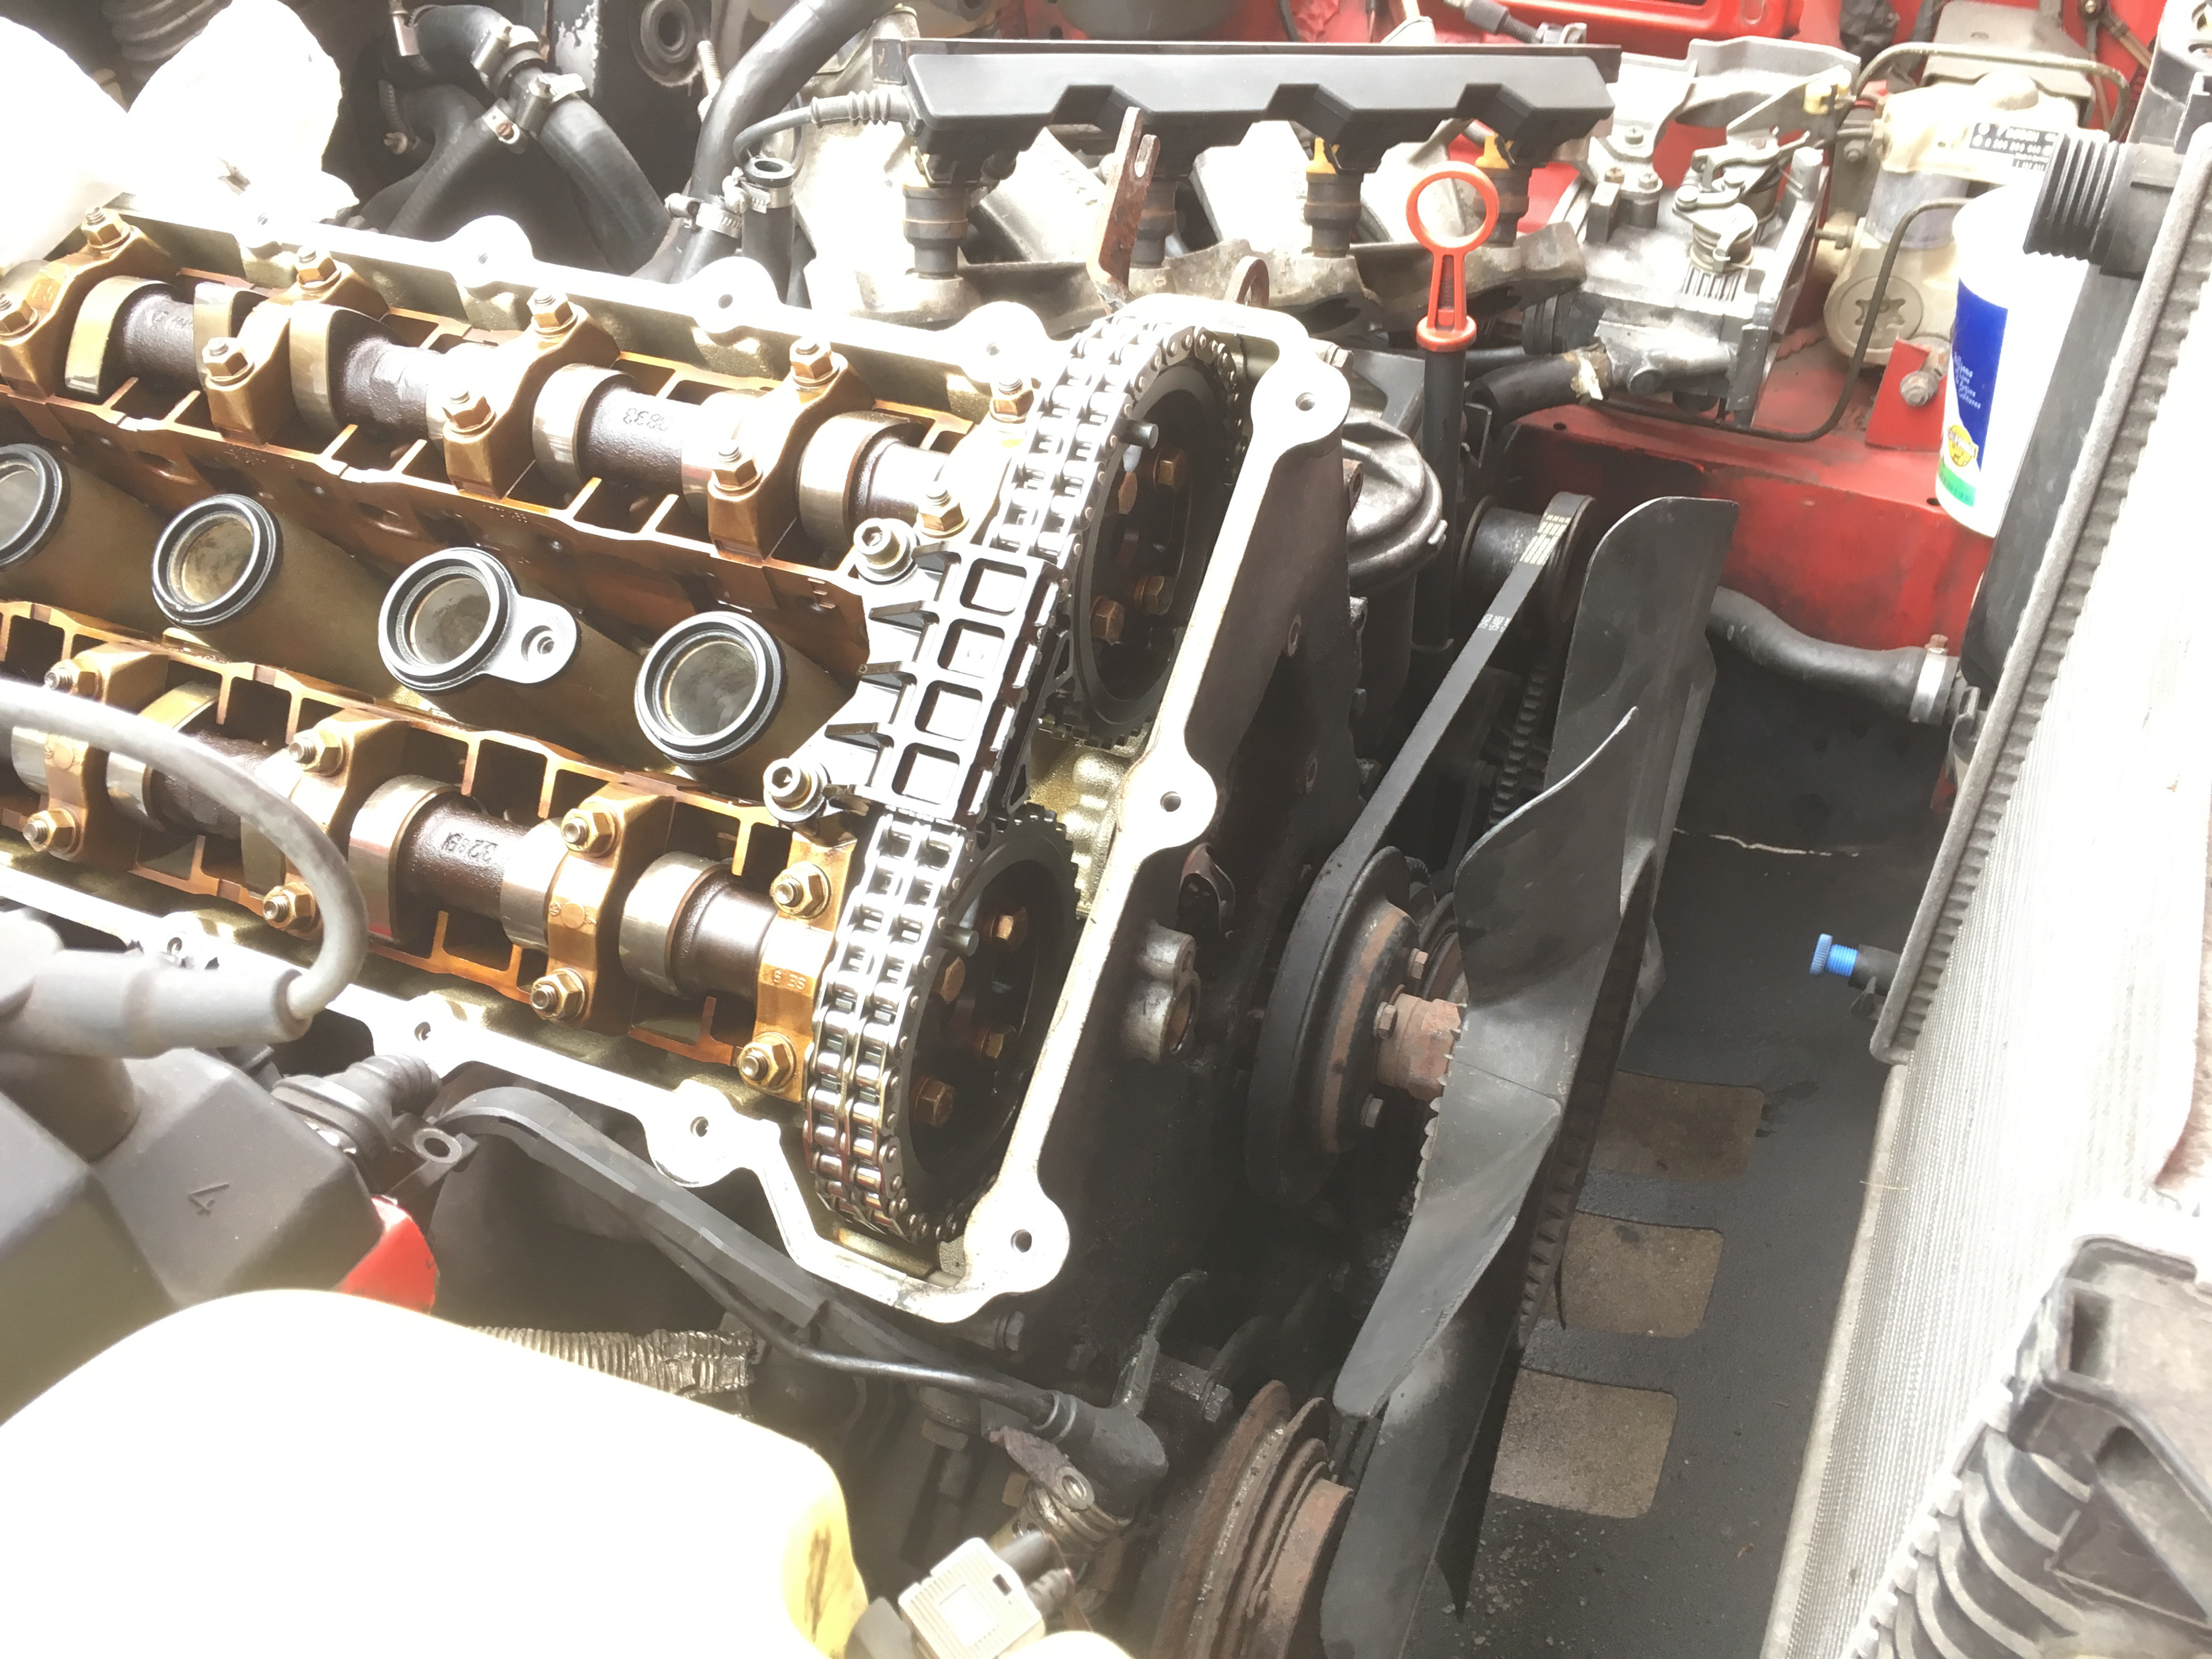
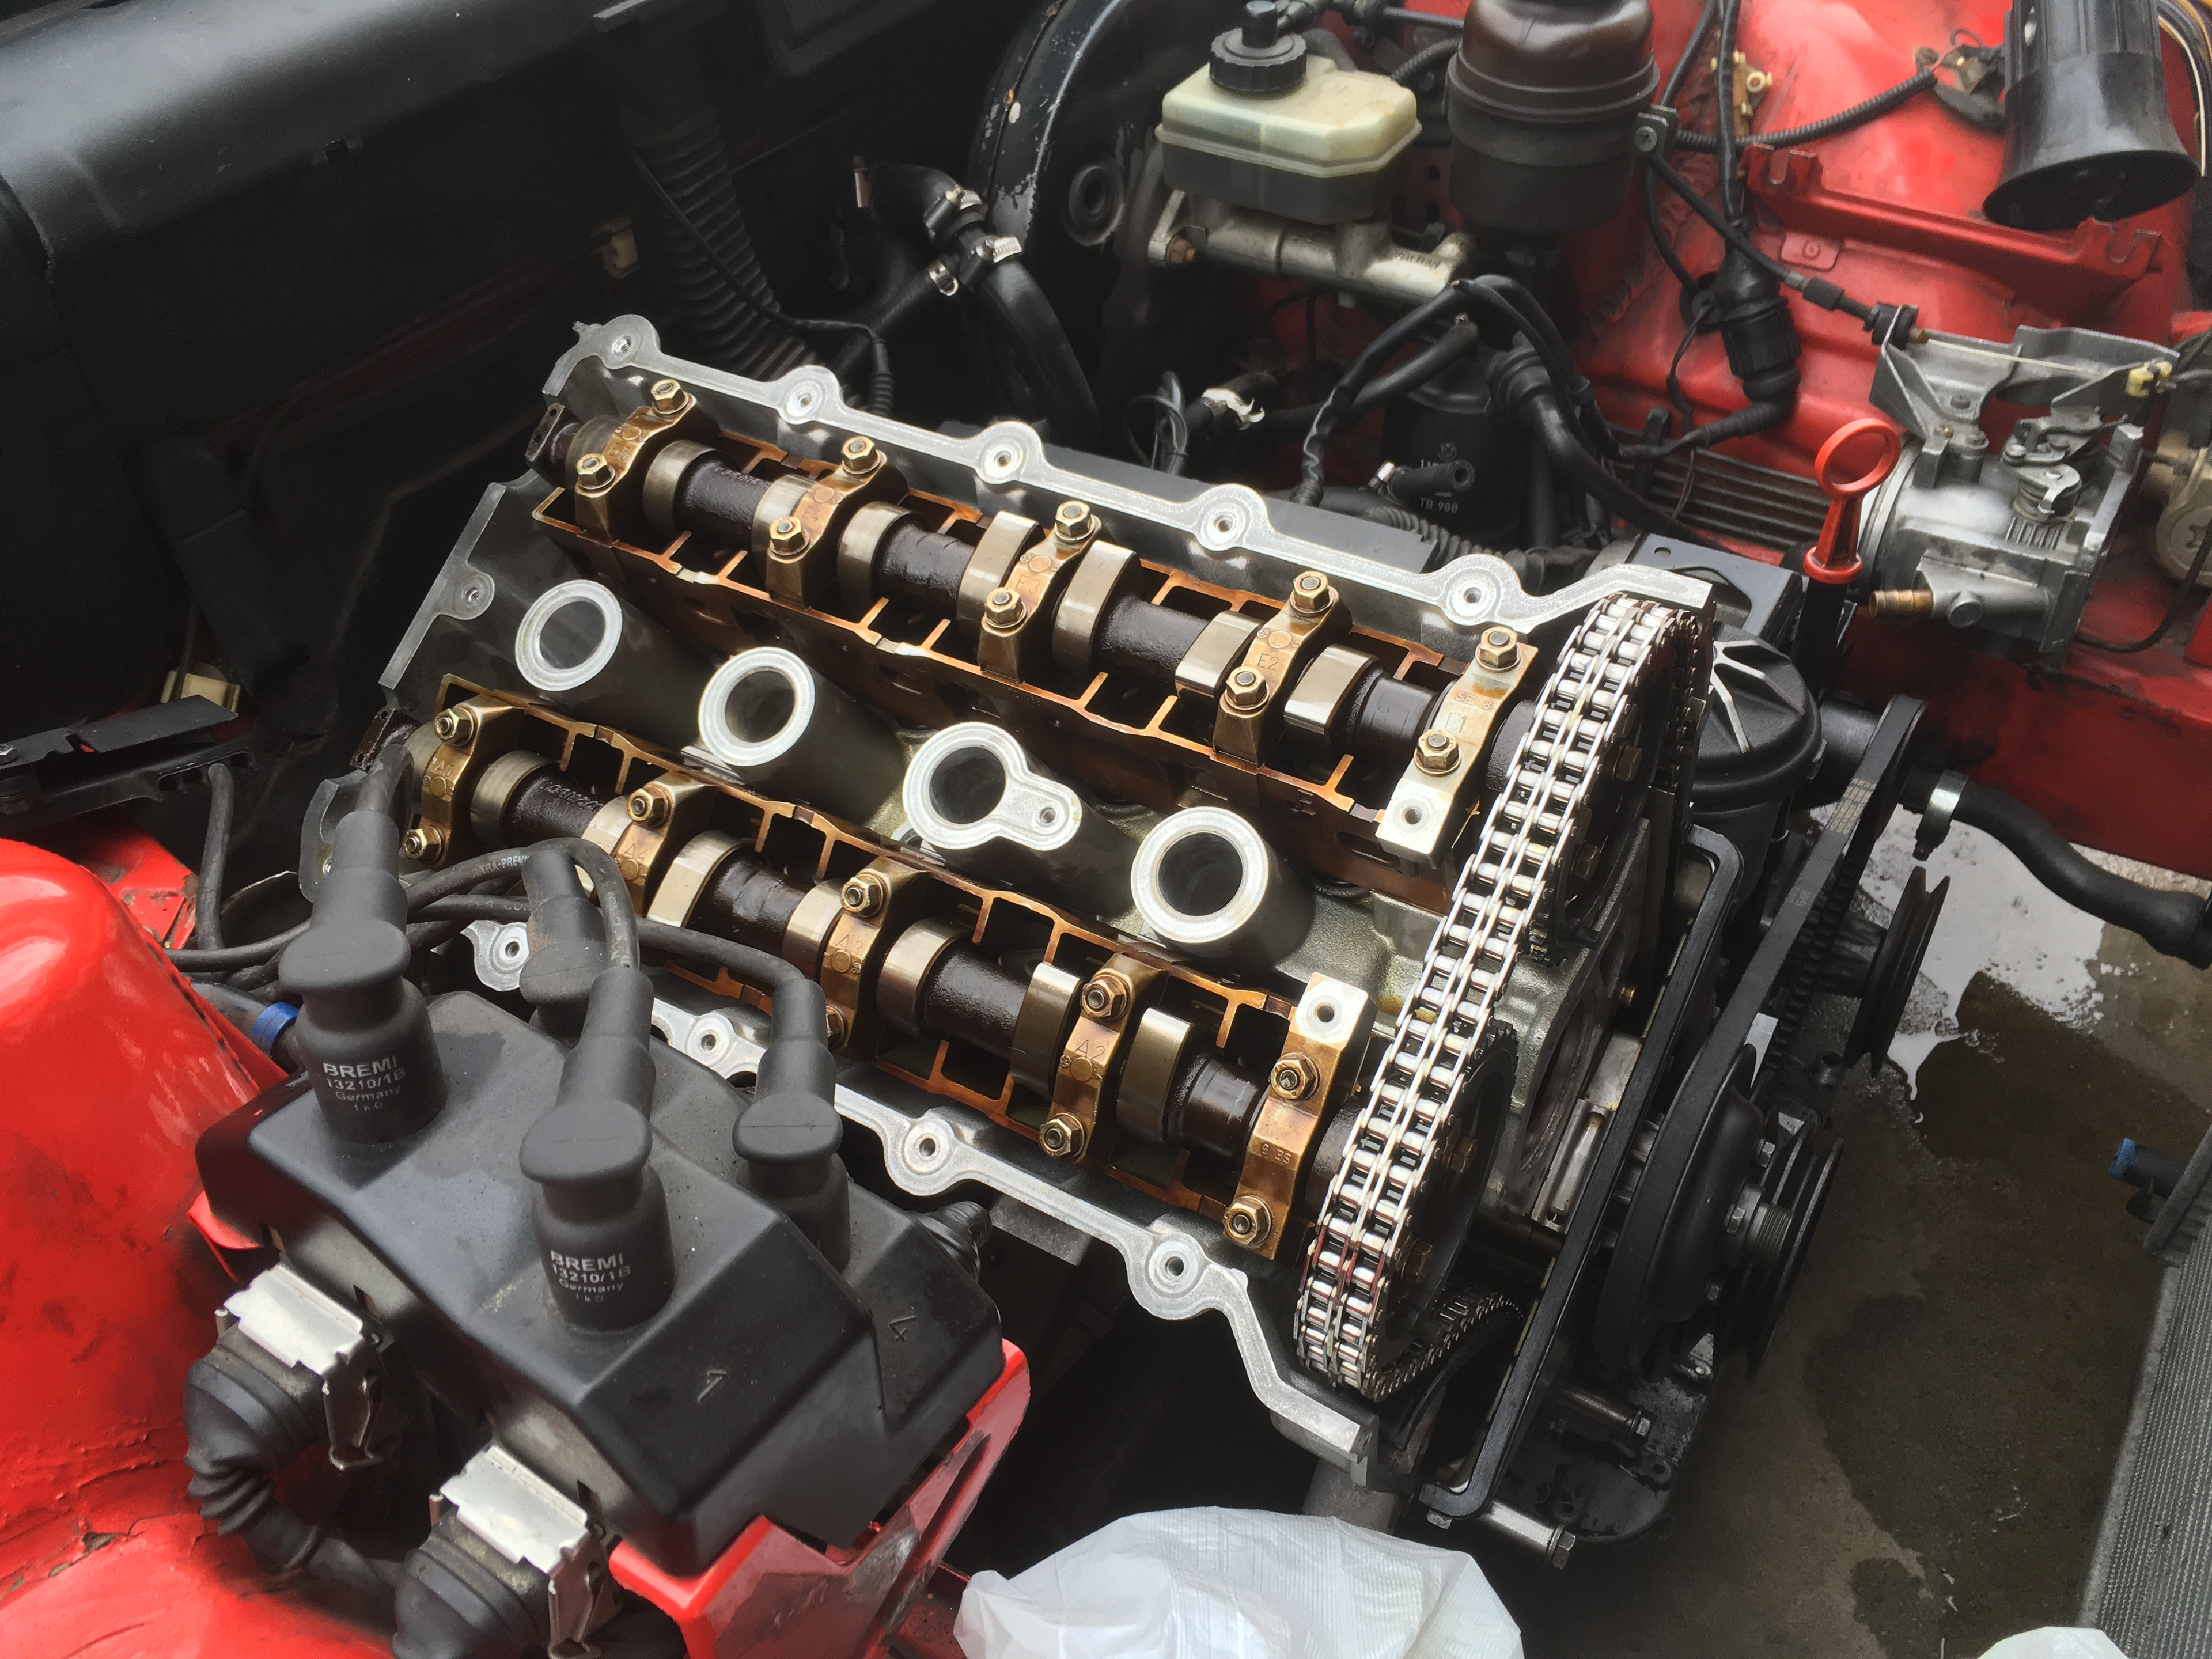
With the head secured, the camshaft sprockets were lightly bolted back onto the camshafts, and the timing chain was wrapped around the teeth. The engine timing was set by aligning the crankshaft to the proper position and setting the squared ends of the camshafts parallel before tightening the bolts on the camshaft sprockets and torquing them the the proper spec. The timing was verified by manually turning the crankshaft and ensuring that no interference occurred. In the case of a timing error, the pistons interfere with the valves during the exhaust/intake cycles, resulting in severe engine damage.
After timing the engine, the rest of the components are assembled in the reverse order of disassembly. New gaskets were used on all mating surfaces, and hoses were replaced where necessary. In order to give a clean look and protect from damage, all hoses were gently cleaned with alcohol and rubbed with a silicone-based grease - this distinction is important as typical cleaners and greases such as WD-40 will embrittle the hoses. Similarly, all non-painted plastic pieces are cleaned with alcohol and rubbed with boiled linseed oil to restore moisture and color. With everything reassembled, new fluids were poured into the engine and one last check was made for interference before turning the key. This typically takes several attempts to allow fuel pressure to build; following startup, the engine may sound similar to a diesel as the valve tappets rebuild oil pressure. After roughly 30 minutes of running, the engine is back to normal.