Background
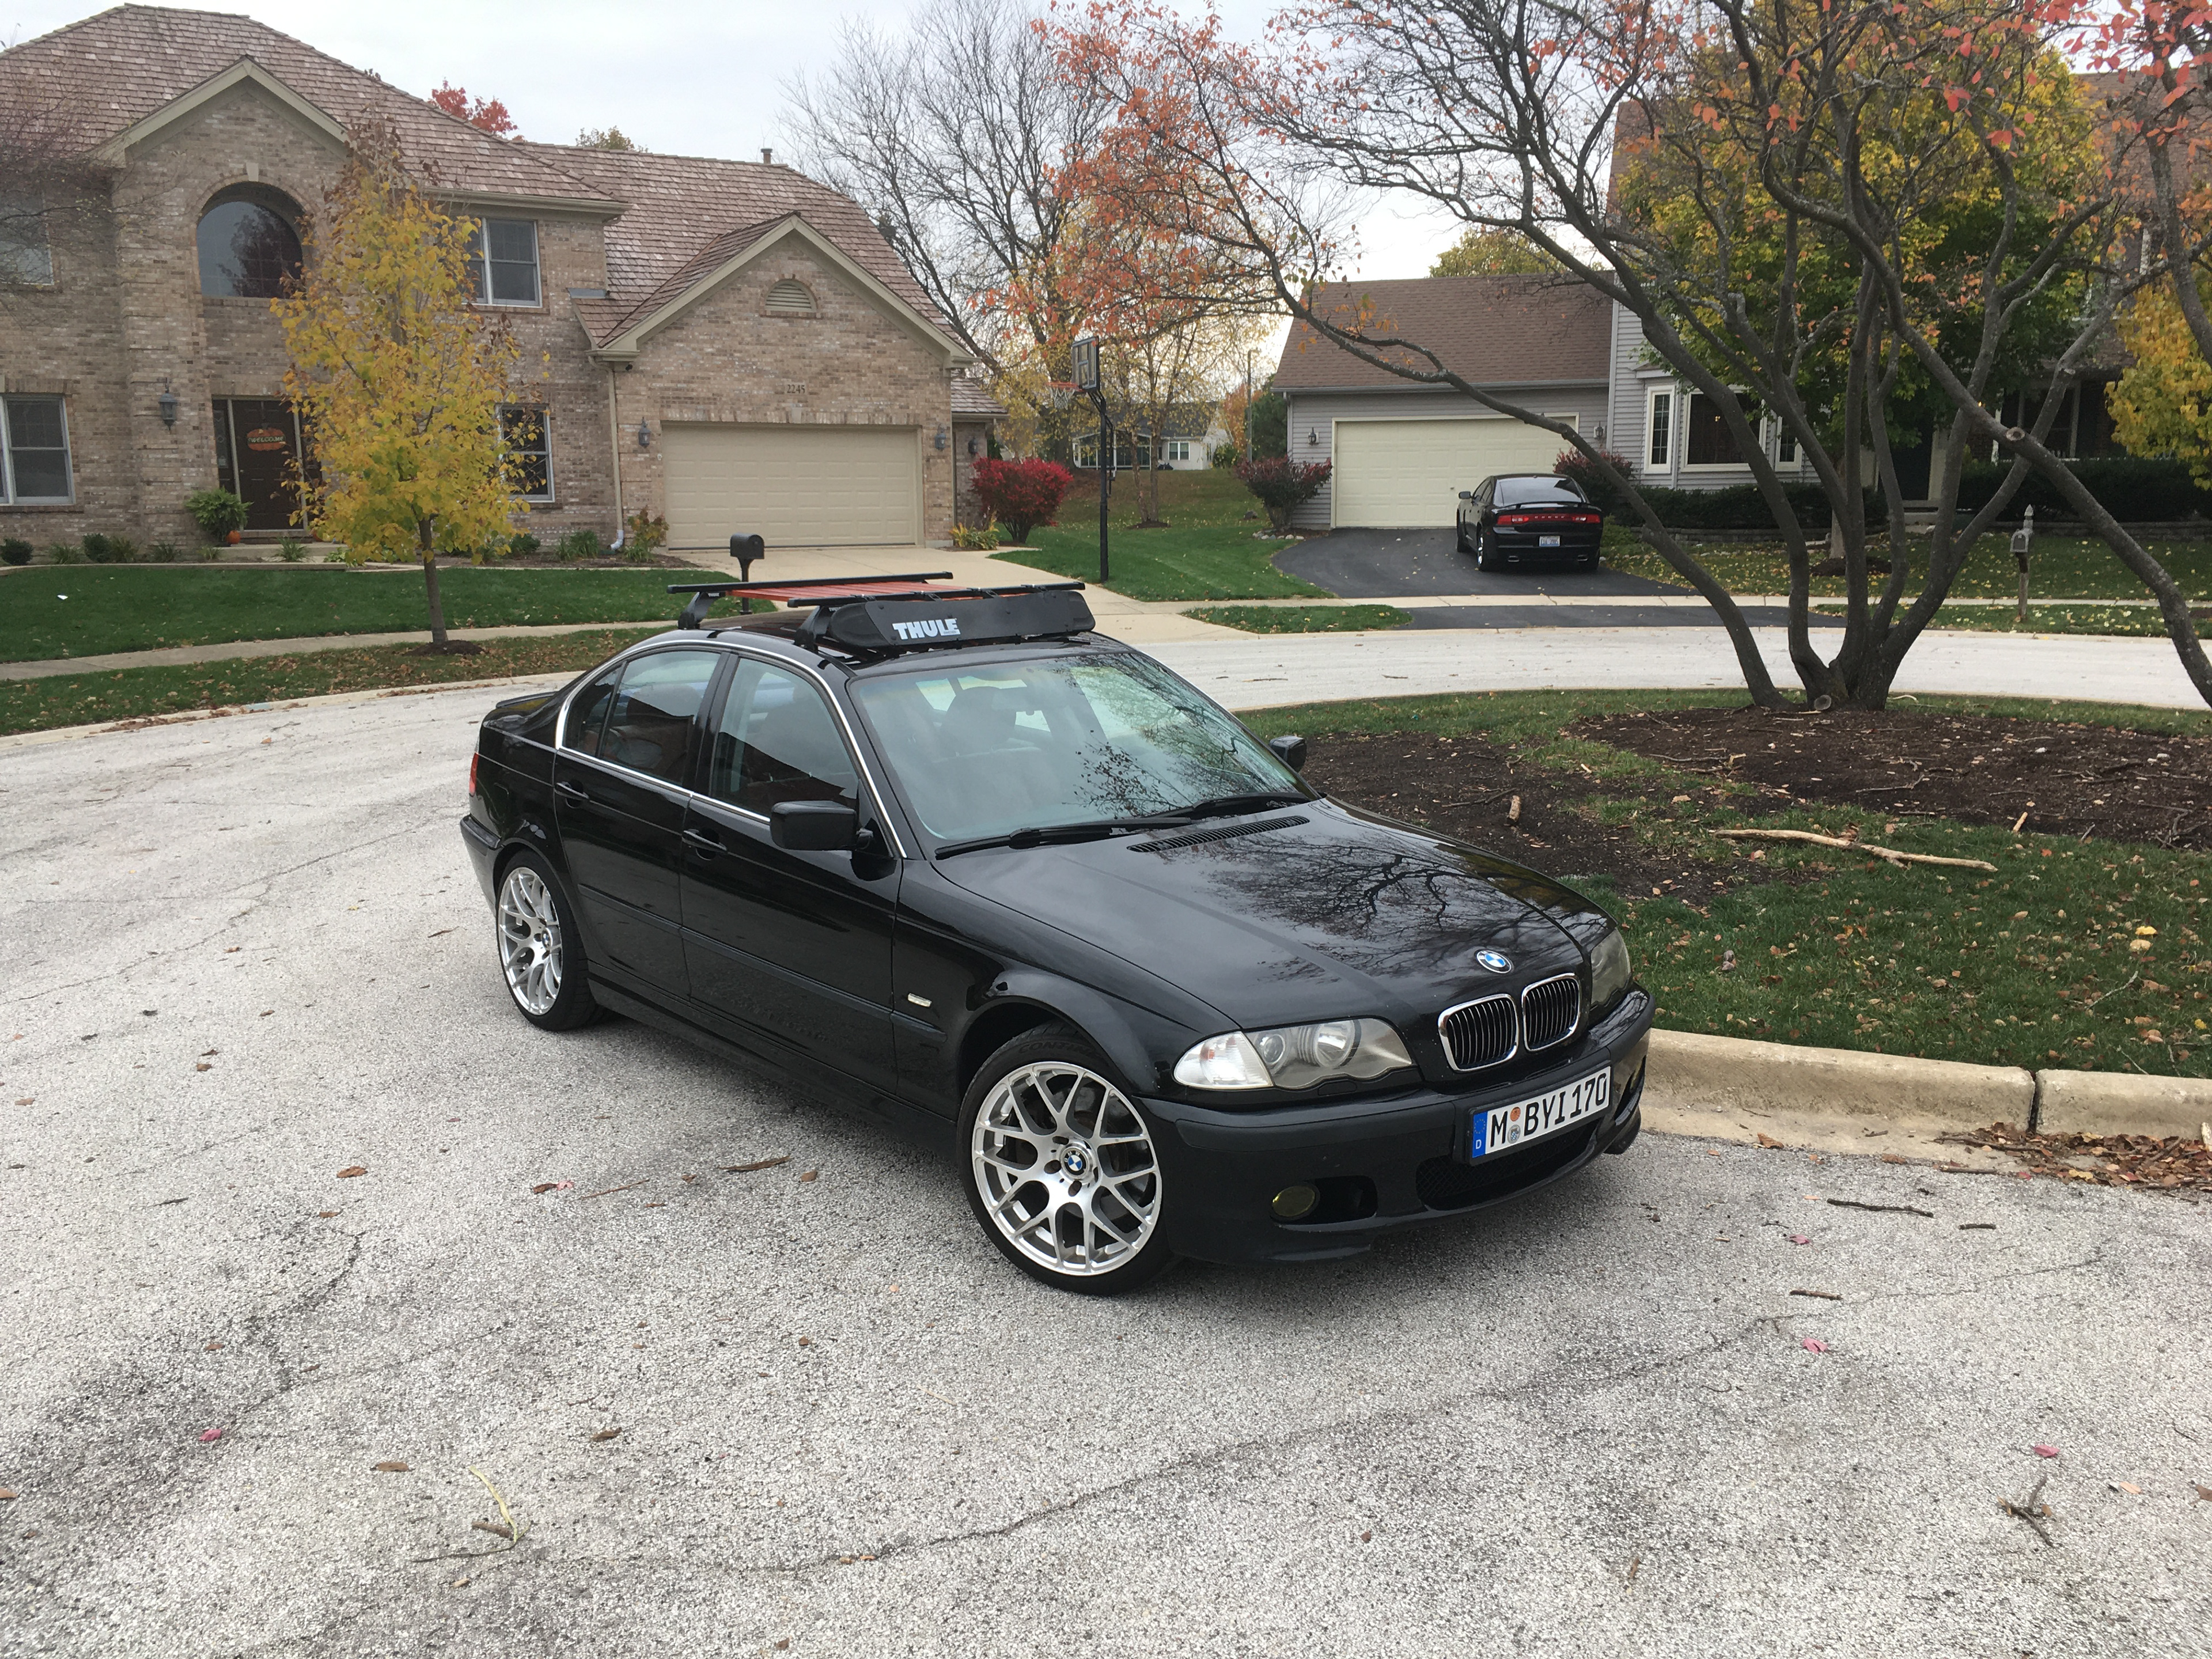
In late 2019, I decided to build a wood roof rack for the BMW E46 chassis. The motivation for this project came after building a similar setup for a BMW E30 chassis.
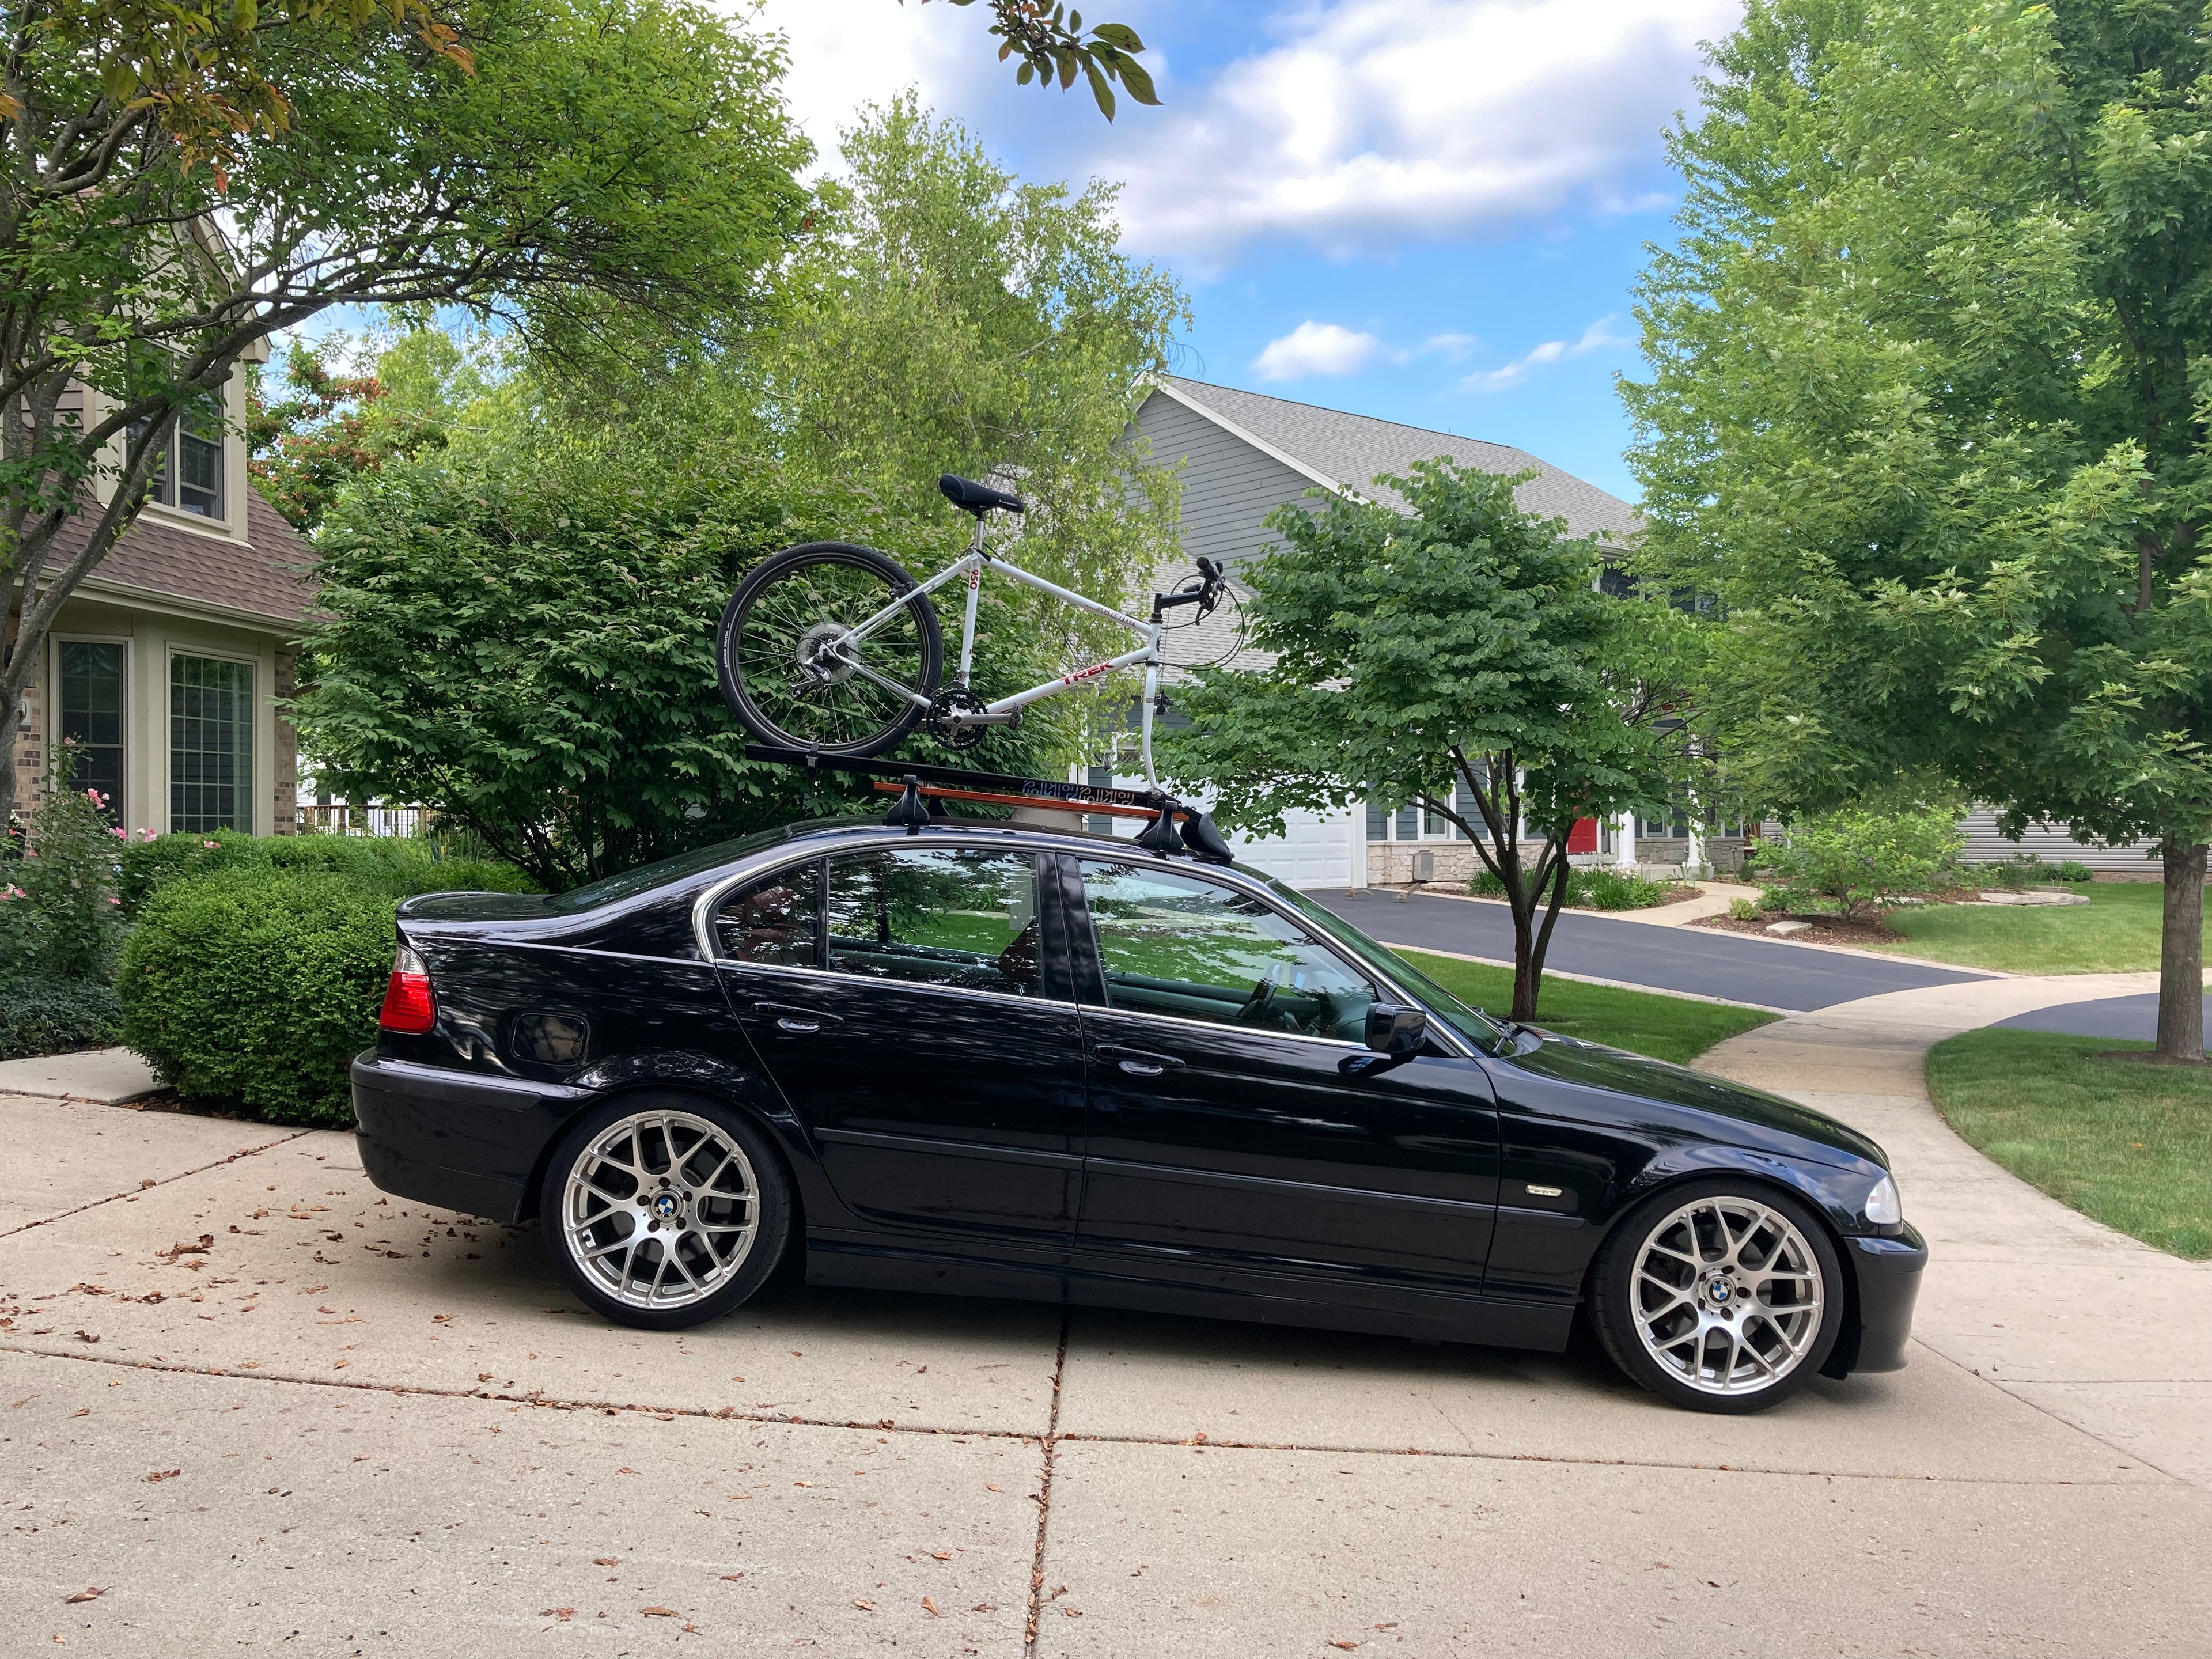
The design for the E30 rack was based on a Thule universal rain gutter base with LB50 load bars. Because this was the first venture, all dimensions were set by eye with no computer design involved. With the roof rack on the car, the load bar spacing, wood board spacing, and wood board sizing were all decided. After setting these desired values, wood boards for the project were selected: 0.75" x 2.5" x 72" select pine, each cut into two pieces. Despite pine's poor water resistance, these boards were selected due to their dimensional accuracy, low cost, and light weight. With the boards selected, the spacing was re-adjusted. Points were carefully marked with a tape measure and a scale, and all holes were drilled by hand. For a cleaner look, flathead screws were selected to nest in the wood boards. With all the holes prepared and the boards stained, everything was assembled and installed on the vehicle. Although the initial design positioned the wood boards on top of the load bars, this setup was flipped upside down to make the car appear lower. Additionally, this allows a board to be removed and a bike rack put in its place.


Planning
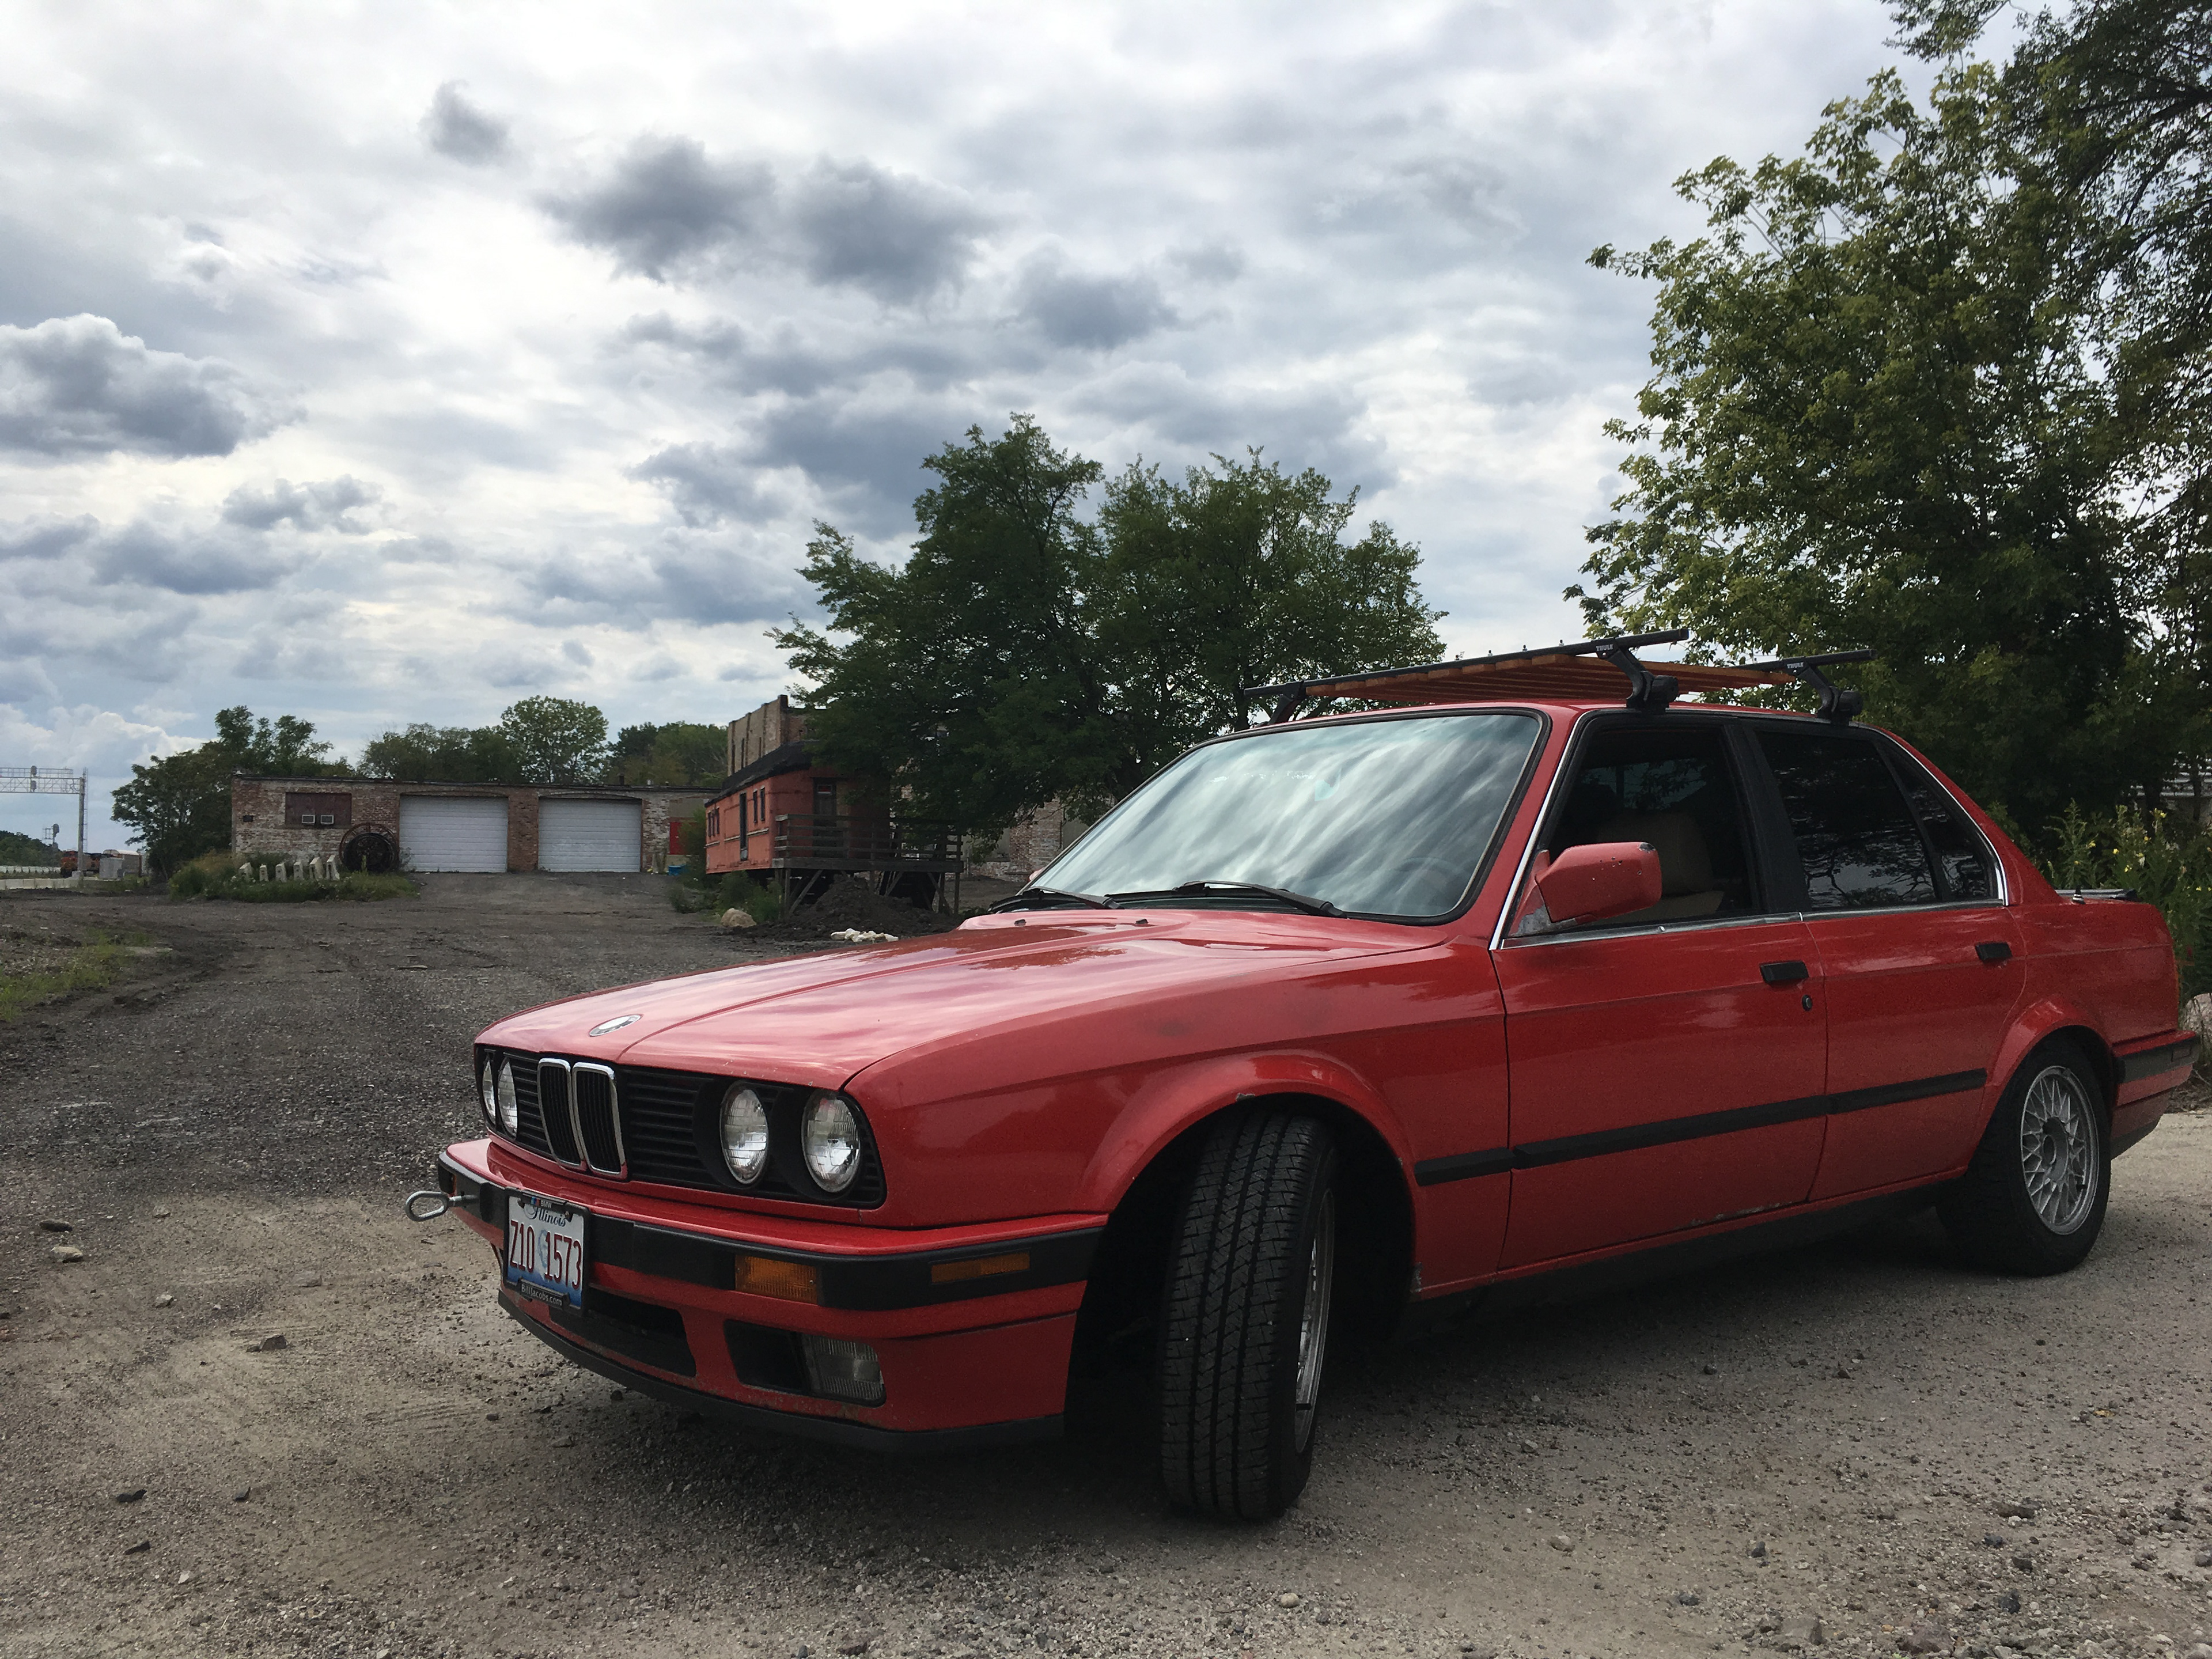
The E30 rack worked well, but several design upgrades were identified for the E46 rack: switching to the metric system, implementing a cleaner / minimally-invasive fastener design, and allowing flexibility to eliminate stresses from chassis strain. Similar to the E30 rack, a Thule base was selected: the 753, a model which bolts directly to the roof of the E46 chassis.
Design
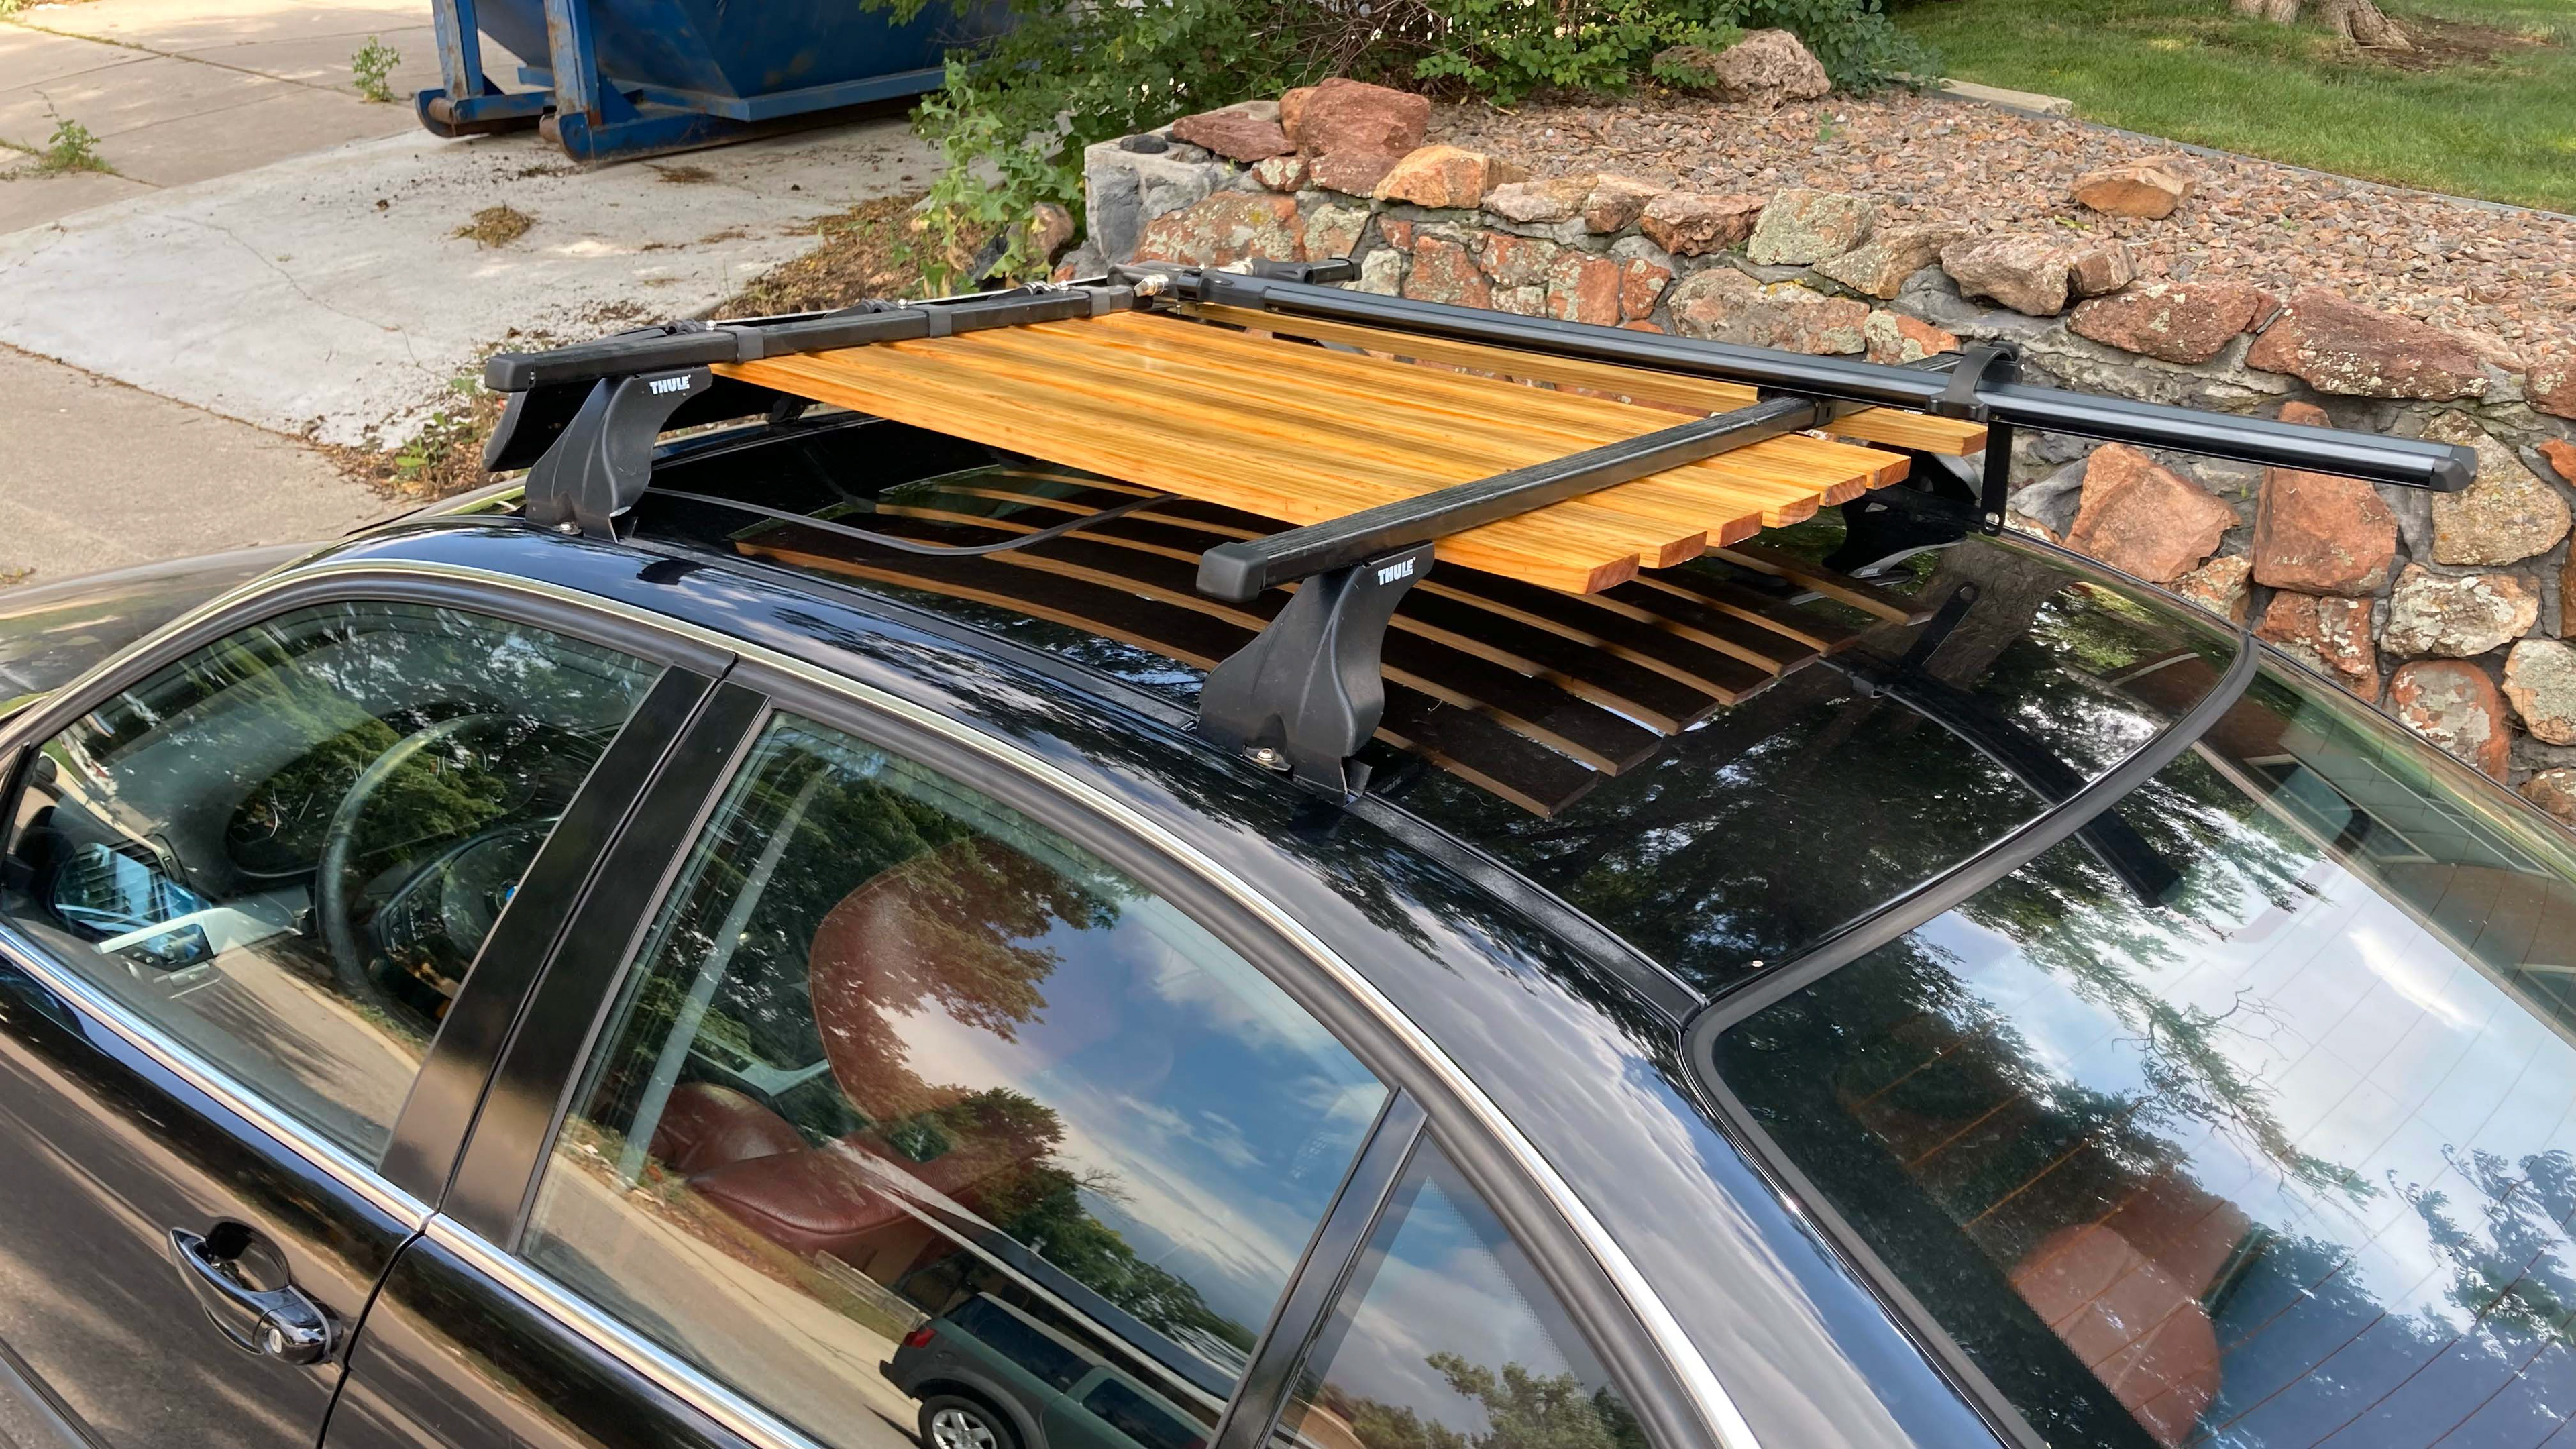
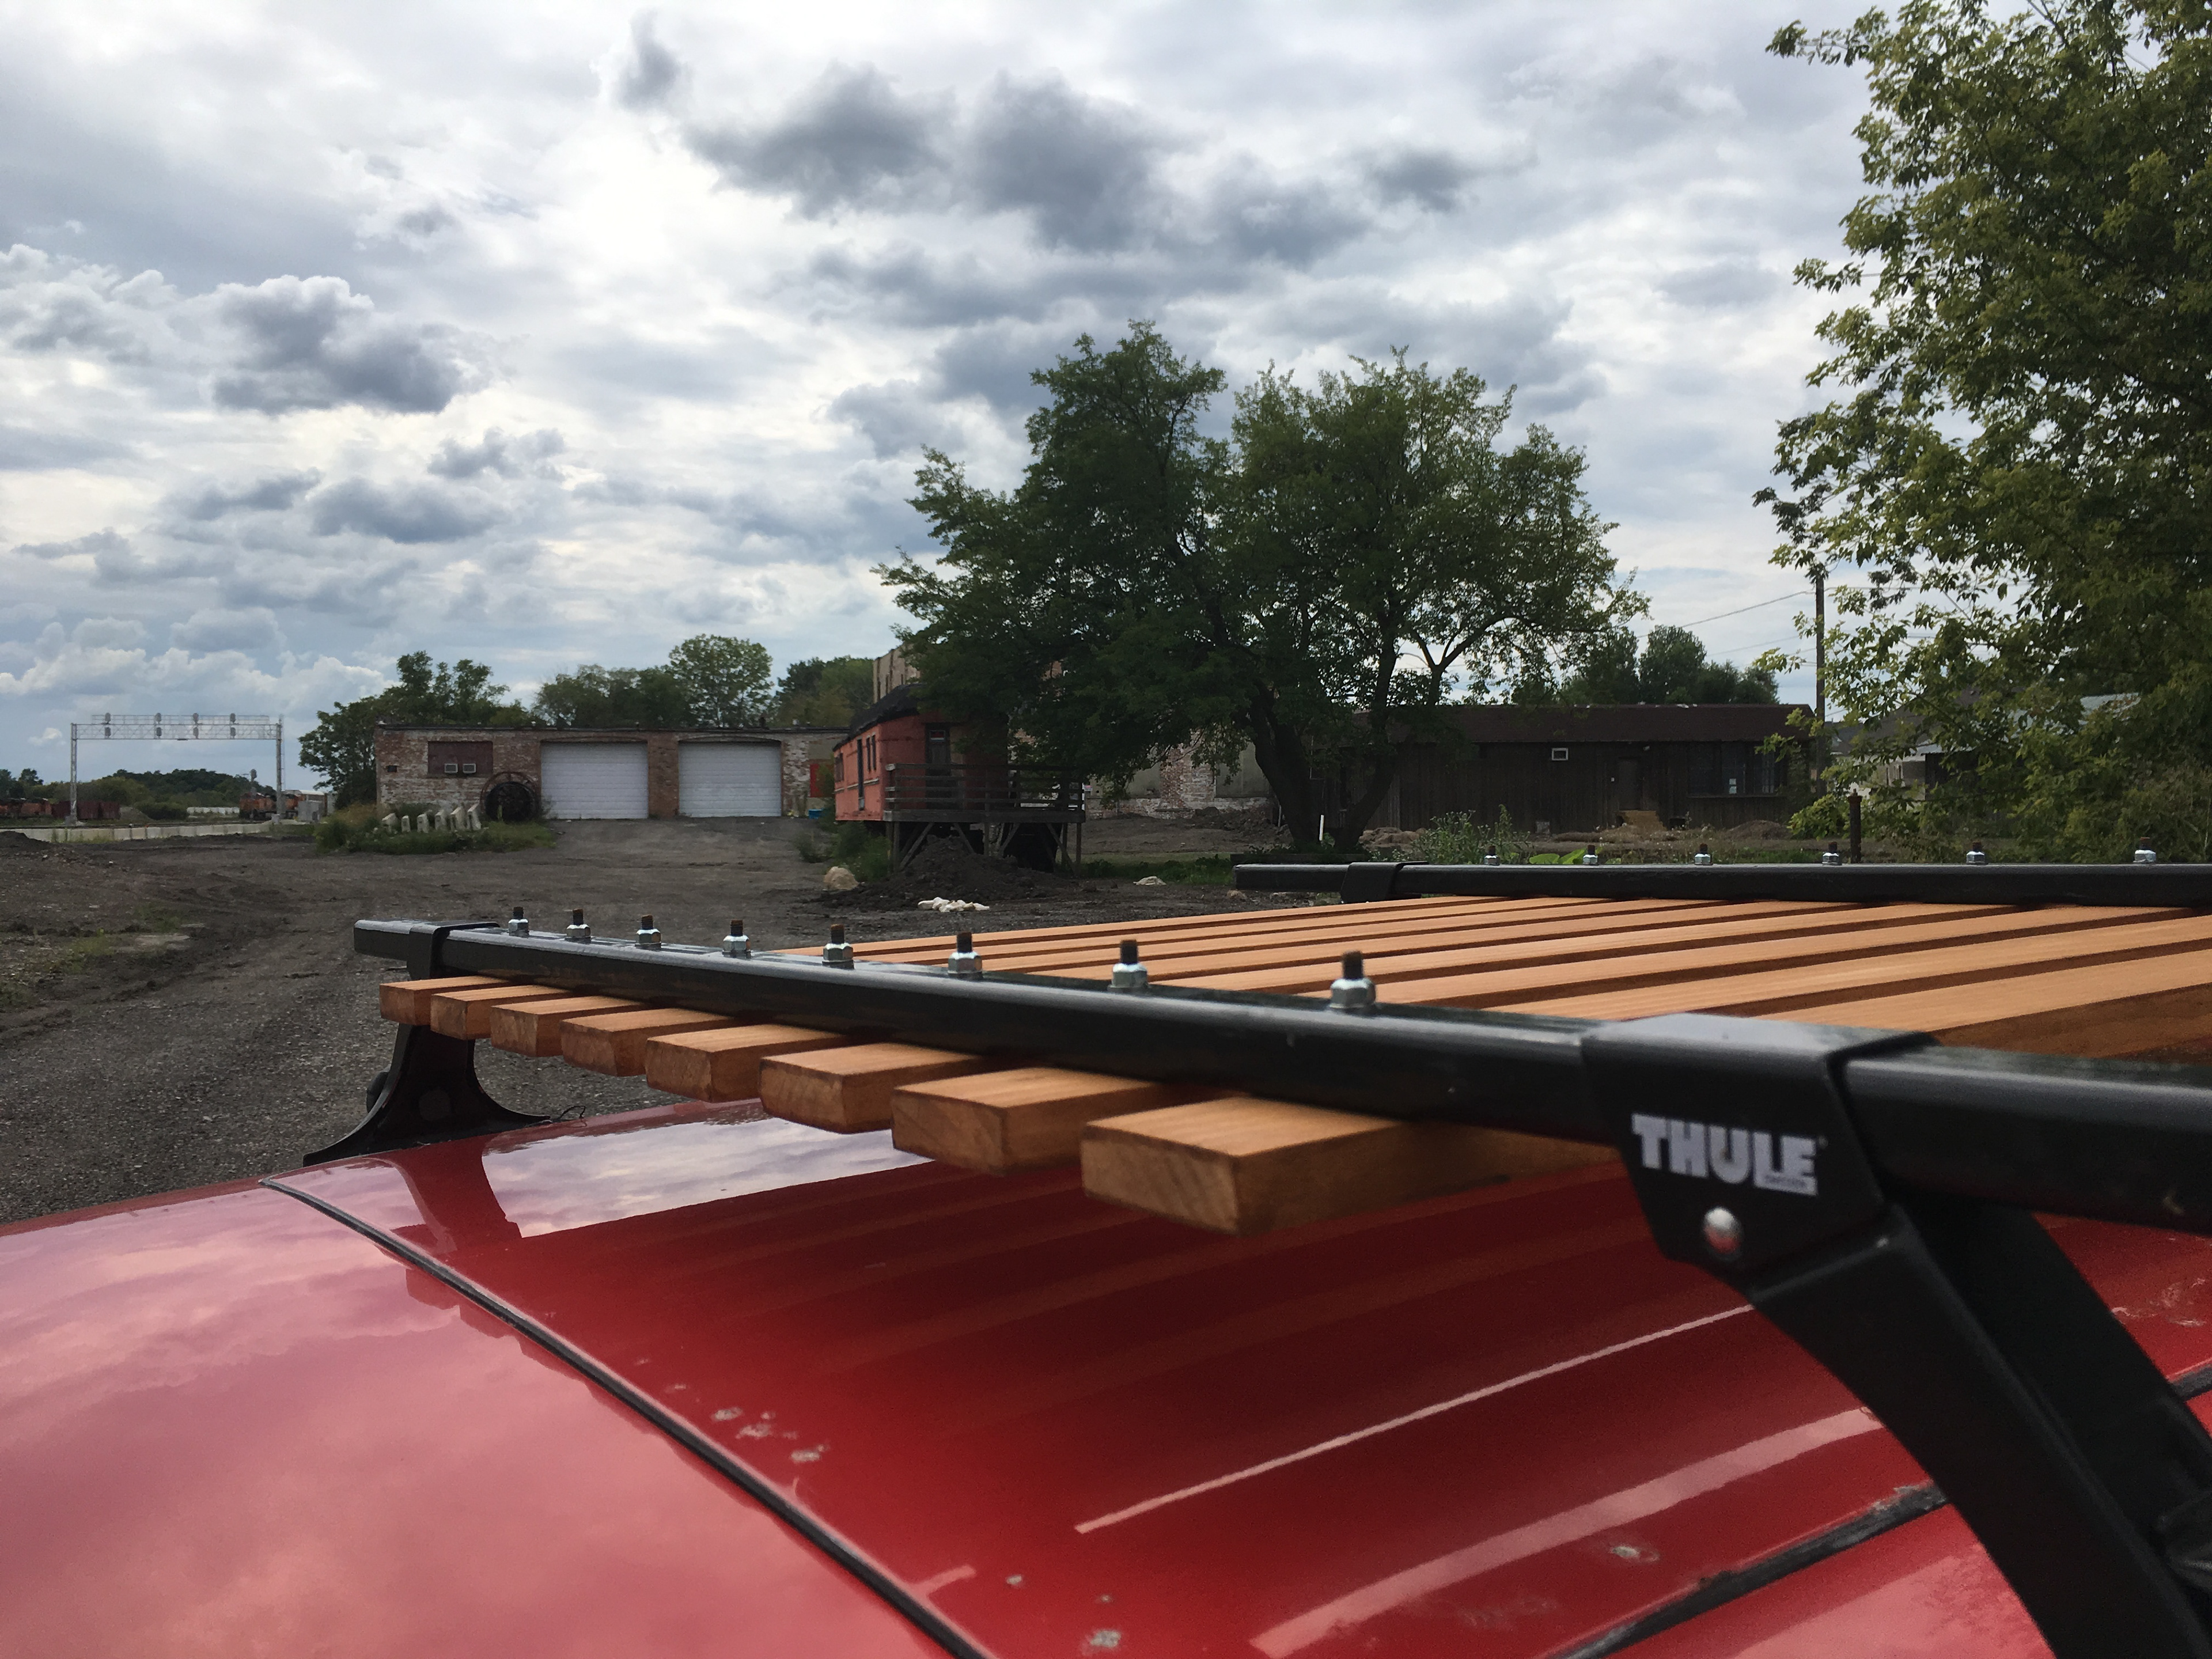
After several designs were considered, a solution to the upgrades was created. Rather than bolting directly through the load bars, the fasteners on the E46 rack thread directly into plates which are inserted into the load bars, which are overdrilled for clearance. This minimizes the amount of drilling on the load bars and allows the wood boards to slide freely, preventing them from being loaded. Additionally, the plates eliminate the presence of nuts on top of the load bars; paired with socket head cap screws nested into counterbored holes on the wood boards, this hides all fasteners from plain view. This design was modeled in SolidWorks along with the E30 rack for baseline comparison.


Build
The construction of the roof rack began with the boards. Select pine boards were selected due to their light weight, acceptance of stain, and relatively low cost. The boards were cut to size, and the hole locations were marked. A small drill was used to locate the hole before the final size drill was used, followed by a counterbore.


With the holes drilled, the boards were laid out, and the fairing mounts were positioned and marked. A Dremel was used to ream out a clearance region on the boards which had interference. Each board was then sanded using 120-grit sandpaper to remove the markings, followed by 320-grit sandpaper to create a smooth finish. A natural stain was applied, followed by a pigmented stain/polyurethane coat.


The threaded inserts were designed in SolidWorks. A separate configuration was created with undersized holes, and a DXF file of the profile was exported. This DXF file was sent to a local machine shop to be cut by a waterjet. Prior to being cut, the holes were re-drilled, chamfered, and tapped for M6x1 threads. As a final finishing step, the paint was removed, and the parts were rubbed in a single direction against an abrasive pad for a brushed look.


The final step was to modify the Thule 753 roof racks. As the model is no longer available, a used unit was found in a local classified ad. The towers and load bars were cleaned, revealing some light corrosion on the load bars. The sleeves were peeled off, and a wire brush was used to remove the corrosion. The clearance holes were marked, punched, drilled, and chamfered. The bars were then cleaned and painted to prevent further corrosion, and the sleeves were re-applied with a thin film of synthetic grease to prevent water entrapment and to keep the sleeves from dry-rotting. With the sleeves back on, the holes were located, center-marked, and carefully drilled to match the load bar holes.


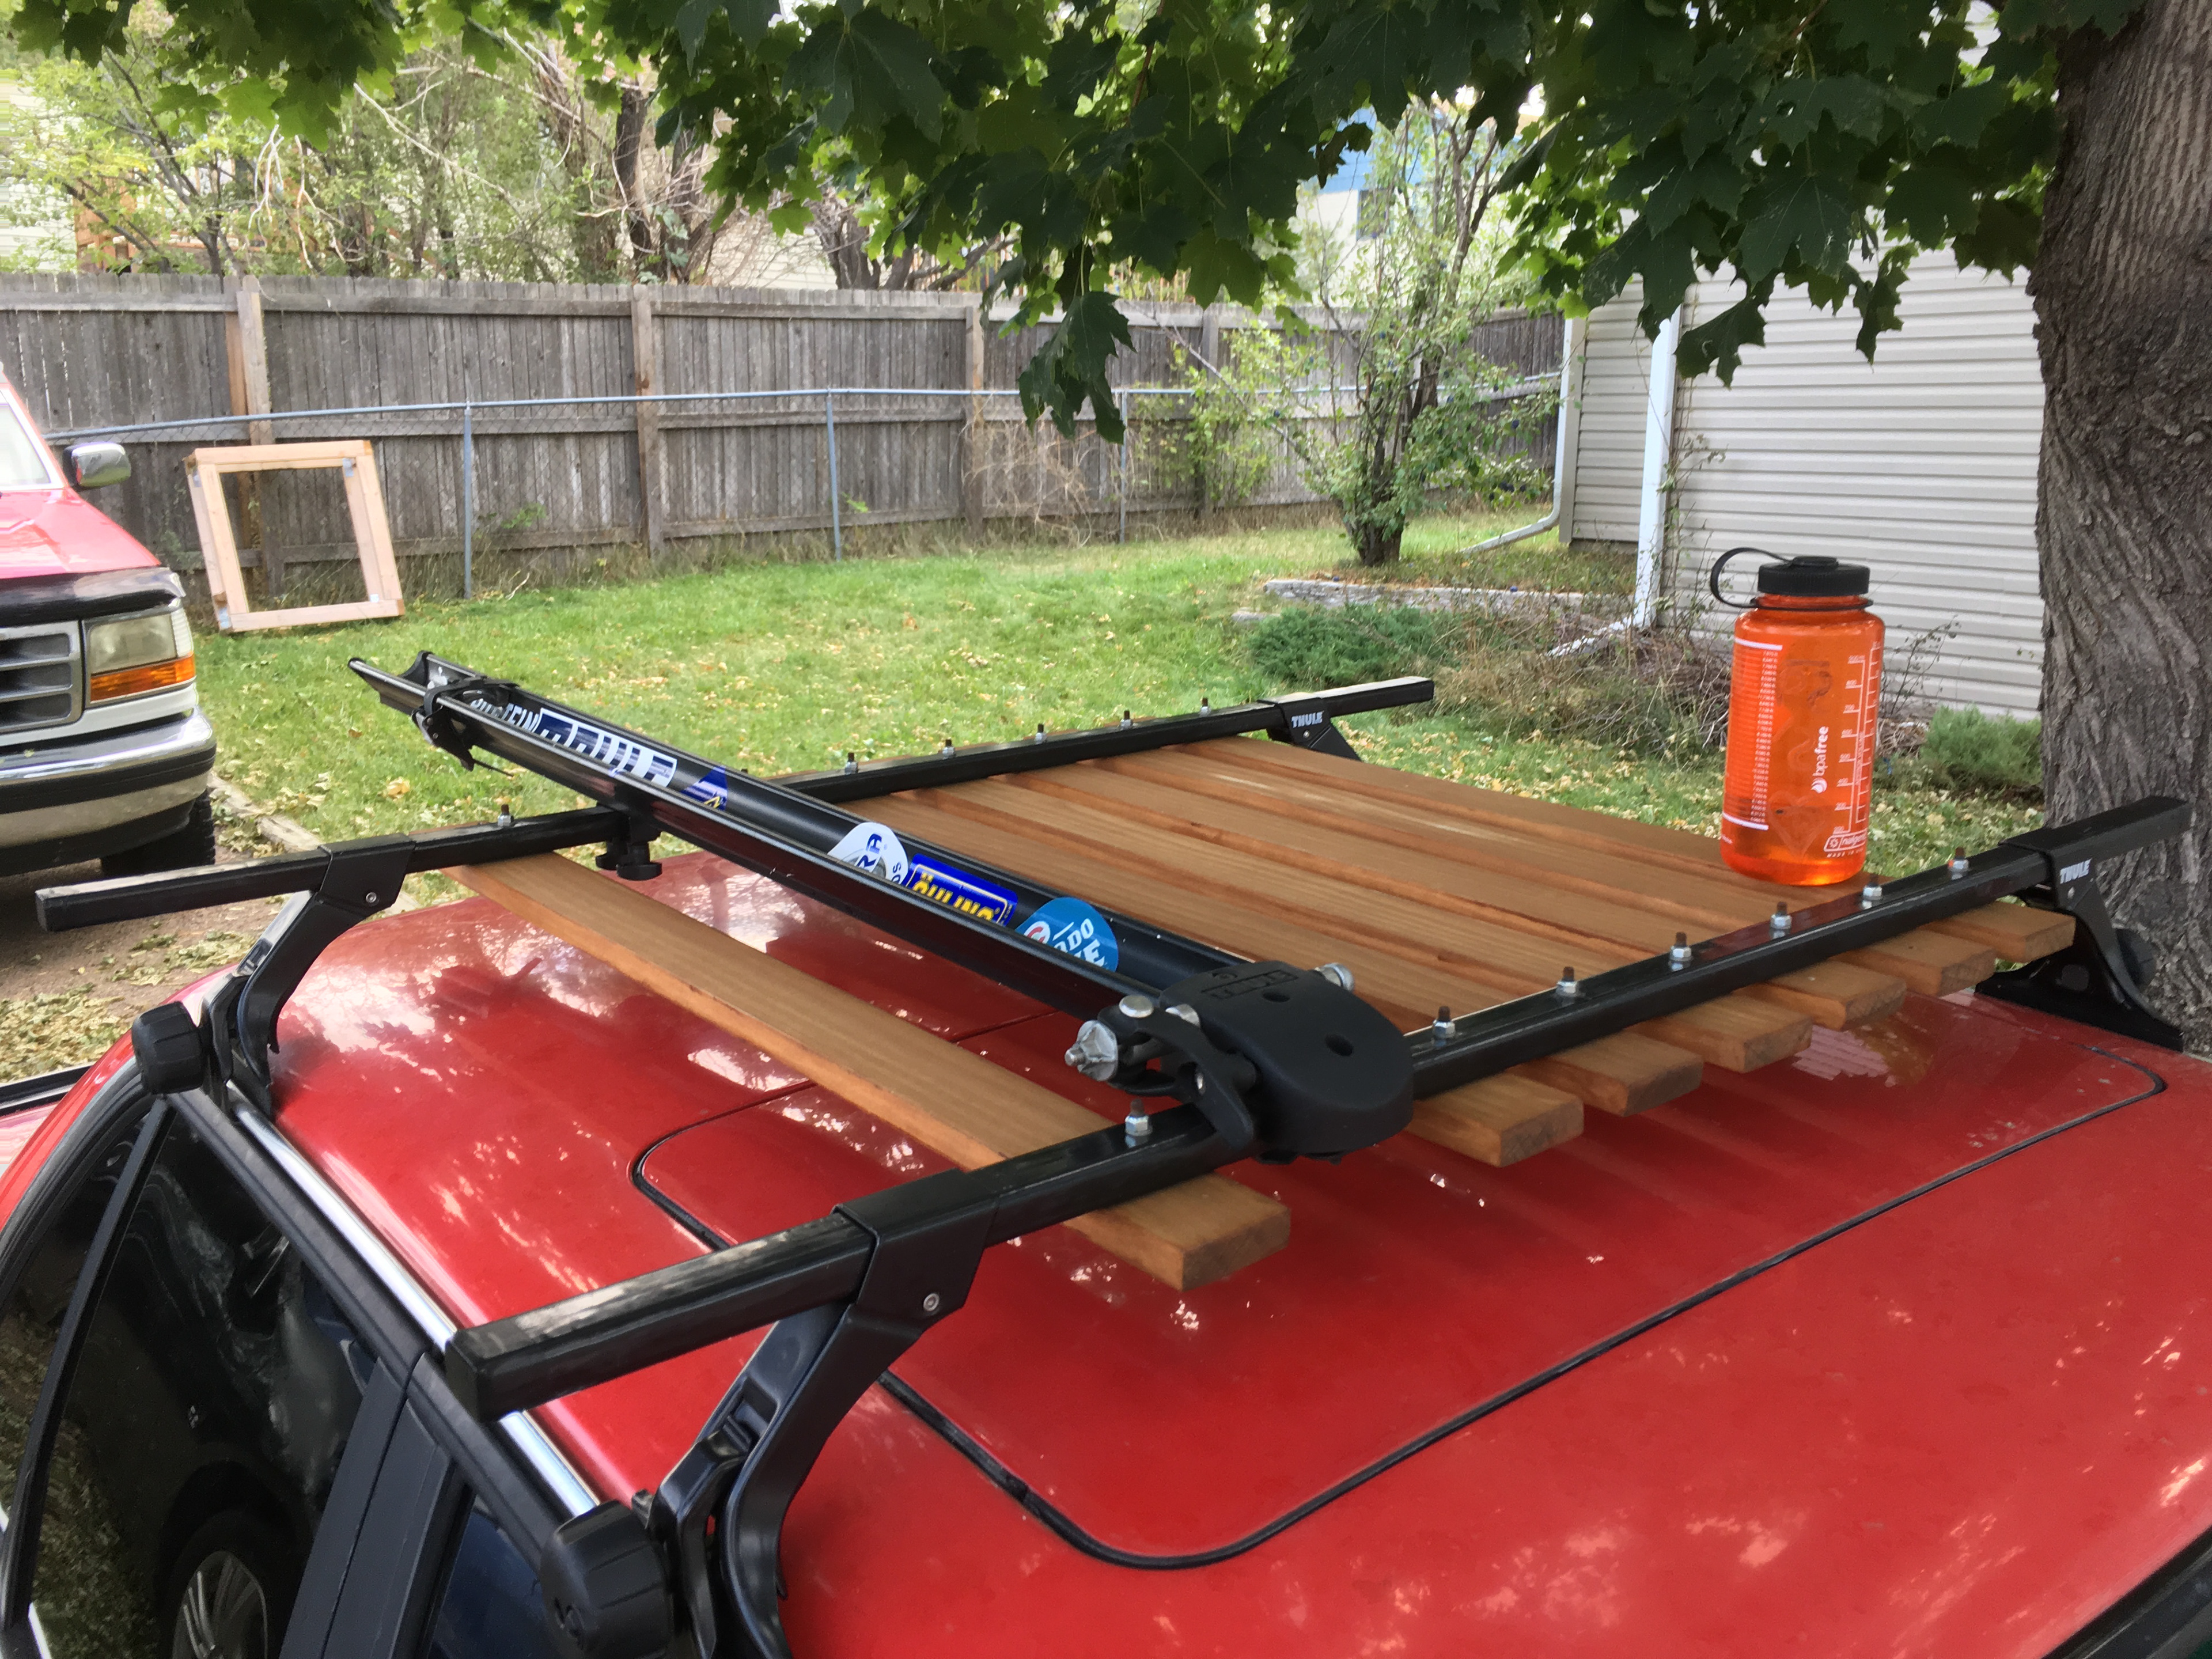
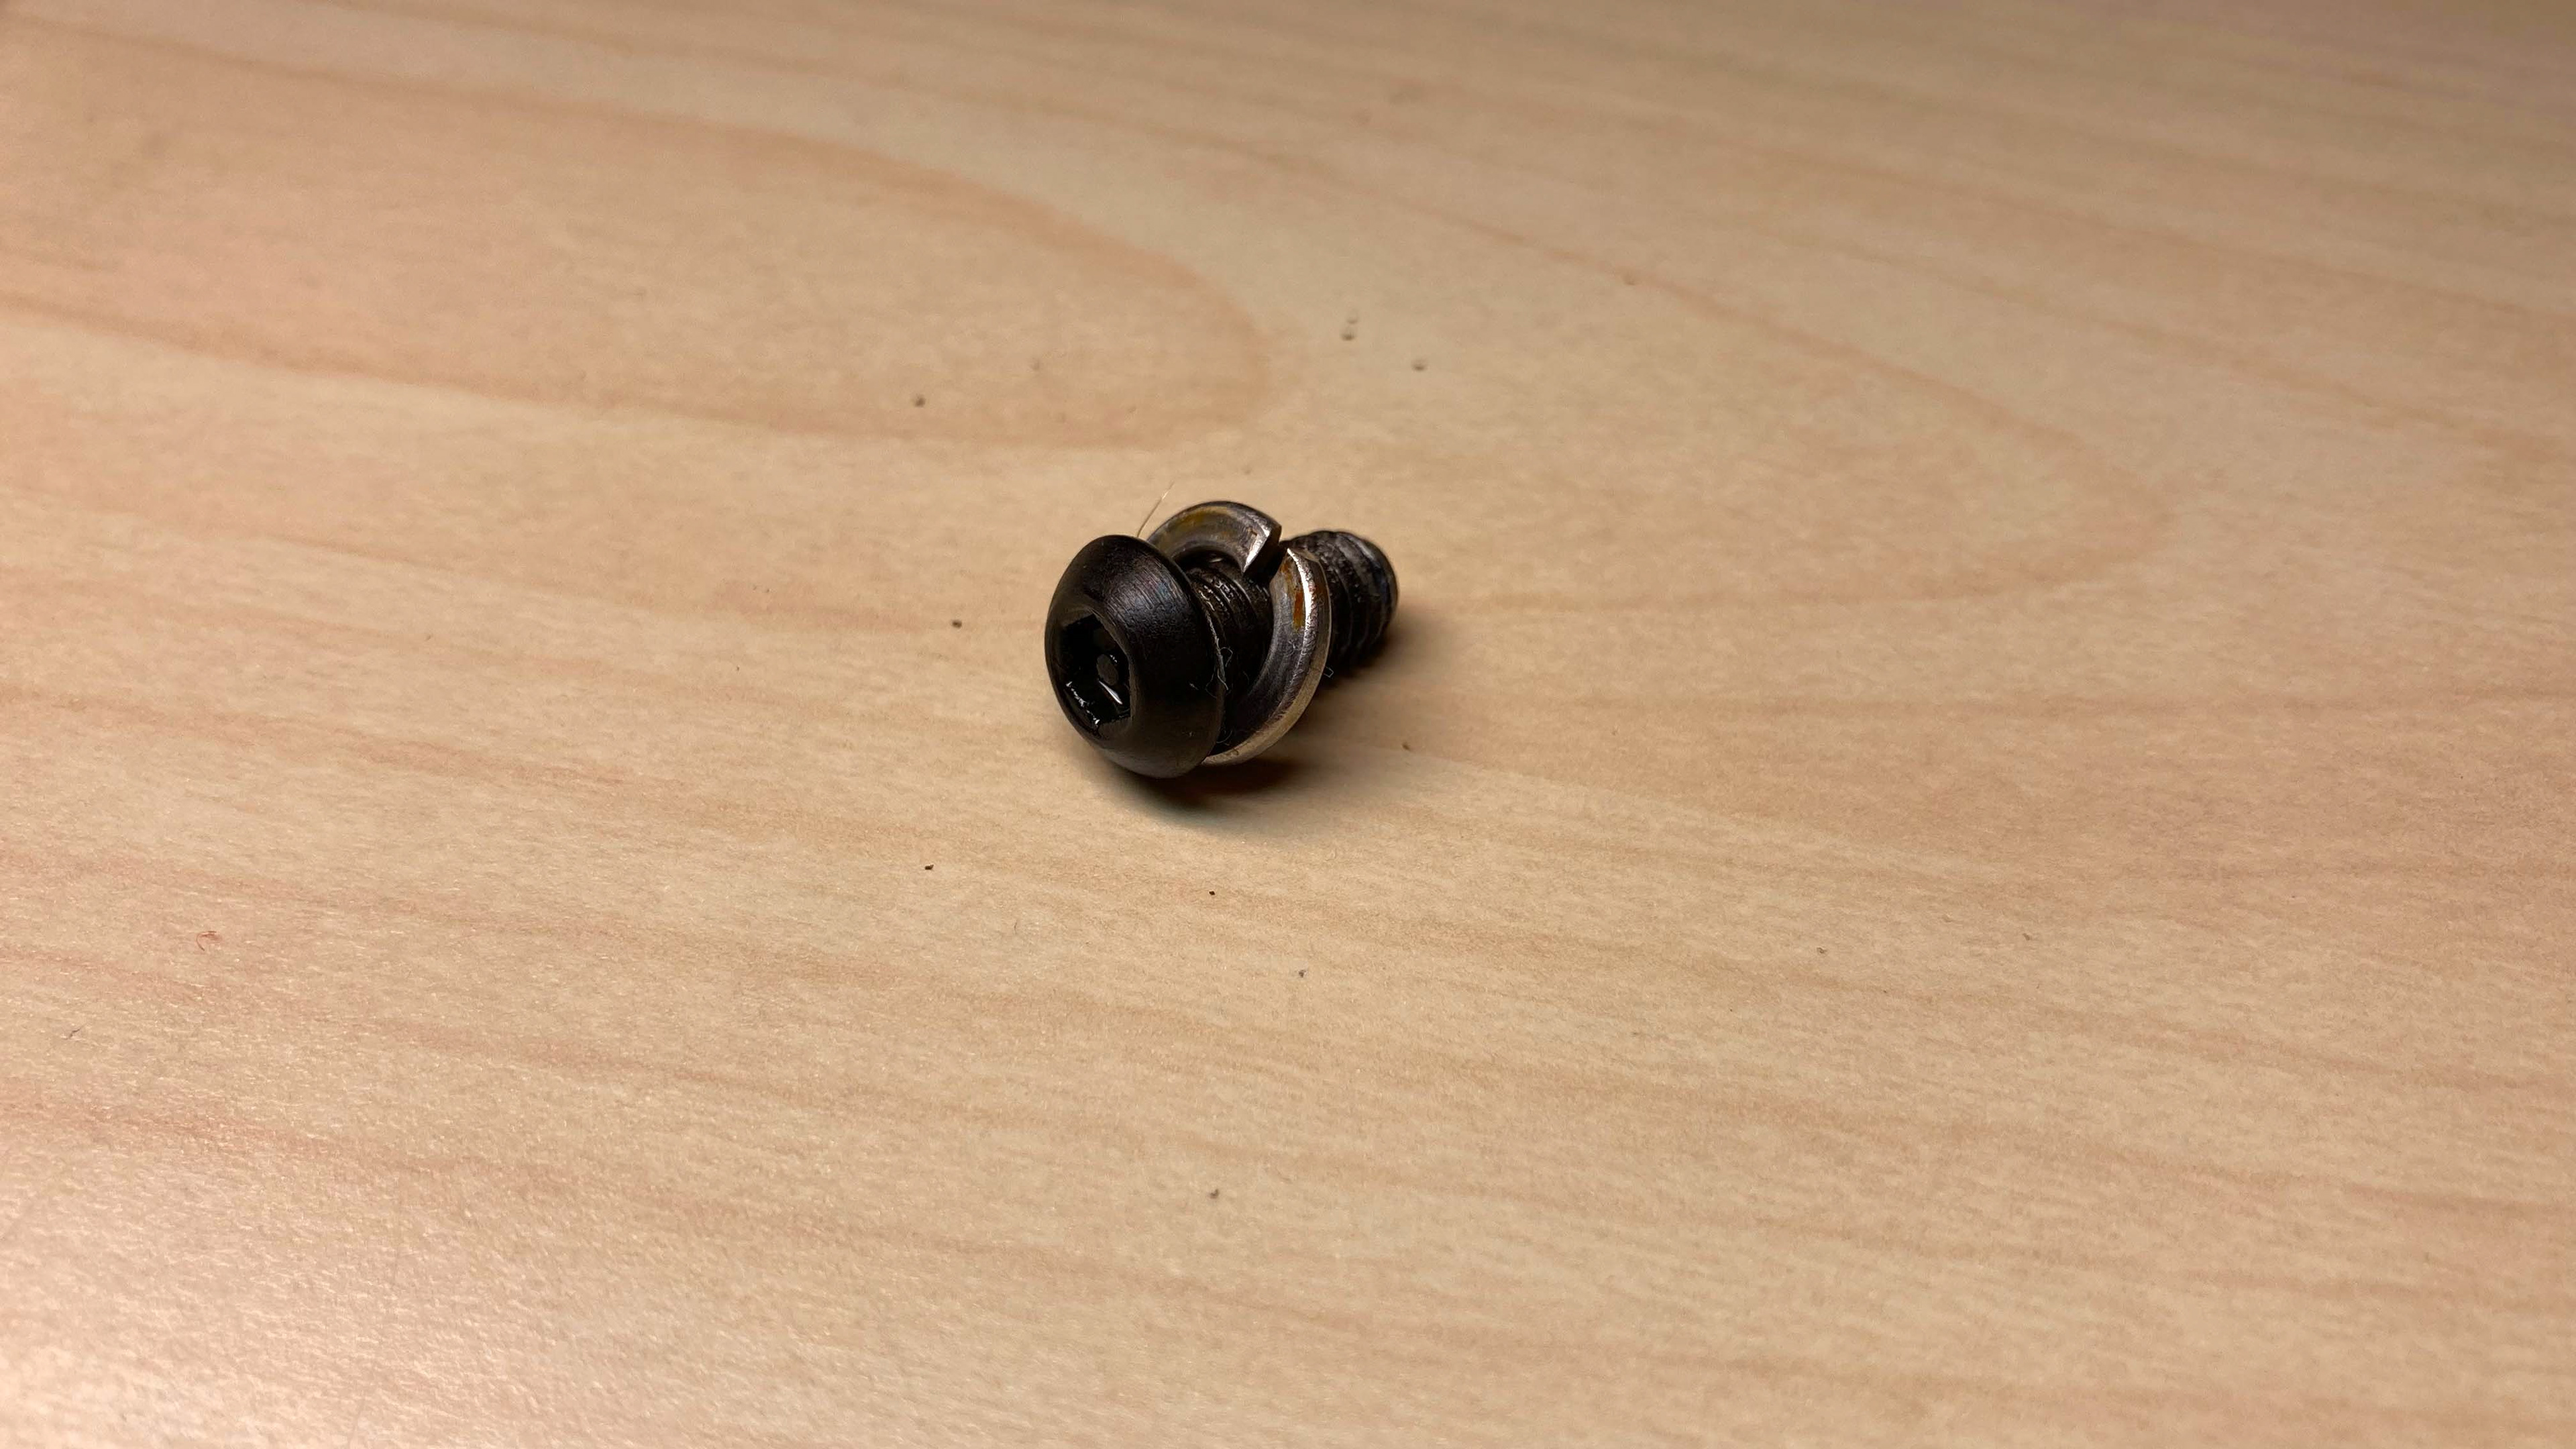
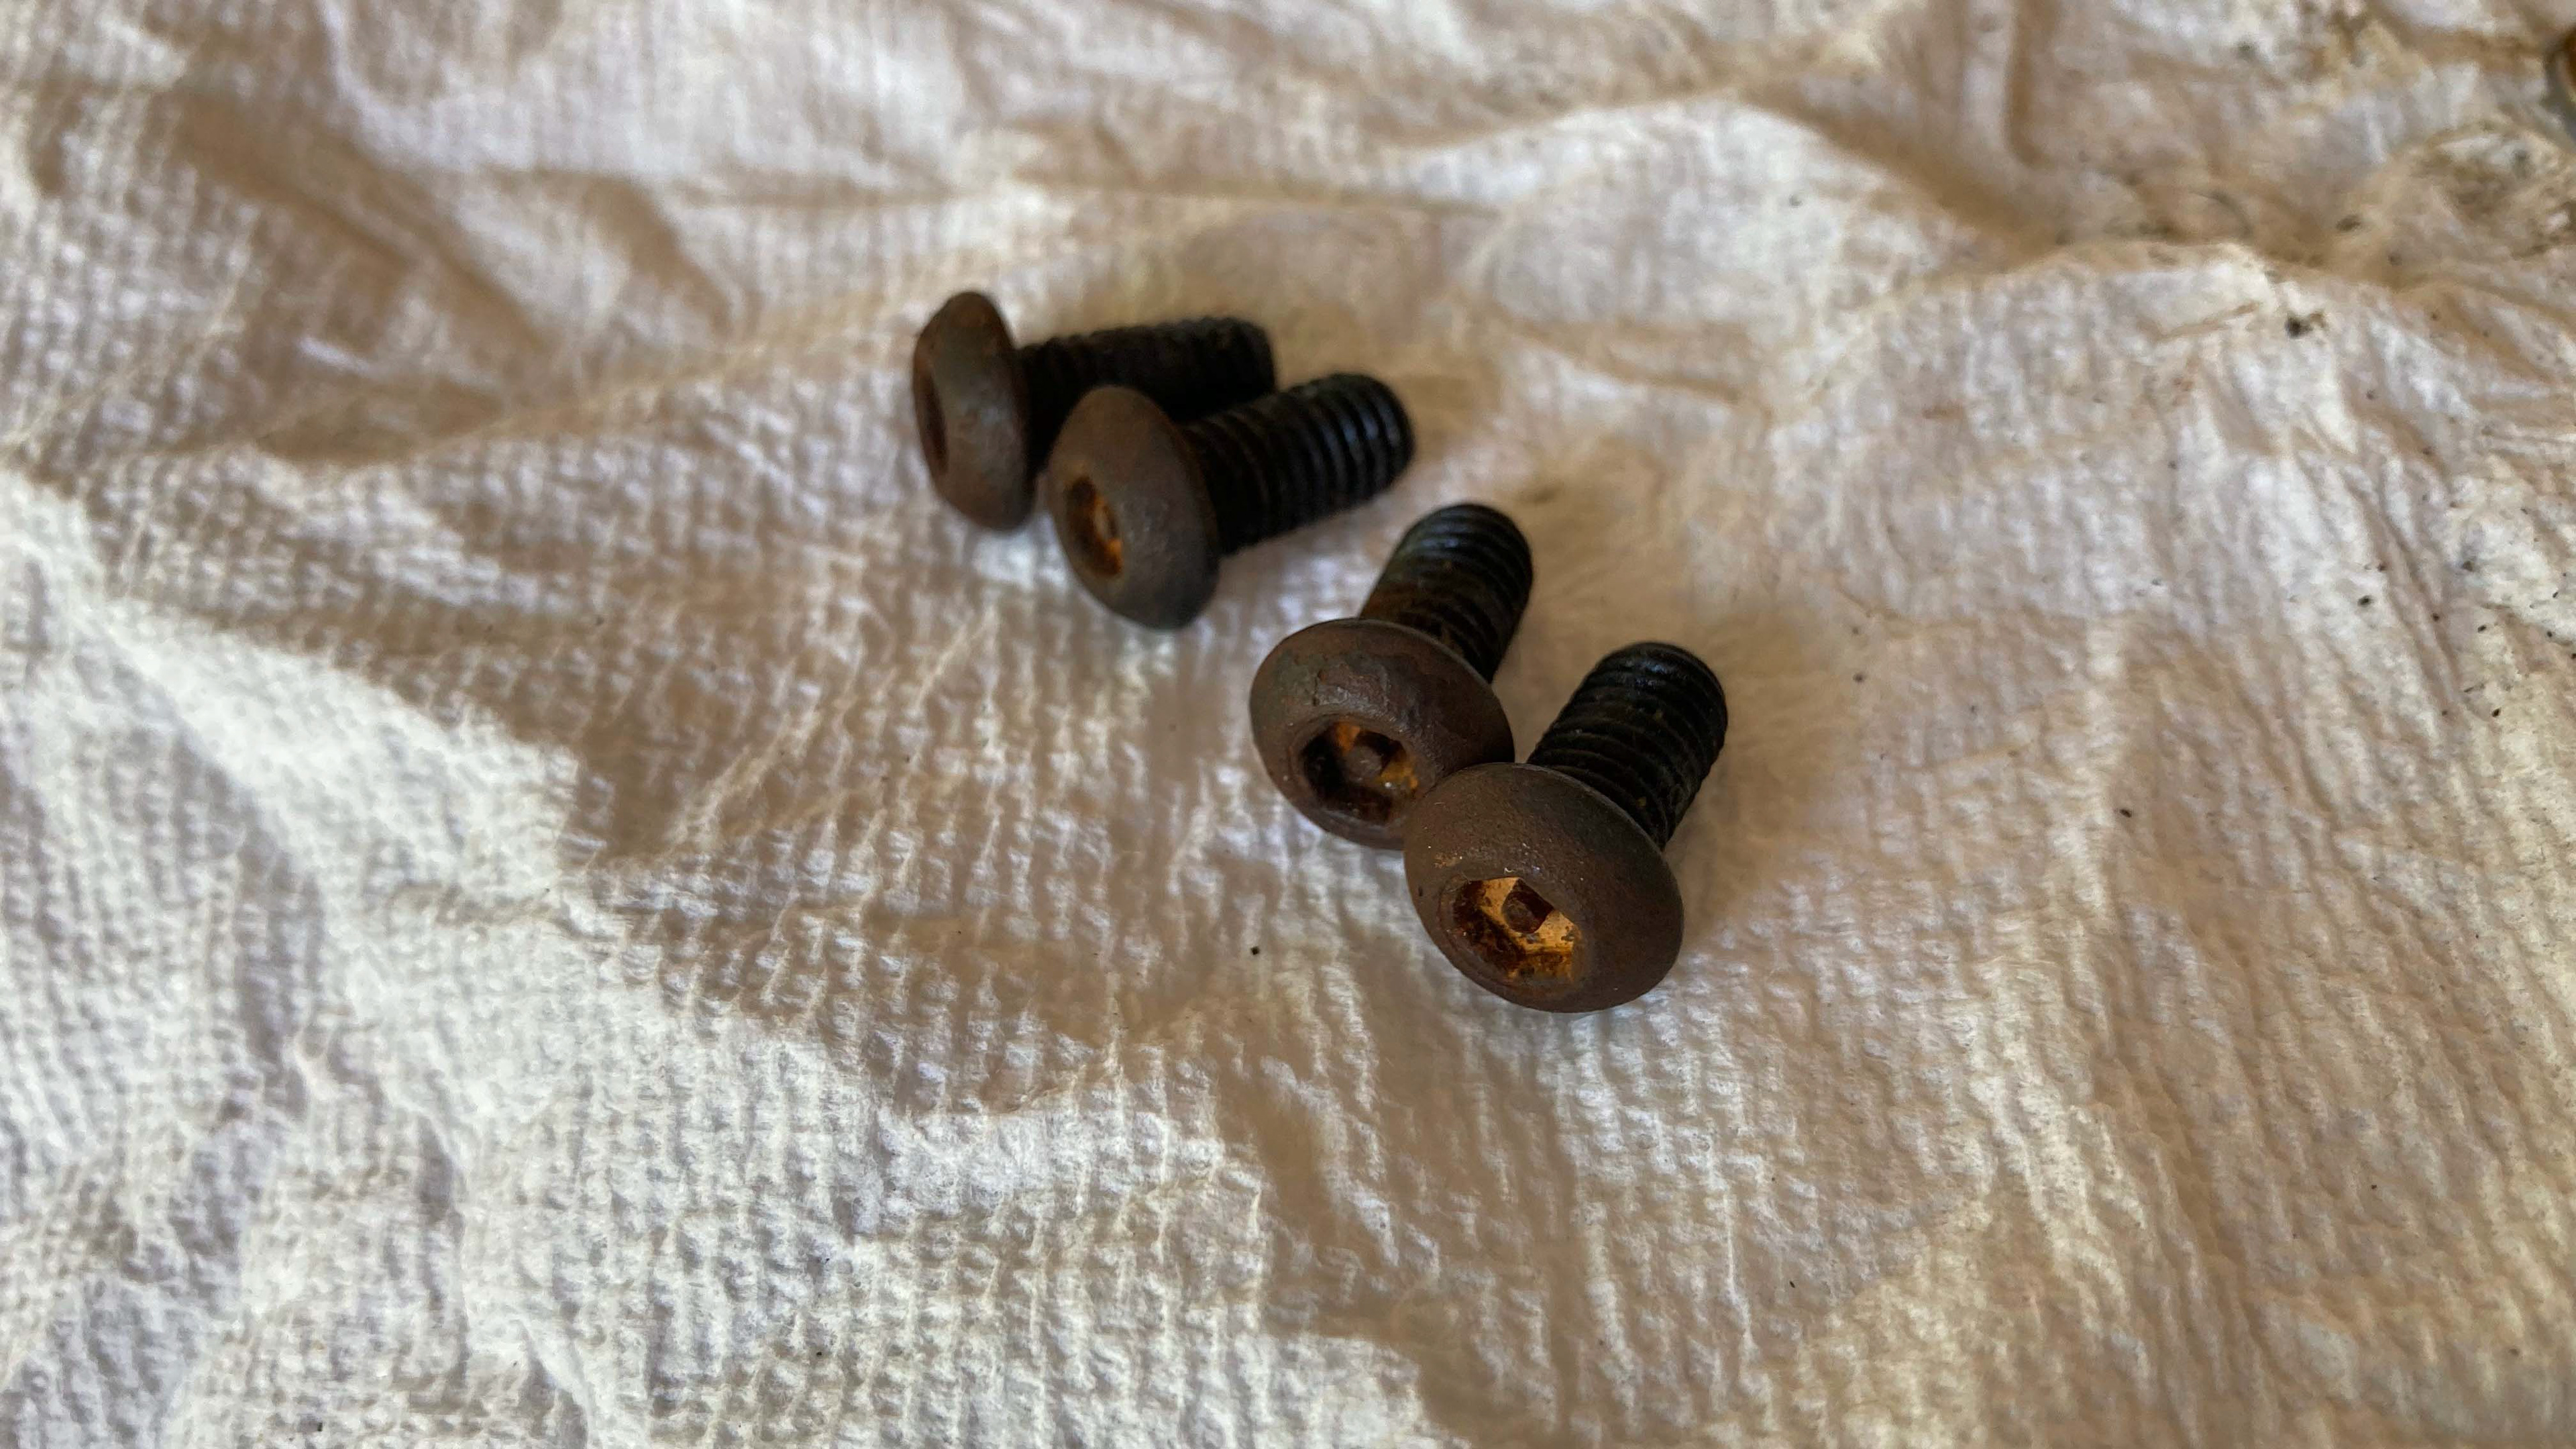
With all of the individual parts prepared, the final step was assembly and mounting. Stainless steel fasteners were selected for a clean look and to prevent rust from dripping onto the vehicle. The load bars were set upside down in their approximate positions. The threaded inserts were slid into the load bars and positioned in line with the clearance holes. The boards were laid on top of the boards and fastened against the load bars by screwing socket-head cap screws into the threaded inserts. The towers were attached to the load bars, and the assembly was flipped right-side-up. The fairing mounts were attached and slid into position. The fairing was mounted, and the mounts were secured using stainless bolts and acorn nuts to hide any exposed threads. Once all components were attached and tightened, the rack was mounted and secured to the top of the vehicle. After verifying fitment, one of the wood boards was removed and replaced with the bike carrier.


Documented Iterations
Although I would like to pretend like everything goes well on the first attempt, this article has been concatenated to mask the iterations. I am always looking for ways to improve the design and implementation of my projects, and this project is a good testing ground for different finishing methods. I've decided to document them here to discuss the advantages and disadvantages of each.
STEEL FASTENERS
For mounting the rack to the car, I used the security screws from the Thule rack itself and replaced them with stainless screws. The security screws were coated steel, but the coating was reaching the end of its life. I polished them with green Scotch-Brite to restore the shine; however, this left them very prone to corrosion.
To combat this, I decided to apply a black oxide coating. I accomplished this by cleaning the screws with alcohol, heating them over an isobutane stove until they were red hot, and quenching them in motor oil. This produced a beautiful, uniform black finish with a light shine. However, black oxide is not especially resistant to corrosion, and it only took several weeks of exposure to the elements for the screws to begin rusting again.
For the second attempt, I decided to do a nickel coating. The oxidation was removed from the screws, and they were cleaned before being strung on a thin copper wire. A nickel acetate solution was created by mixing a small amount of salt into 5pct acetic acid (vinegar), and then applying a voltage between two strips of pure nickel immersed in the solution. After several hours, the solution turned a vivid green color, indicating that it was saturated with electrolytes. The screws were immersed into the solution opposite the anode, and the ground strap was clipped to the wire, closing the circuit. After a short amount of time, the screws were removed from the solution, and the freshly nickel-plated surfaces were cleaned. The finish has a great contrast against the black roof rack towers, but more time is needed to determine the longevity of this method against the elements.
Black oxide finish
Black oxide after several months of weathering, showing widespread corrosion

Green Scotch-Brite polish
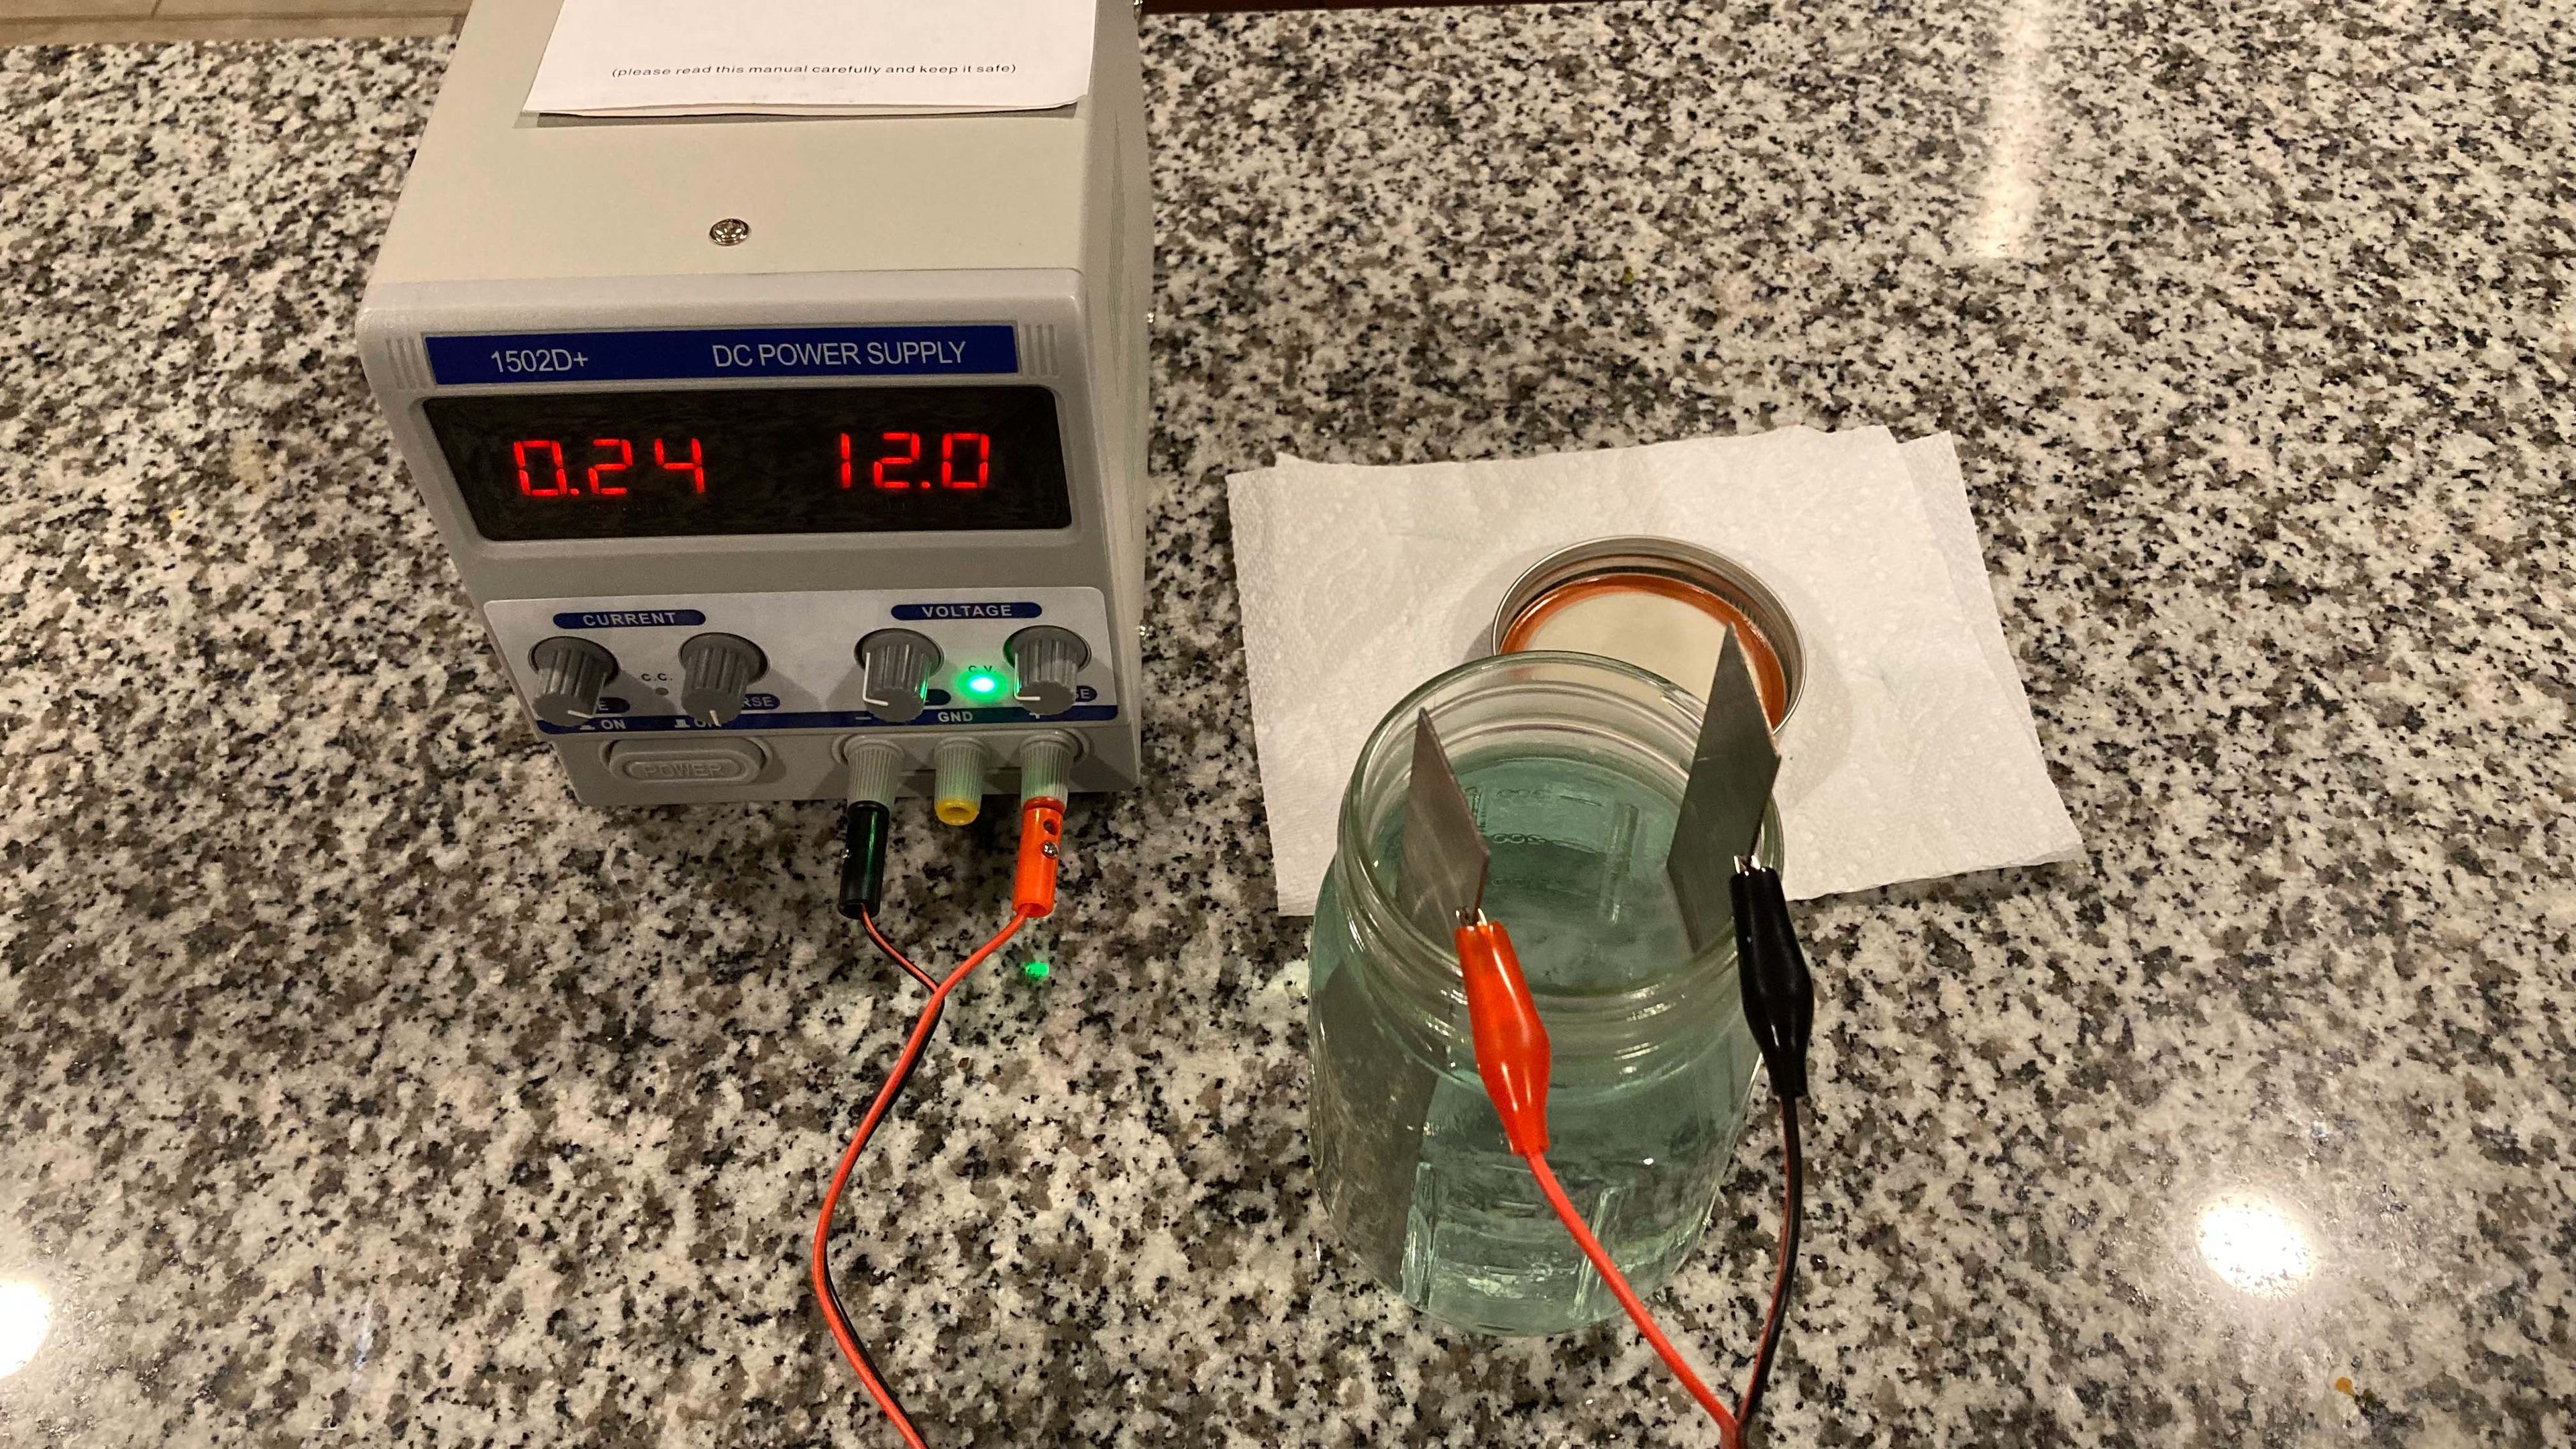
Creating the nickel acetate solution
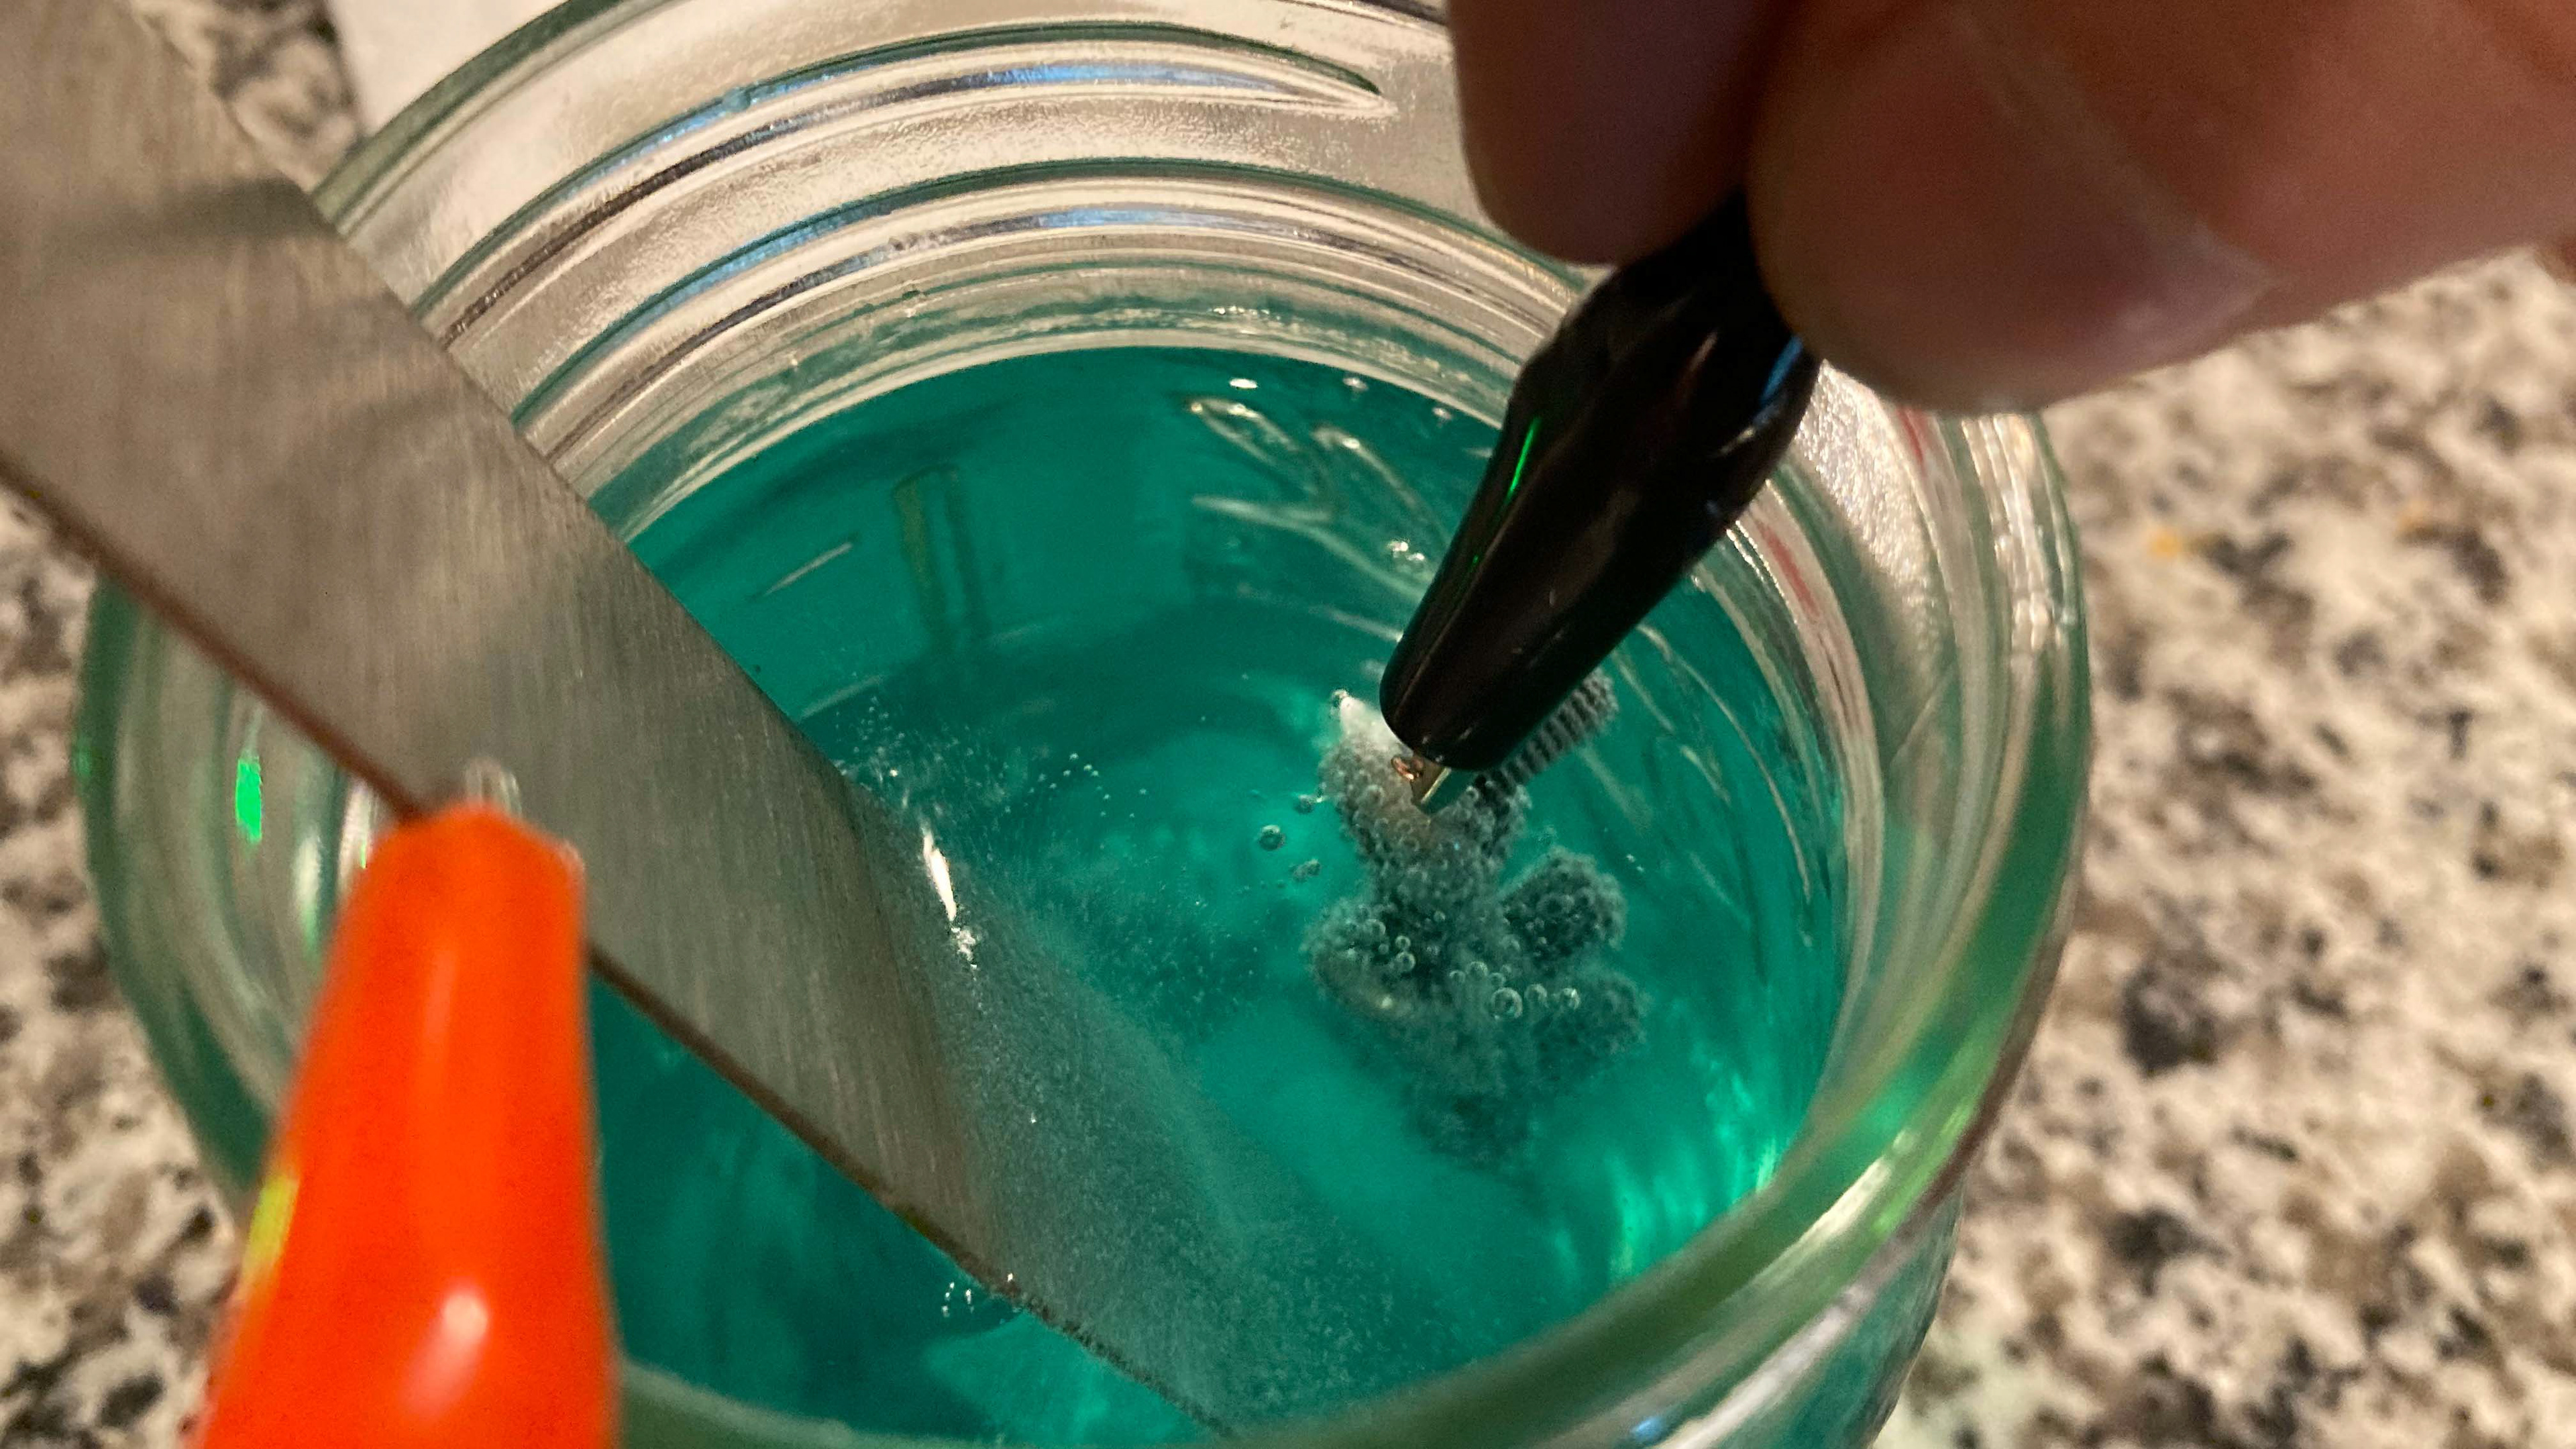
Nickel-plating the screws
WOOD BOARDS
Pine was selected for the boards because of its light weight, wide availability, and most importantly the cost. Hardwoods would be more suitable against the elements, but I decided to try different finishes to protect the pine.
My very first attempt on the E30 was to use a rattle-can clear coat over the boards. This was an initial success, but very quickly showed signs of rotting after moisture broke through the layer of paint. The next attempt on the E30 was to use a wood stain to add color and help protect the insides of the board. This was not perfect, but held up better than the clear coat.
On the E46, I wanted to control the color and preserve it well. I began with a 2-in-1 stain/poly finish. This was a disaster, partially due to poor mixing, and partially due to the nature of the product. In order to create a more uniform finish, I sanded down the initial coating, applied a red wood stain, and then applied a polyurethane coating on top. This produced a much better finish which was much more uniform. Unfortunately, the intense UV rays in Colorado damaged the polyurethane and allowed the boards to rot. For the most recent attempt, I sanded down the boards and decided to keep the raw pine color. Rather than applying a polyurethane coating which sits on the top, I used pure tung oil to waterproof the boards all the way through. The tung oil brushed on similar to stain, absorbing into the boards; however, after becoming fully saturated, the oil sat on top like a poly coat. The excess was dried off, and the boards were left to cure for two weeks. The initial results have been promising, but more time is needed to determine the longevity of this solution.

2-in-1 red stain/polyurethane (October 2020)

Red stain with polyurethane top-coat (November 2021)